The best way to start with DIY photography lighting is to get down to the basics. This means using a simple flashlight as your primary light source. You can then try to control its output with modifiers, which is a great learning process.
Our article takes you through some easy and inexpensive DIY photography lighting projects. Some are helpful for off-camera flashes, and some improve the light of your camera flash.
13 DIY Photography Lighting Ideas
You can try these DIY photography lighting projects at home with a flashlight and a light modifier made of repurposed items. Most of these you can find at home, but you may need to take a trip to the hardware store.
1. DIY Photo Lighting Diffuser
You can create your own diffuser using a big light source if you want softer light. It isn’t complicated. It’s similar to stretching out a painting canvas.
Take a large picture frame and remove the canvas or the cardboard from the back so that only the frame remains. You can also create a rectangular frame using plastic pipes. Then, stretch a white cloth or fabric across the frame and nail or staple it.
This creates a type of DIY softbox, but one where you can control the light. If you place the flash or lamp closer to the diffuser, the light is harsher. If you place it further, then it is smoother.

2. DIY Reflectors and Flags
Some of the most basic pieces of lighting equipment are reflectors and flags. Reflectors bounce off light from the light source back onto the subject. This helps smooth out harsh shadows.
But flags do the exact opposite. They block out light to darken specific areas of your subject. This helps give moody shadows to your photos.
The simplest and cheapest reflectors and flags are white and black poster boards. Since a black poster board is non-reflective, it won’t bounce back any light, making it a perfect flag.

3. DIY Fairy Lights
Fairy lights make a great DIY photography lighting source that is easy and versatile. Incorporating fairy lights into your photos lets you light up your subject in a very creative way. You can choose the desired effect because fairy lights come in different colors and temperatures.
The model can hold the fairy lights, or you can string them behind them. Placing fairy lights in front of the lens also creates a dreamy foreground.
By blurring the image, you can create a beautiful bokeh effect. Fairy lights are excellent for photography. Unlike other light sources, they can be visible in the image without looking odd.
4. DIY Flash Diffuser
Are you wondering how to get soft light with the flash on your camera? The answer is a flash diffuser. This makes the light from your flash much smoother and balanced.
The best part is you can make one on your own easily and at almost no cost! Follow this super quick and easy DIY flash diffuser tutorial to create this amazing piece of equipment. It helps you take beautiful. All you need is white paper, white adhesive tape, a hollow tube (like an empty chips can), and scissors.

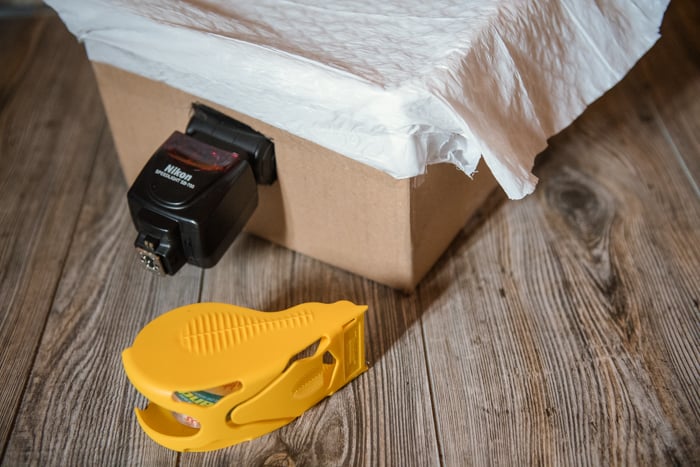
5. DIY Ring Flash
A ring flash produces some really good lighting but can be expensive. Not if you do it the DIY way, though. You just need some materials from your home and a little bit of time.
Go through this DIY Ring Flash tutorial. It is a detailed tutorial, but you must use your flash off-camera. That’s not hard, though.
6. Softbox
I’ve seen many types of DIY softboxes. Most are made from cardboard, wire, fabric, or other random items. None of these look very good or are very strong.
Andrew, the writer of this guide, wanted something that would hold up to some abuse and didn’t look like it was assembled from old boxes. If you want to create one of these, check out our DIY softbox guide.
7. Beauty Dish
A beauty dish is probably my favorite lighting modifier because I love how the light falls off the subject in a really soft way. I recommend them to everyone, but they’re not always the cheapest.
That’s where Todd Owyoung comes in from IShootShows. He’s written a hugely detailed guide to building your own. Check out his tutorial on how to create a DIY Beauty Dish.
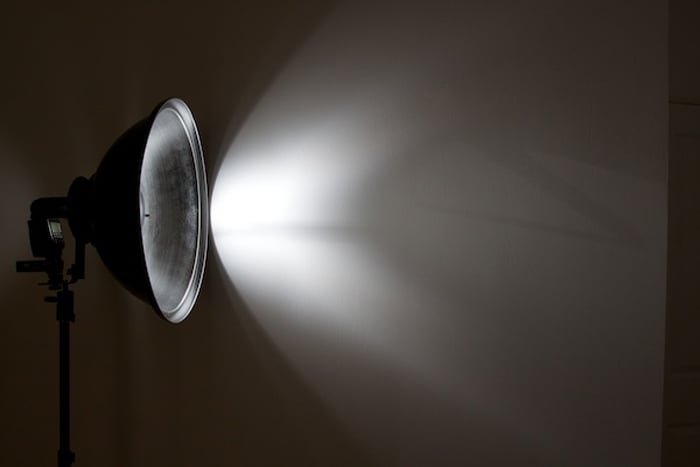
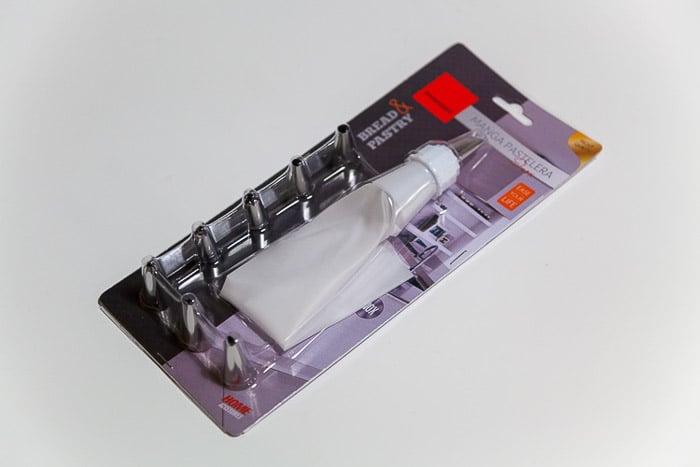
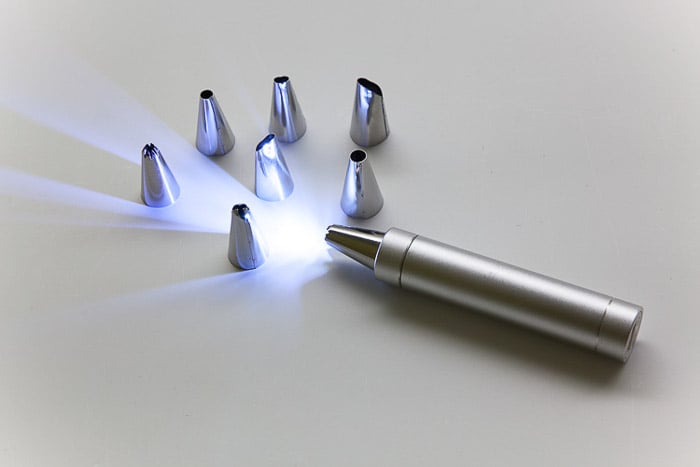
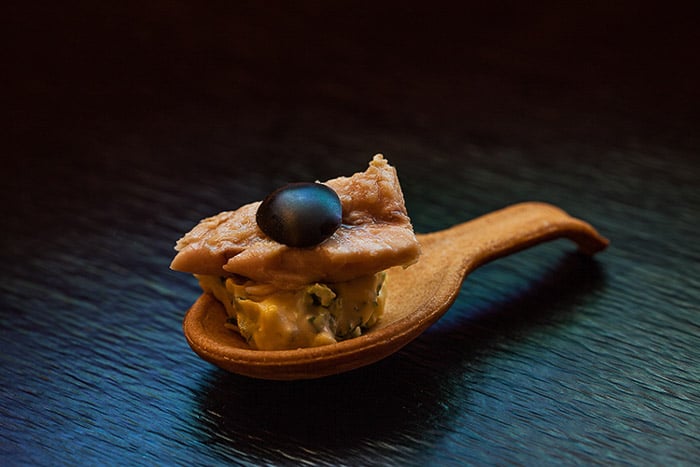
8. Piping Bag Tips for DIY Photography Lighting
Piping bags are great tiny light source modifiers. They give you greater light direction control when placed in front of a flashlight. Their tips also have different shapes, which give you different lighting effects!
As seen in our product photography lighting shots below, you can point your light accurately. I used a flashlight with a narrow oval piping bag tip for the light ray.
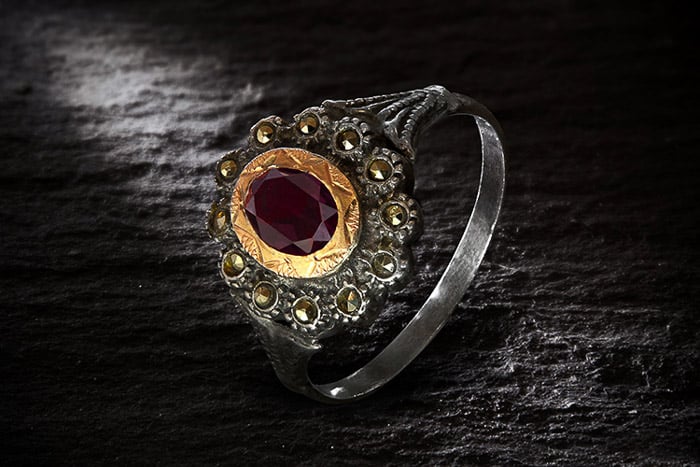
The photo below was taken in a simple studio setup. I didn’t use the typical white background of product photography. The textured background added interest to the image.
I used a white fill card with a hole for the lens to cast the light on the ring. It makes for a fantastic DIY flash diffuser. And it’s great for close-ups.
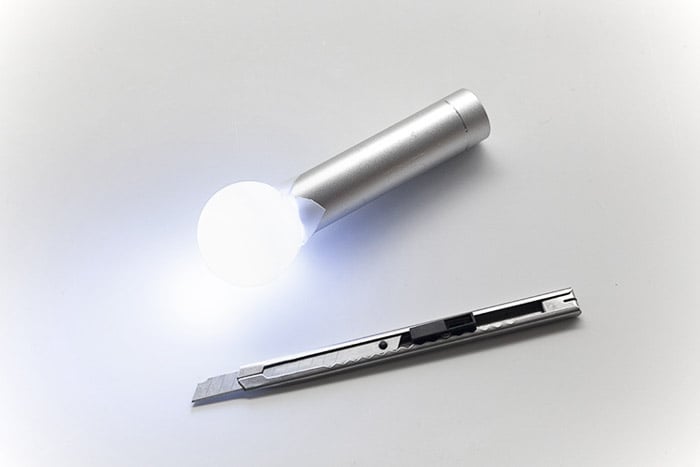
9. Table Tennis Balls
Table tennis (ping-pong) balls are one of the cheapest DIY photography lighting solutions for better shots. They soften the harsh light from your flash and help you avoid harsh shadows.
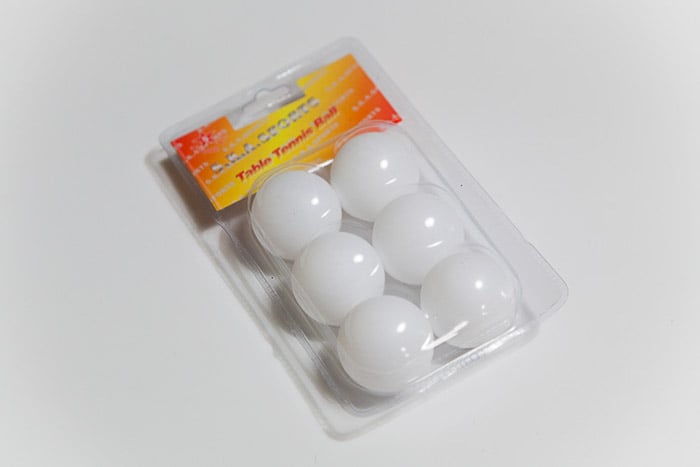
Cut an X shape with a knife on the ball and slide the flash through the opening. The white plastic is semi-translucent, letting light pass through but scattering it. It creates uniform DIY photography lighting with soft shadows, like in the image below.
In my photo studio. I created the overall light with a flashlight and a table tennis ball diffuser. Moving the DIY diffuser from the back to the front of the image created a backlight effect. And it cast soft shadows on the front of the picture.
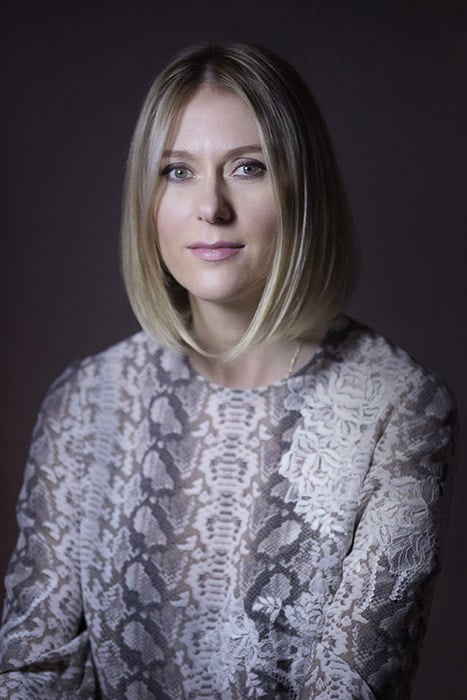
10. Balloons
Balloons are an excellent option for creating a DIY lightbox effect. You can control the size of the light effect by controlling the size of your balloon.
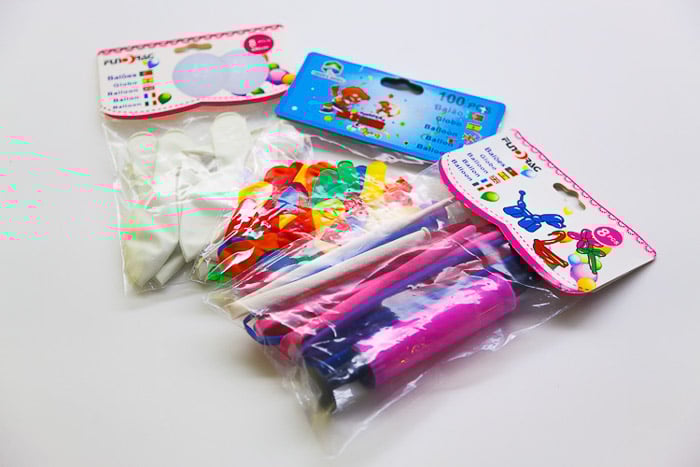
This transforms the small light beam produced by your DIY photo lighting. It becomes a big and soft lighting source. You need a long exposure due to the low light output of a flashlight.
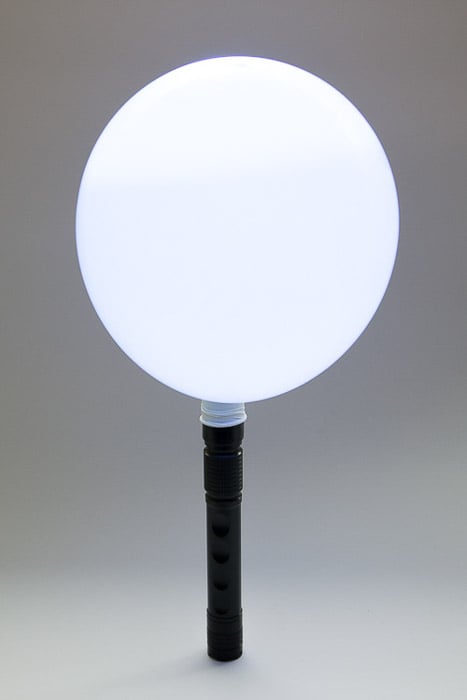
It can cover a bigger area, even in a portrait image, if the model can stand still, like in the following image. I created the lighting effect during this photoshoot using a flash and a big, inflated white balloon.
Placing the balloon on the top left side of the model created soft shadows on one side of the nose and under the chin. This was a simple and easy lighting setup. It’s great for portrait photography. And upon closer look, you can see the catchlights in the model’s eyes.
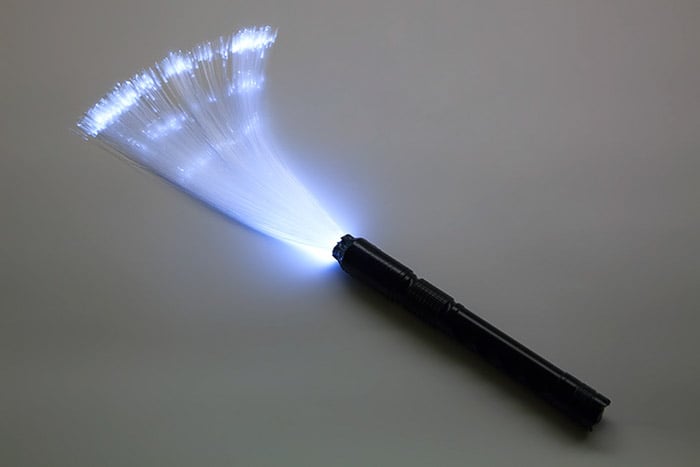
11. Fiber Optics
You can use this material in DIY photo lighting to create a “light brush.” You can use this as a light painting tool. To create a simple light brush, take the top part of a cheap fiber optic table lamp. Attach it to a flashlight with some black tape.

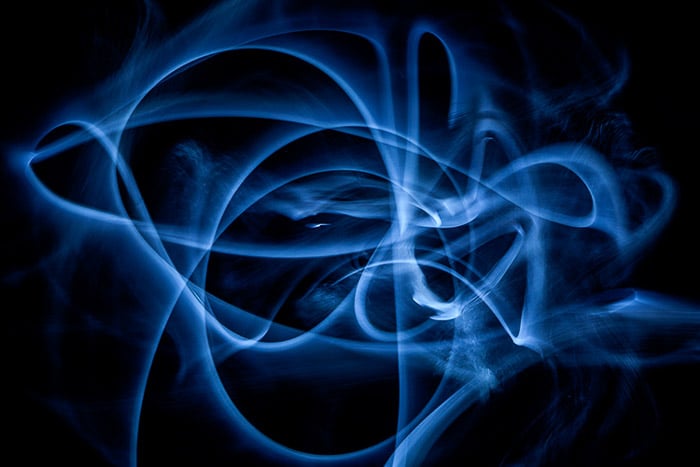
You now have a light brush and can achieve many different light effects. My favorite effects are the ones done with long exposures in a dark room. This creates light paintings like the ones Man Ray did in the 1930s. I tried to recreate this style in the following image.
I created the DIY photo lighting effect by slowly moving the flash with the fiber optics. This was a 10-second exposure. The white balance on the camera was set to tungsten, hence the blue light effect.
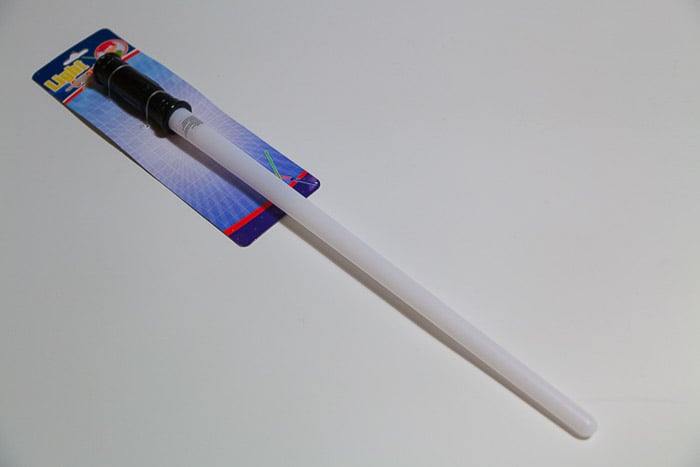
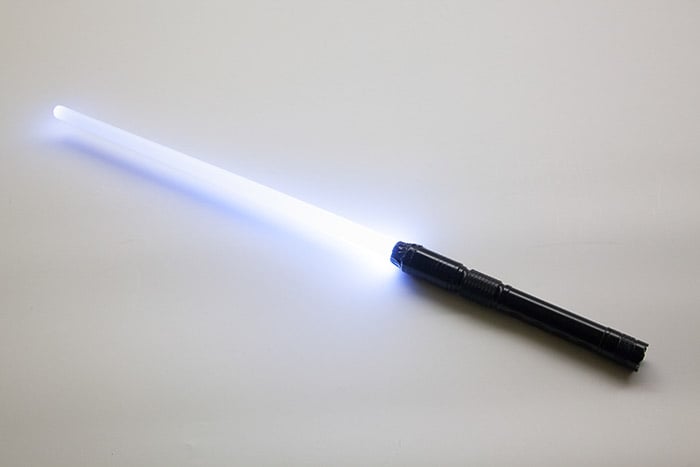
12. Star Wars Toy Lightsaber
This kids’ toy lightsaver is actually a basis for a great DIY photography lighting tool. It only had a small red light and some bad Darth Vader sounds. After dismantling it, I glued the plastic rod to a flashlight. This created a lightsaber worthy of a true Jedi and a fantastic DIY studio light.
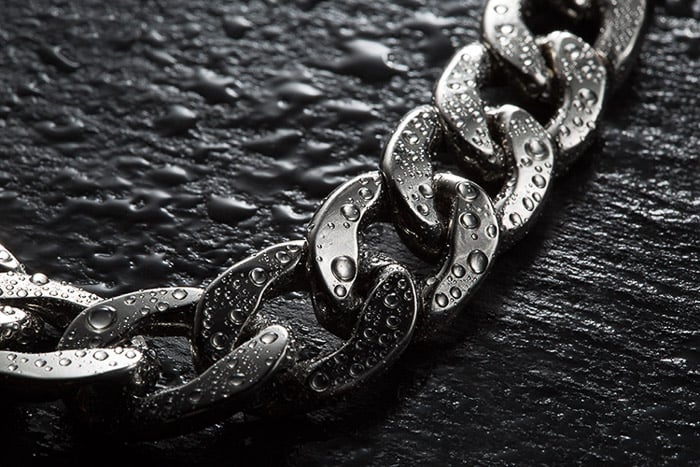
The plastic rod contains the DIY photography lighting. This allows it to sweep through a wide area during long exposures. It works great on reflective subjects like the metal chain in this next image.
To create the light effect, I swept the DIY lightsaber from the front to the back of the image. This created soft reflections on the metal without shiny hot spots.
I also placed a vertical white card on the left side of the image. This helped create a uniform reflection on the image. It also emphasized the background stone and water droplets’ texture.
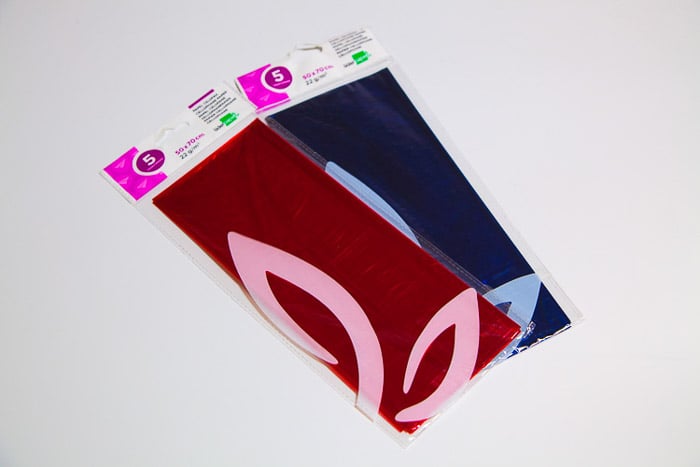
13. Colored Cellophane and Plastic Bottles
For DIY photography lighting, you can use color gels. Place them in front of the light source to get colored effects. You can’t compare cellophane to genuine color gels with color rendition. But it is a great cheap option to use with flashlights.
Place these colorful pieces of cellophane inside a plastic bottle. This creates a color-mix lighting source. It creates ambiance and depth, as seen in this next image.
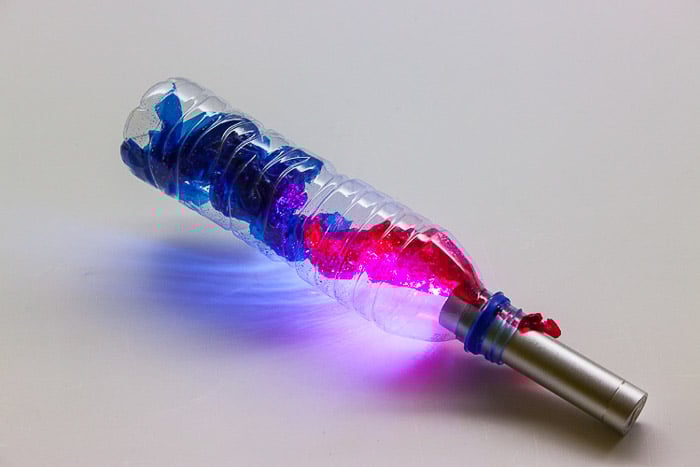
To create the colored light effect, I placed a plastic bottle with two cellophane sheets inside over the scene. I then moved it slightly to the back to create a shadow effect.
Bonus: Create Cool Lighting Effects in Photoshop
It is fun to experiment with lighting while shooting, but you aren’t limited to just that. If you want some really cool lighting effects, like sun rays, light trails, lightpaths, and more, you can always explore them in Photoshop.
There are some things you can do in Photoshop that you might not be able to do in real life.
For example, if you don’t have a tripod to take a very long exposure but want bold light trails, you can combine various images into one image. Or, you can add light paths as if you were light painting.
If the lighting in your photos isn’t good enough, you can always add a luminosity mask or a gradient tool to even out the lighting or brighten the image.
Conclusion: DIY Photography Lighting
That’s it! Good photos need good lighting. If you want to experiment with lighting in your photos but don’t want to splurge, this is your opportunity. There are plenty of DIY photography lighting accessories that you can create on a low budget. Try them out, and you can drastically improve your images.
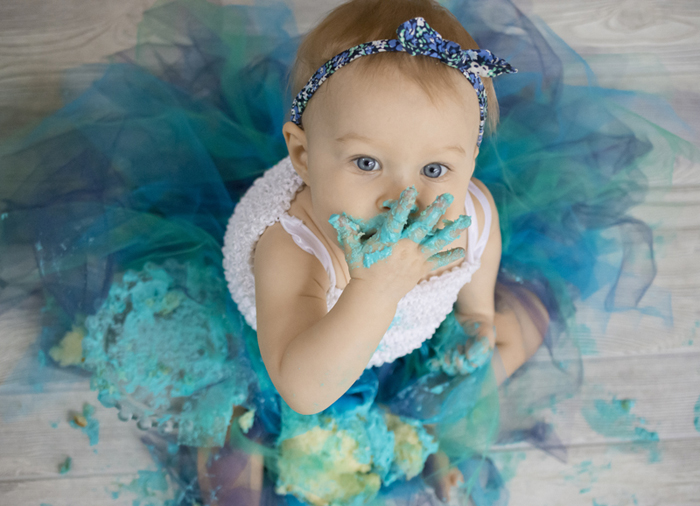
I’m sure you will get great results and learn a lot along the way. If you want even more DIY photography ideas, check out our fun with photoelasticity post or our DIY cake smash photography article.
Look at our Wow Factor Photography course to get the most out of your photos!