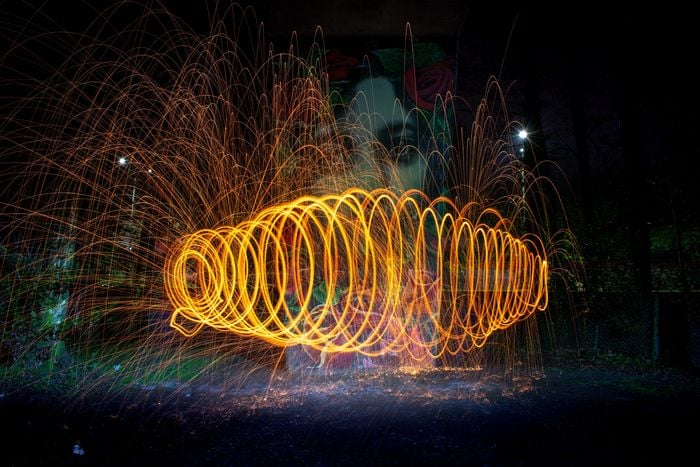
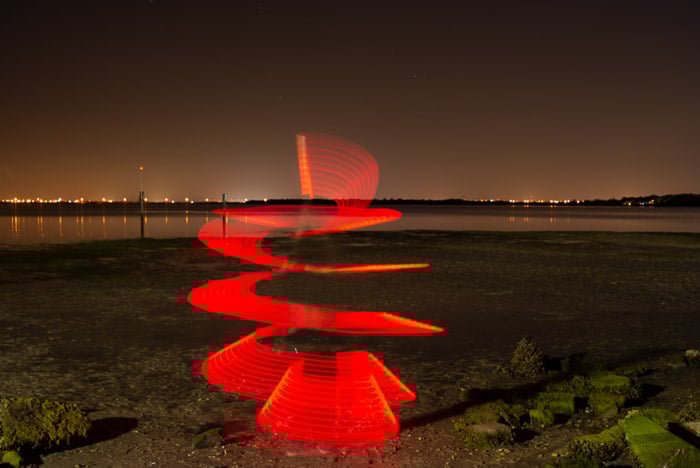
Spiral light painting photography is one of the coolest things you can do with your camera. It’s colorful, futuristic, and it’s quite addictive. But a lot of people feel discouraged from trying it because they think it’s technically challenging.
But the truth is that light painting an easy process. And we’re happy to show you how to do it with these easy-to-follow tips. So let’s get started!
How Does Light Painting Photography Work?
Light painting may seem complicated, but it’s just a clever use of long exposure techniques. All it takes is opening your camera shutter long enough to record the moving light sources as blurry streaks. It’s that simple.
If you leave your shutter open for five seconds in front of a busy highway, car lights will register as long trails in your photo. Light painting works the same, except that you get to control exactly where the light goes.
Light painting is tricky because you don’t see what you’re doing until you finish taking the photo.
So help you visualise what you’re painting with light, think of your light source as a paintbrush. The beam of light is the paint, and the air around you is your canvas.
Painting light in the air leaves a long streak in your image. Meanwhile, turning your light source on and off creates a staggered pattern. Waving it in the air produces beautiful swirls and light orbs.
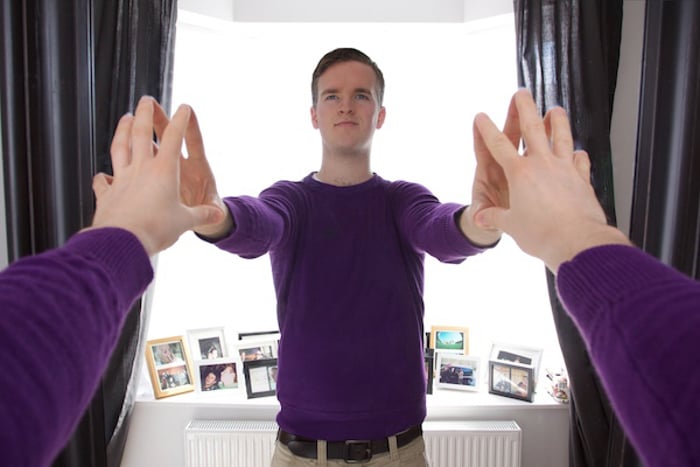
During light painting, the camera will register the streaks from your light source backwards. In other words, if you write your name in the air, you’ll end up with a mirror image.
The best way to solve mirror images in light painting is to draw figures in the air backwards. If you spell your name from right to left instead, its orientation will be correct once you look at the image.
Collect Colorful Lights for Creative Light Painting Results
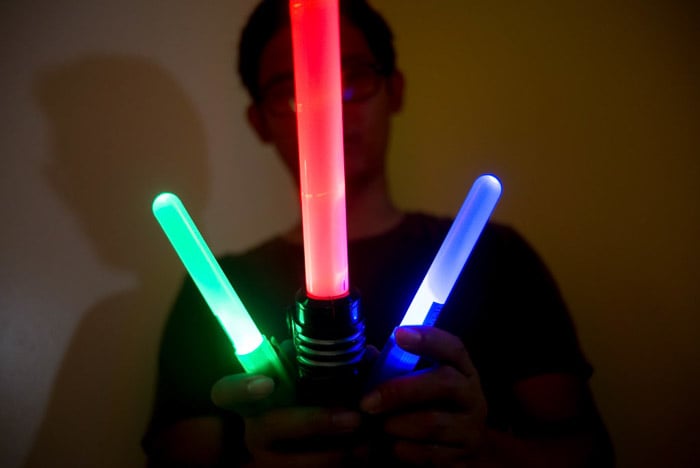
Gather different types of battery-powered light sources for your project. It could be anything from toy lightsabers to flashlights and string lights. Feel free to use a variety of colors to make your photos look vivid and engaging.
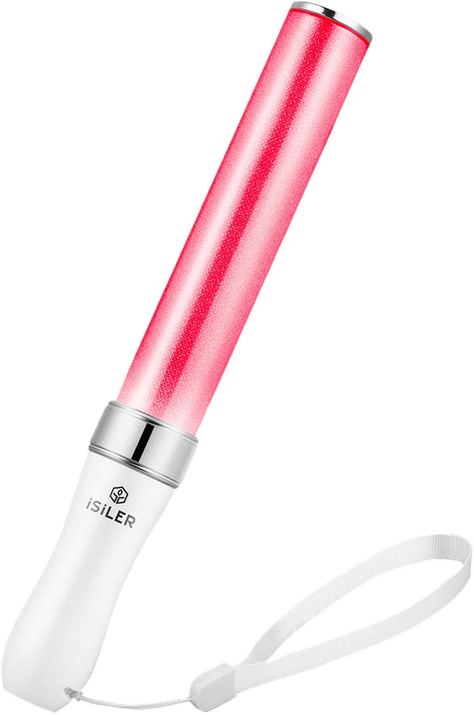
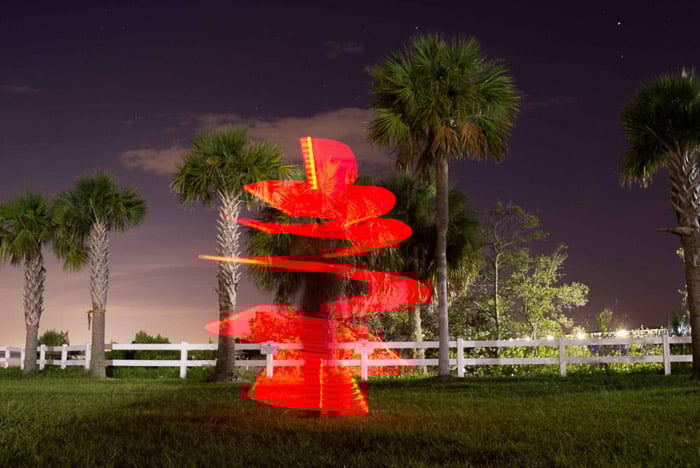
The most critical light source required for spirals is a toy lightsaber. Its long light allows you to create swirls in the air effortlessly. But of course, you can use any light source with a long shaft as well.
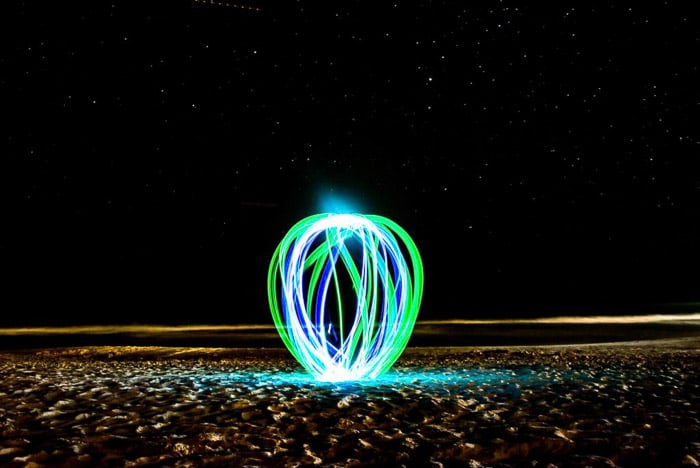
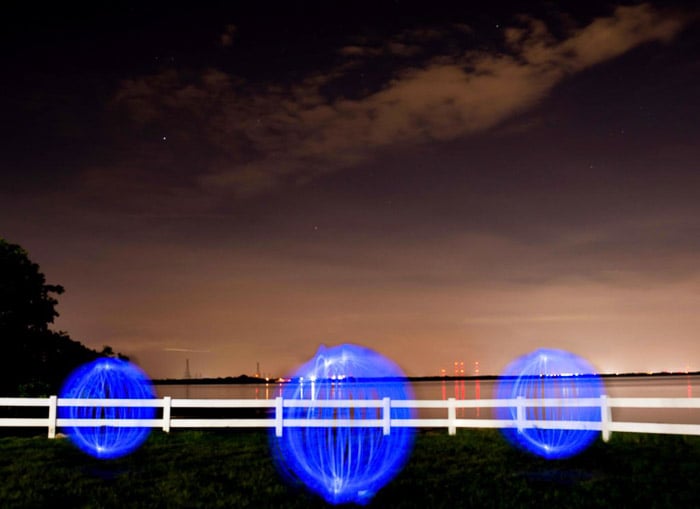
For light orbs, you’ll need a small light source (such as a small LED) tied to a string which you’ll spin in the air.
Apart from those main props, you can use a flashlight to accentuate your light painting. It’s helpful in illuminating the background or adding colors and effects to your spirals.
Don’t be afraid to use other types of light as well. Sometimes, you can even use your smartphone as a light source. You can change the colors on the screen and create beautiful effects for your light painting.
If you’re serious about light painting, then consider looking for custom light painting shops online. Some of the best options include lightpainting-shop.com and lightpaintingbrushes.com. They offer anything from fiber optics to starter kits to help you create wonderful light art.
Remember to check what type of batteries required for each light source. Don’t just buy the exact amount you’ll need. Light painting sessions may take hours. So always bring extra batteries, so you don’t have to worry about losing power.
Rehearse Your Shots to get the Shot You Want
In many ways, light painting photography is like dancing. Every effect has its own “choreography.” It helps if you get used to the moves first before you begin taking photos.
To create light spirals, start with your back turned away from the camera. Once the shutter opens, turn on your lightsaber, point it downwards and turn slowly. As you spin, lift your light source higher and higher until it’s above your head. When you’re done, stay still until you hear the shutter close.
When you pivot, make sure that you’re rotating on the same spot. Otherwise, the light streaks will look crooked and messy.
For light orbs, you’ll need to put a marker on the ground (such as a coin or a leaf) to guide you as you move around. As soon as the shutter opens, spin your light source attached to the string at a consistent pace. Then slowly turn as you whirl your small LED light. Make sure your light source passes the coin every time you complete a circle. Doing so will guarantee that you’ll have a perfect round orb.
As a light painter, you can also think of new ways to create a light painting. There aren’t any hard rules when it comes to this process. As you gain a better understanding of how the technique works, it will be easier to develop your own methods. It doesn’t matter what you end up doing as long as the final photo looks interesting.
That’s the beauty of doing light painting. You get to experiment and create different results every time.
Switch to Manual Mode
Your camera’s automatic functions don’t work as well when there isn’t enough light. Therefore, it’s always a good idea to use Manual Mode when light painting.
First, set your ISO between 100 to 800. The higher the value you choose, the more sensitive to light your camera will be. However, selecting a high ISO also introduces noise that can ruin your image. So try to stick to ISO 400 to 800 in typical situations. Only go higher if you don’t have enough ambient light for your light painting.
Next, set your aperture between f/8 to f/22. Since they produce a deep depth of field, choosing these f-numbers guarantees that everything in your image will be sharp. Keep in mind that the smaller your aperture, the lesser the light that goes through your lens.
Try to start with f/8 because it’s wide enough to let enough light in and still maintain deep focus. If your test shots look a little too bright, feel free to use anything between f/11 to f/22 to regulate the exposure.
Finally, set your shutter speed between 10 seconds to 30 seconds. Find out how long it takes you to finish a light orb to figure out the right value to use. For instance, if your light painting process takes about 15 seconds, then set your camera’s exposure to be that long as well. Depending on the available light around you, keep adjusting your setting until you feel the exposure is correct.
Remember that adjusting the shutter speed is going to be the most challenging part. It will take you several tries before you get the correct exposure for your light painting.
What Is the Best Lens for Light Painting Photography?
You can use any type of lens that you like for light painting. A 50mm or even a regular kit lens will do fine in most situations. However, wide-angle lenses tend to be the best option since they include more of the surroundings in your shot. You can start with 35mm or even go wider with fisheye lenses.
It will help a lot if you choose a lens that has a maximum aperture of at least f/1.8. You typically don’t have to set your camera larger than f/8 when light painting. However, there are situations when you’ll need a larger aperture to let more light through. That’s when using a wide aperture such as f/1.8 would be beneficial.
Just like your device’s other automatic settings, your lens might also have a hard time focusing when there isn’t enough light. To solve this problem, switch it to Manual focus and adjust it yourself. To ensure that everything’s sharp, place a portable light source exactly where you plan to position yourself in the frame.
Once you’re done, twist the focus ring until the light source looks sharp. If you don’t trust yourself focusing in the dark, you can turn on the autofocus briefly. Using your click wheel, choose a focusing point (the small box on your screen) and target the light source. Afterwards, half-press your shutter button until the subject is in focus.
Once you’re done, switch your lens back to Manual Focus. Doing so will prevent your autofocus from readjusting and “hunting” for an object to focus on when you start light painting.
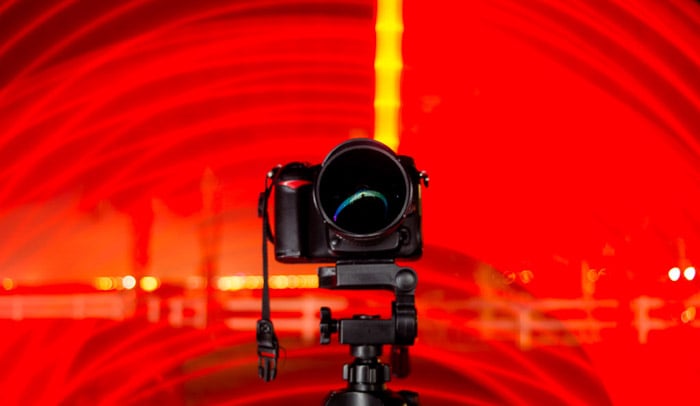
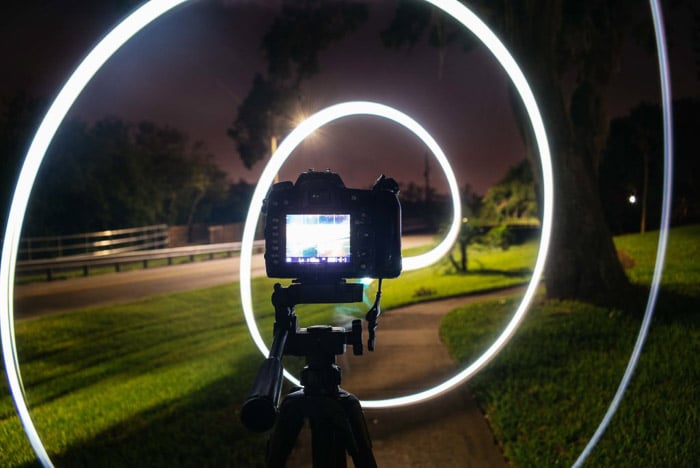
Use a Tripod to Avoid Camera Shake
Since you’re doing long-exposure shots, even minute movements can cause motion blur. It is best to use a tripod to stabilize your shots when light painting. It’s also advisable to trigger the shutter with a remote to prevent yourself from accidentally rattling the camera.
If you don’t have a remote, you can use a self-timer instead. 10 seconds should be enough time for you to get into position for your light painting photo. If your camera doesn’t beep as it counts down, listen to your camera carefully. Once you hear it click, start painting immediately. You could either keep moving your light source until the shutter closes, or stop and stay still until the exposure is over.
How to Find the Right Background for Light Painting
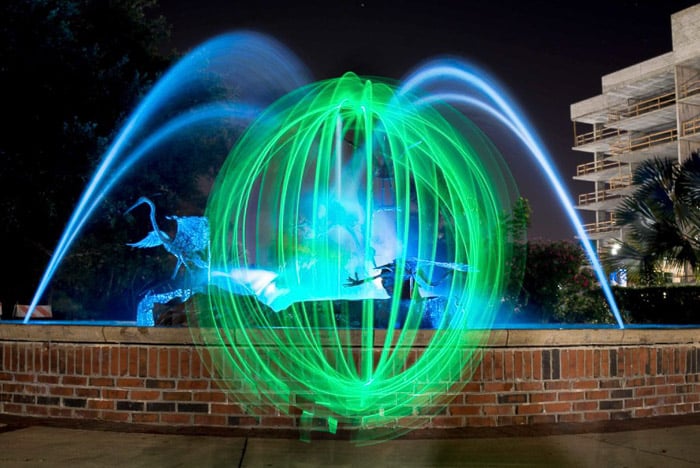
Finding an excellent location is crucial in light painting photography. Find a way to interact with the environment and make your orbs seem like they’re a part of the surroundings.
Your background doesn’t have to be a famous landmark. It doesn’t always have to be that beautiful either. It could be a park filled with trees or even your backyard. What matters is how you use the space for light painting photography.
Think of where to position yourself for a balanced composition. You should also try using elements in the background when possible to make your light painting image look more cohesive.
When looking for a location, consider the ambient light around it. If it’s too bright, it may drown out your light painting. The best background should be dark enough to allow you to use a shutter speed of up to thirty seconds. It also shouldn’t overwhelm the light source you’re using. Otherwise, it will be difficult to see what you’ve drawn in the air.
Try These Changes From One Photo to Another
Light photography is a process of trial and error. It requires several takes to come up with one good result, so be prepared to mess up. You can ruin your image by using the wrong settings or forgetting your light painting choreography.
To minimise errors, here’s what you’ll need to do.
First, take test shots of your location using the manual settings you chose. If the photo is a little too dark or too bright, adjust your values incrementally until it’s well-exposed. Tinker with the aperture and shutter speed first. If your image is still not adequately lit, then that’s when you adjust your ISO. As you already know, high ISO means a lot of noise, so you should only bump it up when necessary.
Now that your camera is ready, quickly go through the movements of your light painting moves. Practice your motions a few times before you click the shutter. Doing so will make you less nervous and less prone to making mistakes once you start painting.
Once you make your first light painting exposure, check how your photo looks. If your work appears messy, make corrections in your movements until you get it right. Also, check your light source if it lights up properly. Some of them feature various settings, so make sure if you’re on the correct one.
Conclusion
Light painting photography is a fun way to teach yourself about how a camera works. It shows you exactly how to control the aperture, shutter speed, and ISO to get the effects you want.
There’s no doubt that light painting can be intimidating at first. And don’t be surprised if the first few images you take don’t look impressive. Figure out what you’re doing wrong and keep practising until you get it right.
Once you grasp the concept, it creates fantastic results. And after a while, it would start to feel like second nature to you.
So let go of your fears and give light painting a spin!
Check out our new post on light painting techniques next!
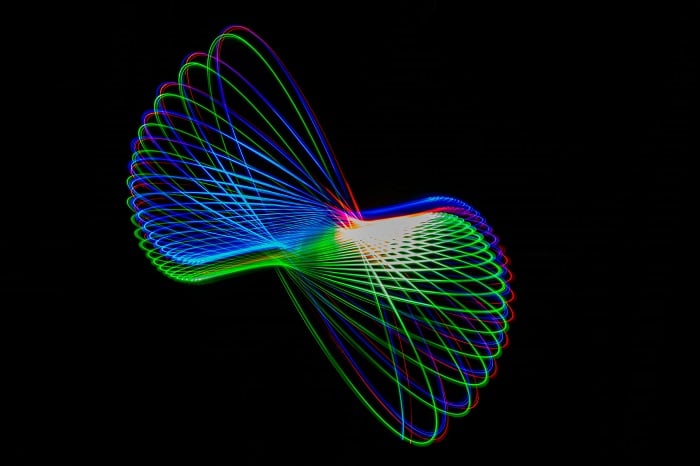
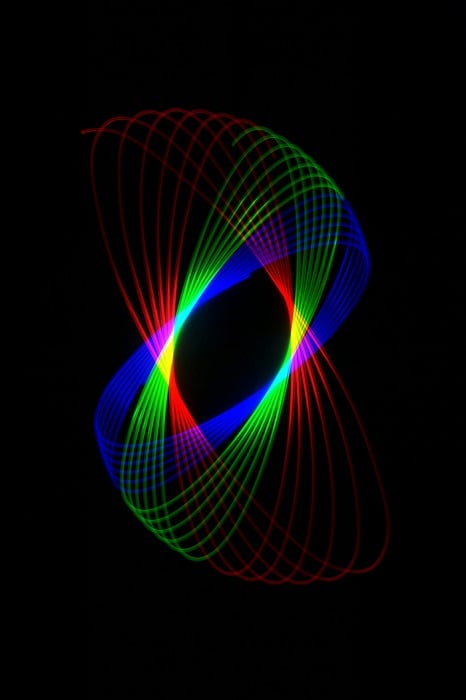
Examples of Spiral Light Photography
Spiral light photography is one of the topics we cover in our creative photography course, Wow Factor Photography.
Below are some of the photos taken by our students. If you'd like to learn more, check out the course here.

Spiral Light Painting by Shelly Swanger

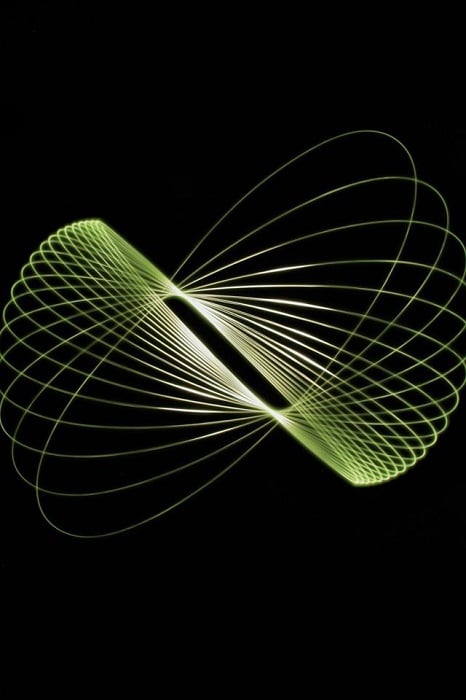
Spiral Light Painting by Desirea Tritz
Spiral Light Painting by Craig Dally
Spiral Light Painting by Larry Cunningham
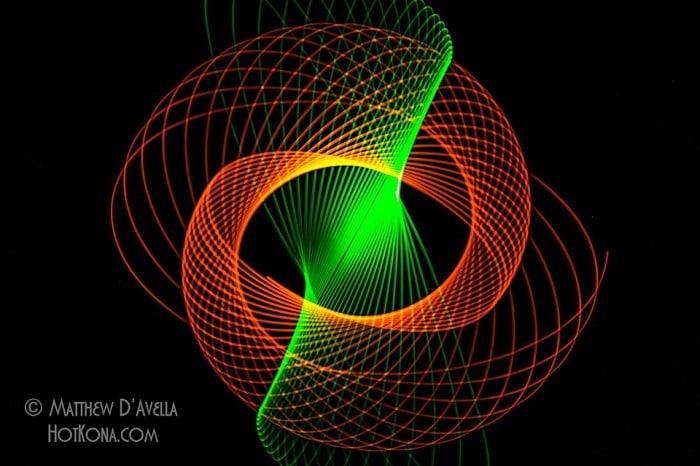
Spiral Light Painting by Matthew J D’Avella

Spiral Light Painting by John Clare
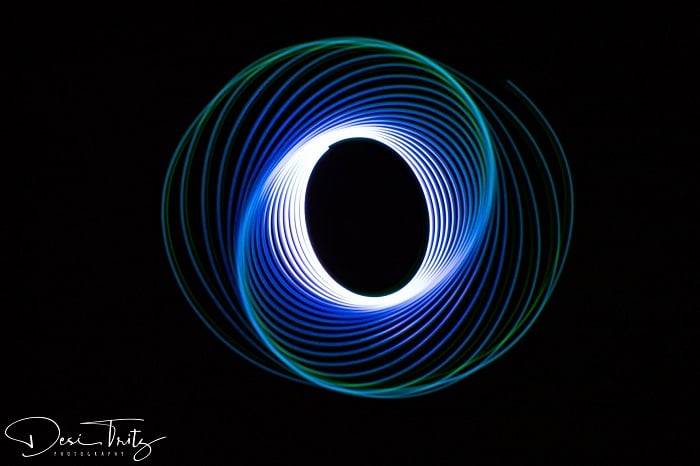
Spiral Light Painting by Desirea Tritz
Spiral Light Painting by Janet Bradley
Spiral Light Painting by Lonnie Brown