If you’re looking for a way to add some extra excitement to your photography, consider creative water photography. By using this simple technique, you can create stunning images that are full of movement and drama. Here’s how to get started:
How to Photograph Creative Water Photography
You can use water in photography in many creative ways. Especially in your home where you can control the conditions. You can capture splashing objects, add food dye or mix it with oil.
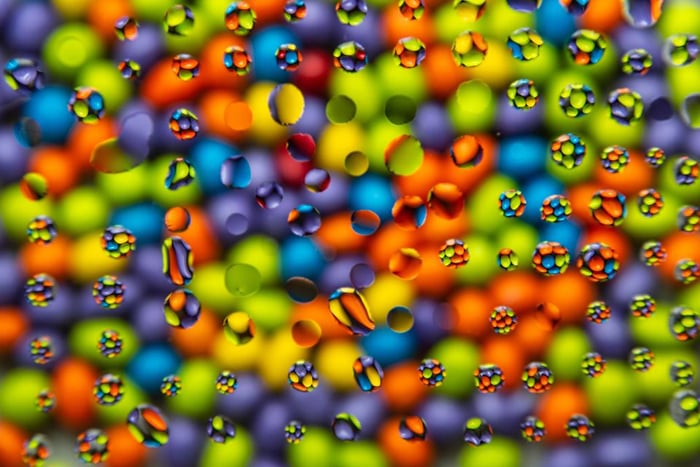
One of the most stunning results come from using water droplets. They create little wide-angle lenses, and they pick up the background, showing the entire scene in a small area. By using many water drops, we can replicate the background over and over again.
There are plenty of ways to customize the photos. You are able to come up with an original and creative water drop photography. Feel free to experiment with drops of different liquids such as milk or water thickened by xanthan gum. Food coloring can be a game-changer too.
What You’ll Need
For now, let’s stick to the most simple version. You will need the following ingredients:
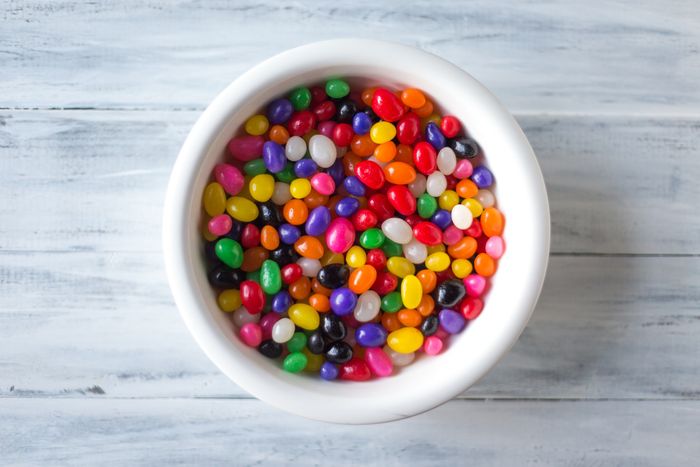
- A bowl of colored sweets or stones;
- A pane of glass (table, picture frame, etc.);
- Water;
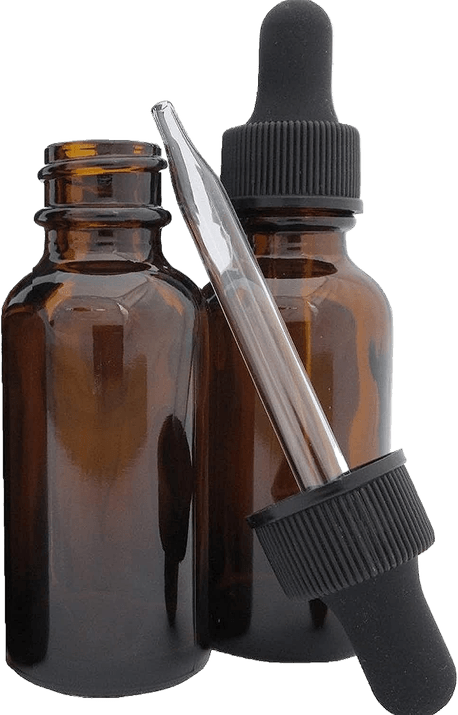
- Water dropper or sandwich bag with a golf tee;
- External flashguns (optional);
- Tripod.
Designing the Scene
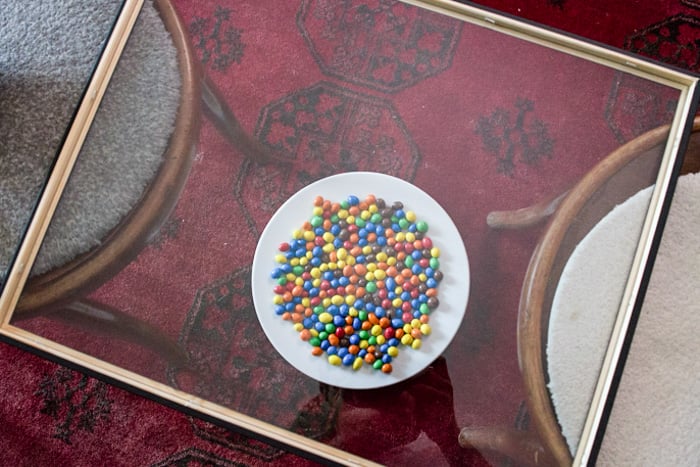
First things first: we will shoot these specific water drop photographs from the top down. This means the camera will hover over the glass, which is itself above the sweets. You need to place the glass first. If you are using a table with a glass top, move it into a good position.
I was fortunate to have a glass coffee table in my house. If you’re struggling to find something to use, I recommend the glass from a large picture frame. Resting this on some books or two chairs will do the same thing.
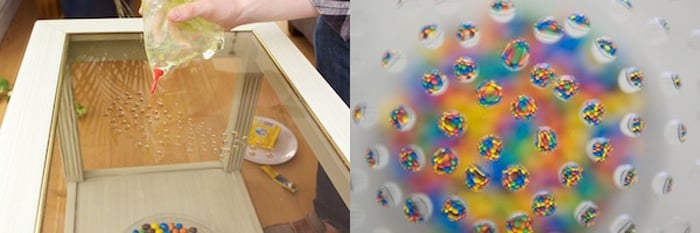
The first time I tried this, I used a sandwich bag with a small hole in the corner that I could use to drop the water. But using this method created an unattractive water droplet. The size and shape of the water drops have a huge influence on the overall effect and image.
How to Create Appealing Water Droplets
After a little research, I discovered a technique using a golf tee to make a much more precise drop. A golf tee will allow you to control the amount of liquid you’re using and give it a path to form a water droplet in.
I widened the hole in my bag by pushing a golf tee through it. Leaving the golf tee there, I was able to control the drops better.
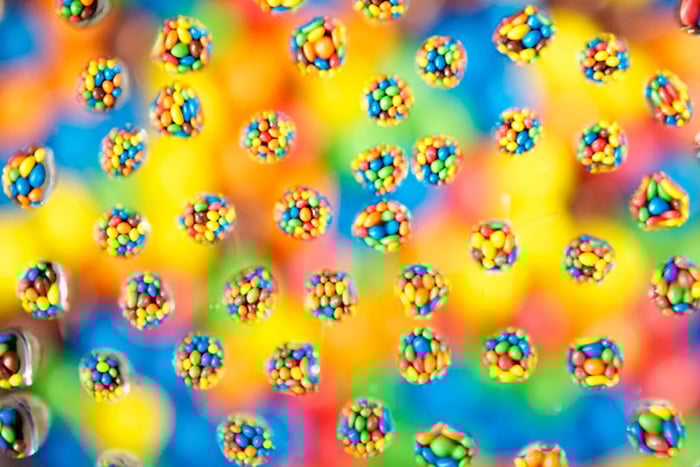
After a little bit of trial and error, I was able to make more uniform drops. They created a much more accurate reflection of the shapes and colors of the sweets below.
Start with one or two drops to learn how to control the shape of a drop.
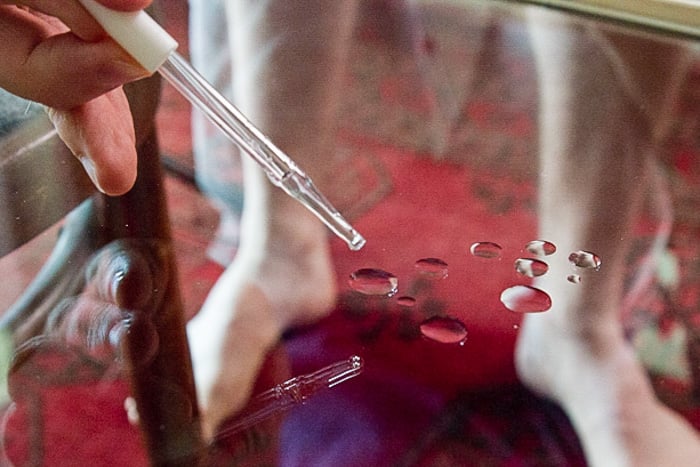
 The final time, I used a water pipet and a few toothpicks. I used the pipet to pick up a small amount of water, allowing me to drop them much more precisely onto the glass. I used a toothpick to fix a drop if it was not appealing.
You can get attractive results with a medicine dropper too. I realised already after two drops how much more control I had.
Any method you choose will take a long time. One, to drop the water where you want. Two, to make it look how you want. This is a type of photography that requires a lot of patience and time. In the next image, you’ll see where we started and compared to the last picture, it is a world apart.
NB: If you set up your camera beforehand, using the right focal length and framing, you’ll see how much space you need to fill. It is a waste of time creating more water drops than you actually need.
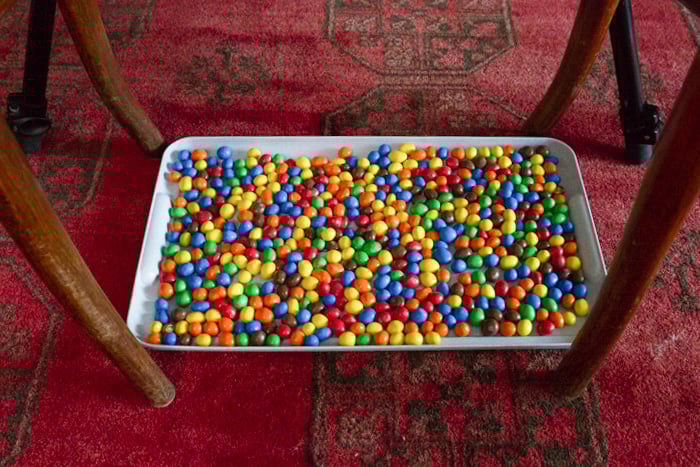
We found that by using a bowl, we couldn’t get far enough from the sweets and glass without the edges showing. We wanted to show as many drops as possible. We traded the bowl for a tray, which allowed us to move further away. Having a macro lens can solve similar problems.
Setting the Focus
Once I had the drops set up as I wanted them, I started to experiment with the focus. I knew that the effect I wanted to achieve was for the drops to act like little magnifying glasses. It wasn’t easy to get there.
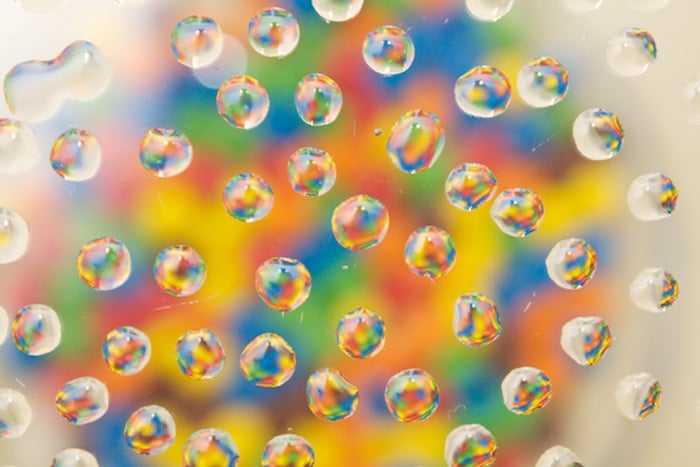
The autofocus on my camera got confused about what I was trying to take a photo of and would often fail. It produced images where the focus would fall on the sweets in the bowl. If you have a look at one single drop in the picture, it doesn’t reflect the sweets below. It only shows the colors of the candies.
 To counteract this, I tried manual focusing using Live View. Once I’d found the correct focus, it was time to play with the light and positioning of my sweets. If you use flashguns, this is the time you need to fire the flash and see how it affects your image.
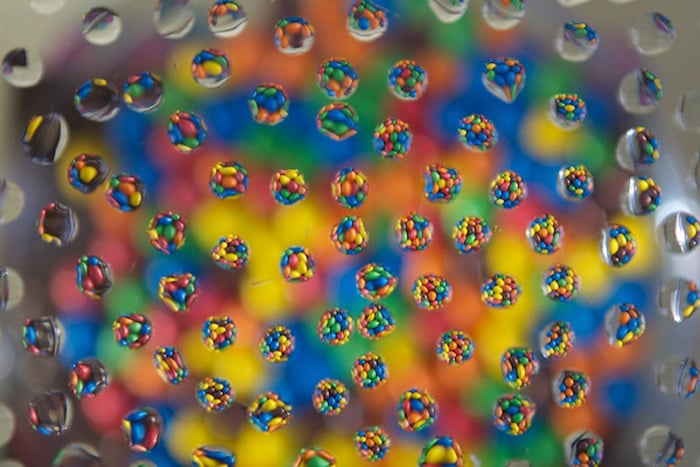
As you can see from the photo above, you are able to spot the shape of the bowl in the picture, which wasn’t what I wanted. I raised my bowl closer to the glass, with the help of some photo frames and a large book.
To make sure that I was only including the sweets in my background, I used the longest focal length available in my lens. A longer focal lengths force the perspective of the scene to appear closer together, allowing less of the wider angles into the photo.
I thought it would work better but I was wrong. This is only a matter of taste, but you may prefer this to the photo that I choose as my final image.
If you use a macro lens, you should take a few test shots to see what distance works the best for your drops.
 Choosing the Correct Settings
Having played around with my settings, I found that the photos were great if the camera was on a tripod and the shutter speed was long enough (1/200). If you have different lighting conditions, your shutter speed might not be the same.
My goal was to create a strong contrast between the water drops and the sweets. To help me achieve this effect, I needed to find the right depth of field. I chose a wide aperture of f/2.8. This also gave me a sufficient amount of background blur.
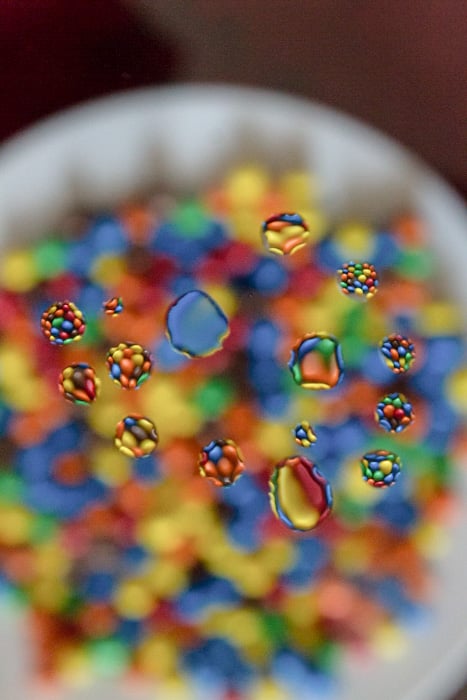
As I’ve mentioned before, one of the most important factors in taking good water droplet images was to give them a good shape. To get the best results, I found that taking the camera a few inches further away from the glass, while still using the longest focal lengths, worked best.
This gave me the following image.
 As you can see, the shape of the bokeh in the background is quite nice. This is due to the wide-open camera aperture, and the excellent shape of the water drops.
The main problem is that this one looks a little dull. There is also too much space around the edges where you can see the greyish parts of the bowl.
How to Enhance the Photos in Post-Processing
To come to my final water drop photography image, I only needed a small amount of post-production.
I cropped the image first. I framed it so that you can only see the colors. Then I used the repair tool to fix a few blemishes, which were scratches on the old coffee table. I boosted the exposure slightly and added a tiny amount of contrast. I also raised the black point to make the colors appear richer.
These were the only adjustments I made. Although it looks as though I may have, I didn’t adjust the saturation at all.
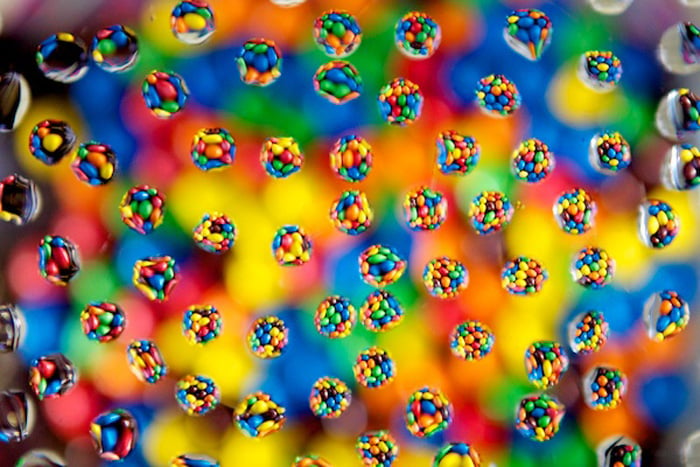
Here’s the final image.
 Conclusion
This procedure is an easy stepping stone into creative water photography. You can add an extra twist if you start using other liquids and food dye. You can also experiment with capturing the splash of the water drop in a darkened room, using several flashguns.
Photographing water provides endless opportunities for creative development. Start with simple tools and you can become an expert in a short amount of time!
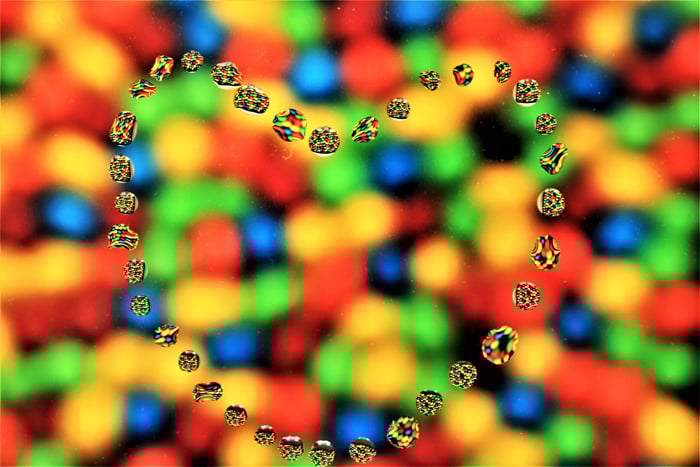
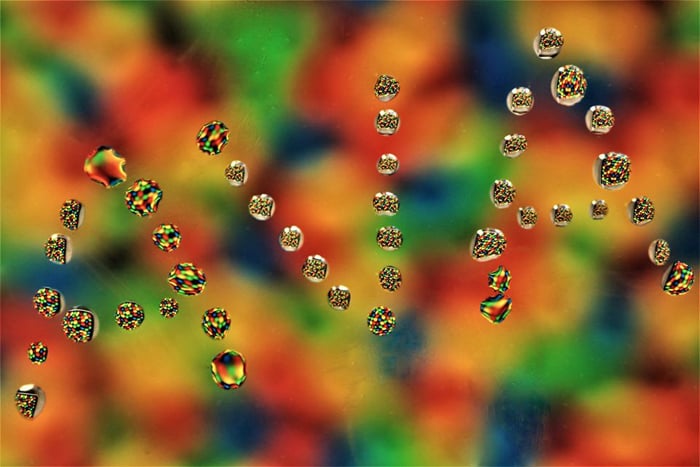
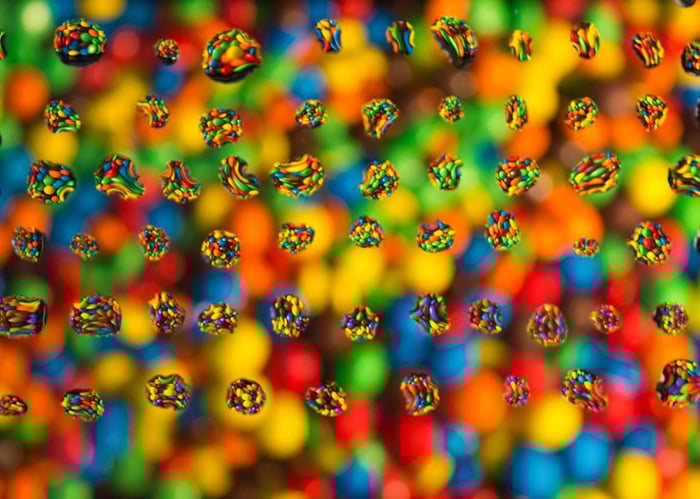
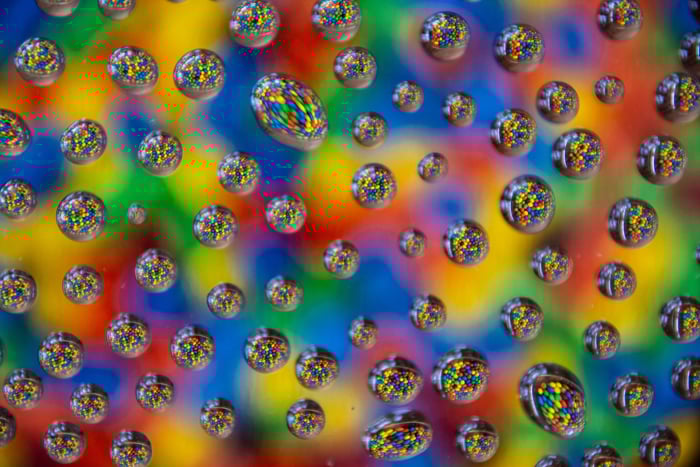
Examples of Colorful Water Drop Photographs
Colorful water drop photography is one of the topics we cover in our creative photography course, Wow Factor Photography.
Below are some of the photos taken by our students. If you'd like to learn more, check out the course here.
Colorful Water Drop Photograph by Vivien Cheng
Colorful Water Drop Photograph by Vivien Cheng
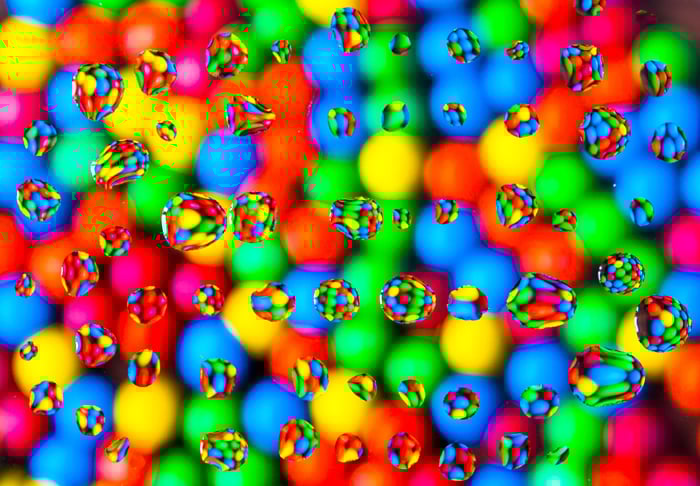
Colorful Water Drop Photography by Rosemary Drummond
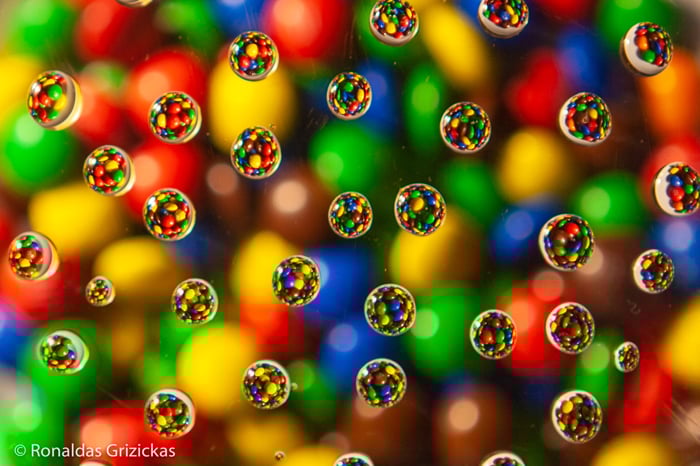
Colorful Water Drop Photography by Ronaldas Griziskas
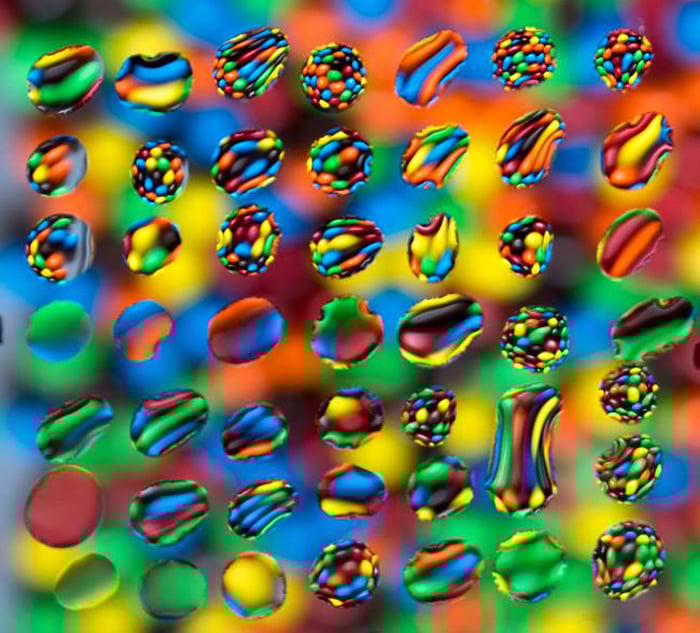
Colorful Water Drop Photograph by Robert Mason
Colorful Water Drop Photography by Loretta D’Alessandro Strumos
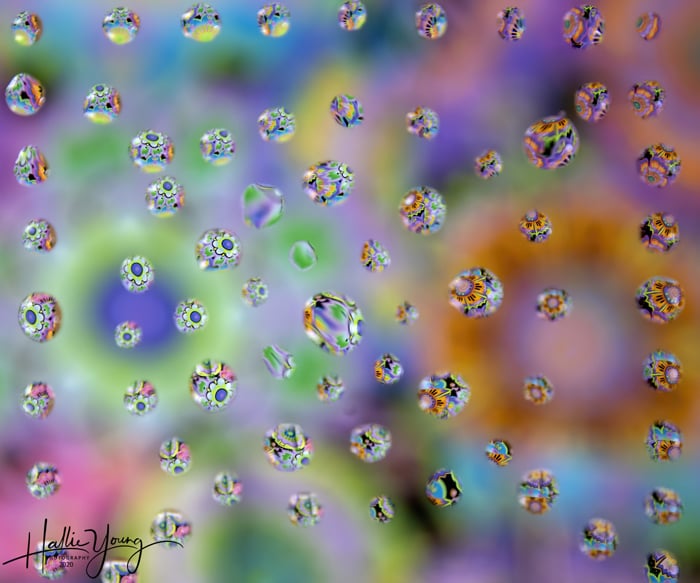
Colorful Water Drop Photography by Hallie Young
Colorful Water Drop Photography by Claude Edmond
Colorful Water Drop Photography by Manley Minsker