Lens flare photography is a technique that can be used to create unique and interesting photos. In this article, we’ll discuss what lens flare photography is and how to use it to create beautiful and eye-catching photos. We’ll also provide a few tips on how to get the most out of this technique. So if you’re interested in learning more about lens flare photography, keep reading!
Lens Flare Photography: What Is It?
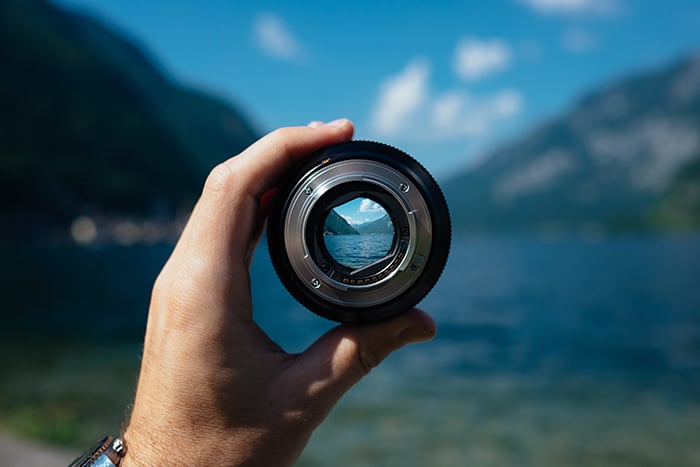
Lens flare happens when the light from the sun hits your lens. Your lens’ position to the light source impacts the size and the look of the flare significantly.
The more direct you point your lens to the light, the more prominent the flares. And the more you angle your lens away, the smaller and less noticeable they become.
So what causes the classic lens flare look? When direct light hits the optical elements in the lens, it creates internal reflections. The small circles you see in your frame are, in fact, from all the glass inside the lens barrel.
If you look closely, you’ll also notice that the flares often look like tiny polygons instead of circles. What causes this is the aperture inside the lens.
The aperture is composed of small blades that get wider or narrower depending on the aperture size you choose. Most lenses have 5 to 7 blades, while others have 9 to 14.
An aperture mechanism with lesser blades often has a more polygonal shape. Meanwhile, a lens with a 9 or 14 blade aperture looks more round. Now, why is this information relevant? Because those shapes show up in your lens flares.
So do you want to see what the mechanism looks like? Take the barrel off from your camera and look inside it. There, you’ll see where the shape of the flare orbs come from!
But what about the flares in Star Trek? They don’t look round at all! Filmmakers often use anamorphic lenses to create the lens flare look you see in movies. This type of special camera hardware creates streaks of light instead of round orbs. This is because they feature optics that are drastically different from regular lenses.

Are Lens Flares Bad?
Back in the early days of Hollywood, lens flare was considered ugly. Filmmakers and lens makers even went to great lengths to prevent lens flare from happening.
One of the reasons why people didn’t like flares is because of ghosting.
So what is ghosting in a photo? It can manifest in many ways, but it typically shows up as halo as light hits the lens elements. It’s generally wider than the distinct orbs you see in a classic lens flare and casts a haze on your image.
Apart from treating the lens with special anti-glare coating, filmmakers also positioned all their lighting carefully to avoid flare. Most cinema cameras even had a large lens hood or barn doors to prevent beams from accidentally hitting the glass.
As more experimental filmmaking began to take over in the 60s, views on lens flare began to change. First prominently used in the movie Cool Hand Luke, other directors soon got rid of their lens hood and shot into the light for creative purposes. These days, almost every Hollywood movie has flare effects in it because of its edgy look.
When it comes to aesthetics, cinema often heavily influences photography and vice versa. So it only makes sense that the flare look would eventually be embraced by photographers as well.
The use of flares is all a matter of preference. Some people love it. Others think it’s distracting. But in proper situations, using them adds character and spice to photos that would otherwise look bland.

How Do You Get Rid of Lens Flare?
As we mentioned before, you don’t need to add lens flare in every shot. Now, what if you find yourself in a situation where you don’t want lens flares but can’t avoid them in your shot?
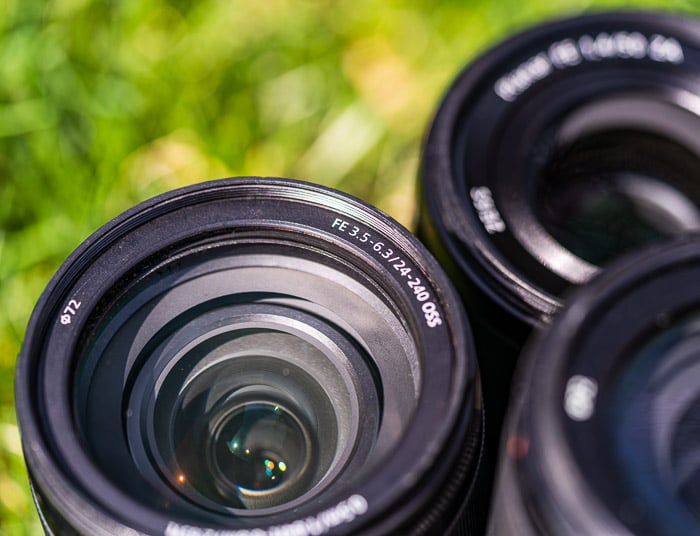
One area that can help to cut down your lens flares is by using camera lenses with an anti-reflective coating. Thankfully, most lenses now have this feature. But it’s only useful in eliminating or reducing minor flares.
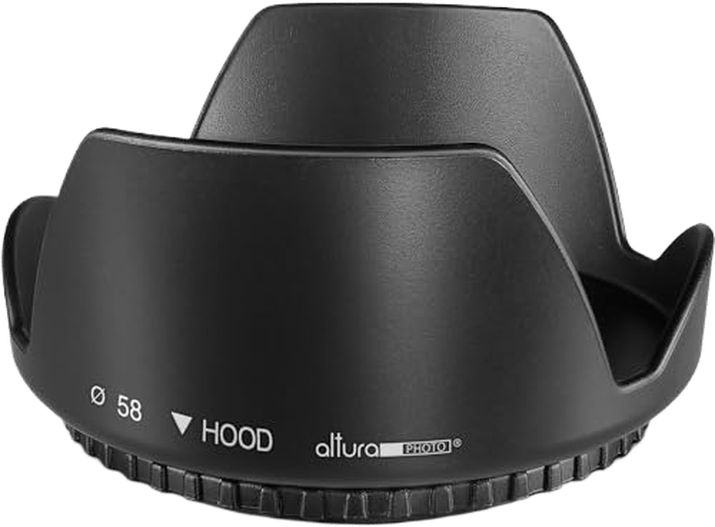
When it comes to bright, indirect flares, using a lens hood is the best option. Since it covers the sides of the camera lens, it eliminates the chance for extra bright light sources from hitting the glass.
However, even a lens hood is only useful in preventing flare at certain angles. So, if you find yourself in a situation where you can’t get rid of it at all, editing programs can help to reduce or remove it. Just beware that you should only use the software as a last resort. Especially since it may not bring back some of the image details if the light source is too bright.
The best way to get rid of the flare is to avoid it. Simply shoot away from the sun and you will eliminate any chances of catching glare in your camera lens. And if you want that extra security, feel free to keep your lens hood in place as well.

How Do You Create Lens Flare?
Understanding how different types of lens flare happen is key for replicating it for creative uses.
Below is a list of a few methods where you can use lens flare in photography for artistic purposes.
Shoot Into the Sun
This is one of the most straightforward ways to achieve lens flare. All you have to do is shoot directly into the sun, and the light will produce lovely orbs as it passes through your lens.
However, you need to note that this technique is not as easy as it seems. Sometimes, the sun would end up being too bright that you won’t see your subject at all. So it would be best if you shoot during sunrise or sunset when the light is not as harsh.
Since you’re backlighting your model, there’s also a good chance you’ll end up with a silhouette if you’re not careful. It’s best to set your camera to manual mode and adjust the exposure yourself. It would also help to use a reflector or a flash to fill in some light on your model.
Furthermore, you should use spot metering mode so you can meter for the light on your subject, not the sun.

Angle the Light
If you want the light to produce beautiful flares, it needs to be coming across your photo.
Good lens flare depends on the angle of the light, which correlates with the time of day.
Shoot during sunrise or sunset with your lens flare coming from the side of your frame. Don’t forget to use the rule of thirds to make sure your composition looks good.
To see flare at the edge of your frame, angle your lens so that the sun is between 35 to 75 degrees behind your subject.
You’ll need to move around a lot to achieve get the flare you want. You’ll know you’re in the right spot if you start seeing glare in your viewfinder or on your screen.
Feel free to take some test shots to determine if you have the amount of flare you desire.
If there’s too much flare on your lens, then consider using a lens hood. But if you want the effect to dominate your image, you are better off not using it at all.

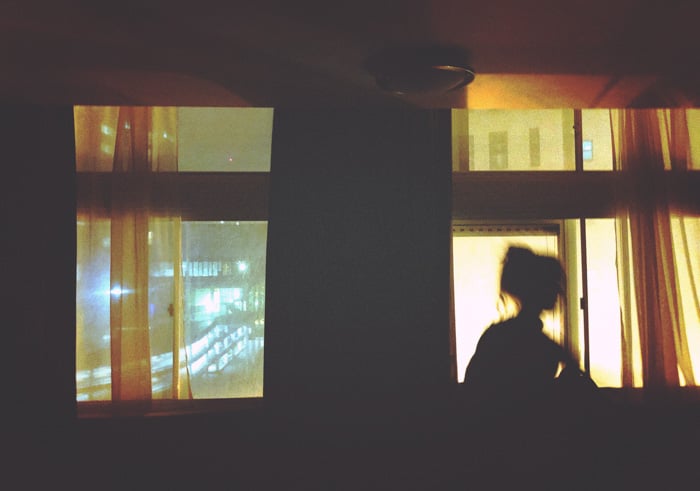
Shoot with Artificial Lighting
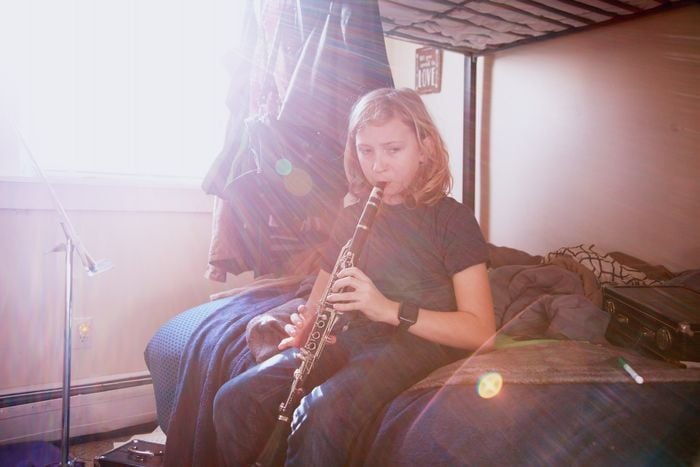
The photo below actually uses a flash as the light source.
The image below shows that you can create flare with any light source available. If the beams shine through the lens elements, then you’re bound to see a similar result as the outdoors.
But as opposed to shooting outdoors, taking pictures indoors involves dealing with several light sources. So make sure you put on a lens hood to avoid flare coming from all directions.
Vary Your Aperture Settings
As we mentioned before, the lens flare takes the shape of your aperture blades.
But apart from the number of aperture blades, the size of the aperture also affects the flare.
If you open your aperture up, then the flare is going to be smooth and circular because the aperture blades aren’t blocking the light as much. If you close it down, the orbs will typically be smaller and have more pronounced edges.

Apply Different Modes of Focus
When you shoot directly into the light source, your camera will have a tough time trying to find the right point of focus. To avoid this, there are three things you can do:
- Switch your focal lock so you can lock on your subject with the sun blocked. Then recompose slightly and take the photo with the focus in the right place.
- Use a narrow aperture. When you have lots of light at your disposal, you can stop down to a small f-stop to give you a deeper depth of field.
- Turn on manual focus so you can adjust the focus yourself if all the auto functions fail to lock on to your subject.
Keep these tips in mind, especially since different situations demand a specific technique. You can use the focal lock or narrow aperture when the light entering your lens is manageable. But it would be best to use manual focus if the glare is too much.
If you’re still having trouble focusing, snap on a lens hood to reduce the glare coming through the lens.

Conclusion
Don’t be surprised if you end up with bad results at first. Shooting with flares can be tricky sometimes, so feel free to experiment.
And don’t forget to always bring that lens hood with you. It will help you a lot in controlling the flare going through your lens.
Looking to take your photography to the next level? Check out our course Wow Factor Photography next!