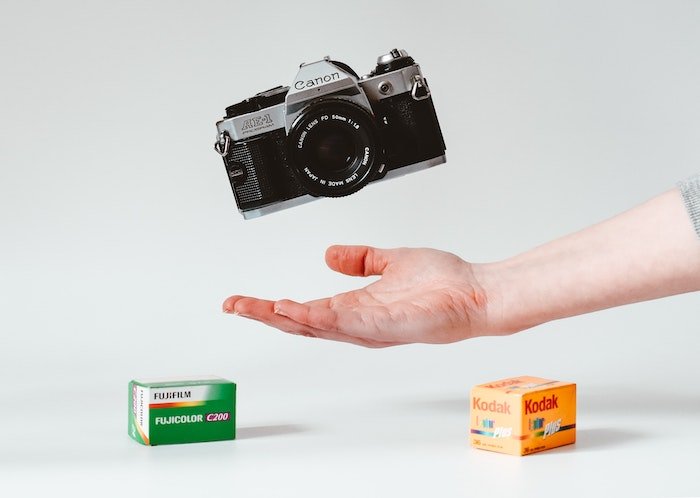
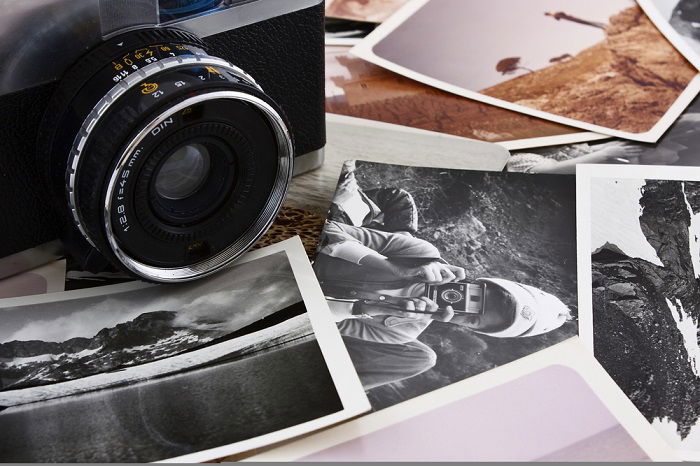
With film photography back in fashion and new film stocks hitting the market, there’s never been a better time to get started with analog photography. Digital camera technology is incredible and improving all the time. But film photography has a quality that digital can’t replace, which is why more and more photographers are going back to film and analog photography.
Whether it’s your first time using film or you’re dusting off your old 35mm cameras, you might need to brush up on your skills and knowledge. This article has everything you need to get started with film photography. Continue reading for tips and techniques, as well as info on the best analog gear.


What Is Film Photography?
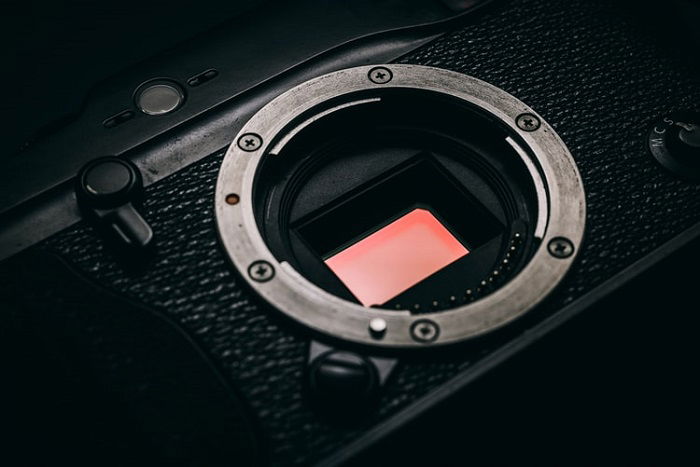
Film photography is an analog form of image creation. Modern cameras create images digitally, using an electronic sensor to produce lifelike photographs. But analog cameras don’t have an image sensor. They use negative film to create images.
The film acetate is coated with a light-sensitive emulsion. When light hits the emulsion, it reacts to give you a photograph. But before you can see the image, you have to develop the film with special chemicals and then print it in a darkroom.
The basic mechanics of analog and digital cameras are very similar. Of course, modern mirrorless cameras have advanced features that film cameras don’t. But the basic principles of exposure, aperture, shutter speed, and ISO remain the same.
Each roll of film also has a fixed ISO, which means you can’t adjust this setting once a roll is loaded into your camera. You need to choose your films carefully, selecting ones with ISO levels that suit your style or situation.
The most common film size is 35mm, as it’s compatible with SLRs and compact cameras. But film is also available in 120mm medium-format or larger-format sizes.
Film photography looked dead and buried only a few years ago. But we’re now living through a true film photography renaissance, with thousands of photographers buying analog cameras again. Some photographers prefer digital, and many like to use both. But there’s no denying film photography is back in a big way.
Film vs Digital
Film and digital photography both have their strengths. Digital cameras offer convenience, with the ability to take unlimited shots and share them online quickly. They also tend to have better low-light performance and a wider dynamic range than film.
However, film photography has a unique charm that keeps it popular today. The process of needing to shoot and develop before seeing the results can be a rewarding creative experience. Film cameras often have distinct characteristics that give photos a special look.
In the end, neither film nor digital is inherently better. It comes down to the photographer’s needs and preferences. Digital is great for those who need to work quickly and share online, while film offers a more hands-on, artistic approach. To learn more about the differences between film vs digital, check out our in-depth article.
How to Shoot Film Photography
The basic principles of photography are no different whether you’re shooting analog or digital. You need to balance the aperture, shutter speed, and ISO to perfectly exposure your image. But using film cameras has some unique quirks photographers should be aware of.
Basic things like winding on the film roll after every shot might surprise photographers more accustomed to digital cameras. You also have to change the aperture using a control ring on the lens. And most analog cameras don’t have autofocus, so all focusing is done manually with the focus ring on the lens.
You also need to remember every roll of film has a fixed ISO level. For example, Ilford HP4 Plus has an ISO of 400, while Ilford FP4 has a 125 ISO. You can’t adjust a roll’s ISO, so once it’s in your camera, you can’t change it until you load a new roll. You have to use the other settings to work around the ISO.
Specific film rolls are also either color or black and white. When you load a roll of black-and-white film into your camera, you’re shooting black and white until the roll is done. You can only switch from black and white to color and vice versa by changing the roll of film.
Film cameras also lack many of the more advanced features of modern cameras. You can’t shoot 4K video or time-lapse photography. And there’s no face-recognition autofocus or image stabilization. But you can create double-exposure or long-exposure images manually with SLR cameras.
We’ll now dive into more specifics about film photography. Remember to follow the links if you want to see the full articles on each topic.
Black & White
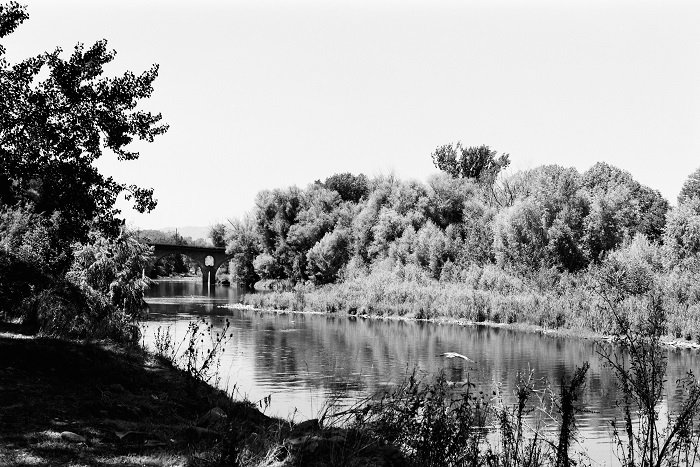
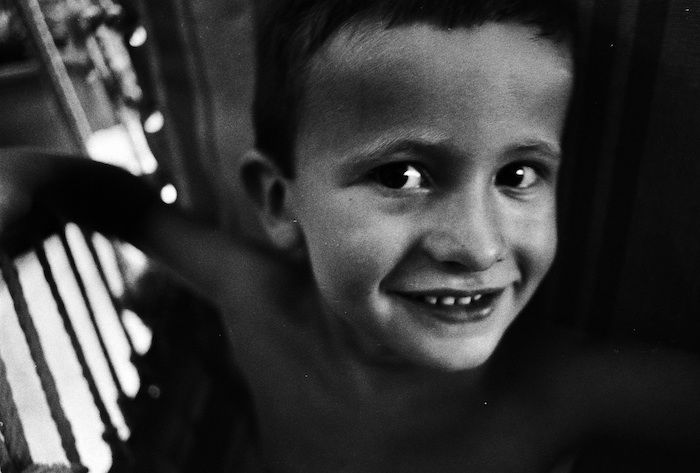
Shooting black-and-white film photography requires a different approach than digital or color film. The dynamic range is more limited, so you need to carefully consider the lighting and composition before taking the shot. This can be used to your advantage, as the high contrast can create dramatic results when exposed correctly.
Black-and-white film also enhances skin tones, with the natural grain adding texture and detail while the lack of color emphasizes the skin’s tone. However, finding places to develop black-and-white film is becoming increasingly difficult and expensive.
If you want to experience the unique challenges and rewards of black-and-white film photography, it’s best to start soon before it becomes even harder to find the necessary materials and services.
Expired Film
Expired film can yield creative and unique results in your photos. As film ages, the chemicals break down and colors shift, resulting in interesting effects. To get the most out of expired film, shoot in bright light to compensate for the film’s reduced sensitivity.
Bracketing your exposures can help you find the best settings for a particular roll of expired film. Take one photo at the normal exposure, one a stop under, and one a stop over. In general, it’s better to overexpose than underexpose when working with expired film.
Experiment with different expired films to discover the unique look each one produces. The results can be quite unpredictable, so embrace the surprises! If you’d like to dive deeper into expired film, there’s plenty more to learn in our in-depth guide.
Pushing and Pulling Film
Pushing and pulling film is a technique that gives you more control over your analog photos. Pushing film means treating it like it has a higher ISO than what’s on the box. You set your camera to a higher ISO, then develop the film for longer to compensate for the underexposure.
Pulling film is the opposite—you treat the film like it has a lower ISO. Set your camera’s ISO lower than the box speed, overexpose the shot, and then reduce the development time. Pushing film increases contrast and grain, while pulling film decreases contrast and can bring out shadow details.
To push or pull film, note how many stops you adjusted the ISO on the film canister. Tell your lab or adjust the development time if you develop your own film. Pushing film is a great way to get creative with your analog photography.
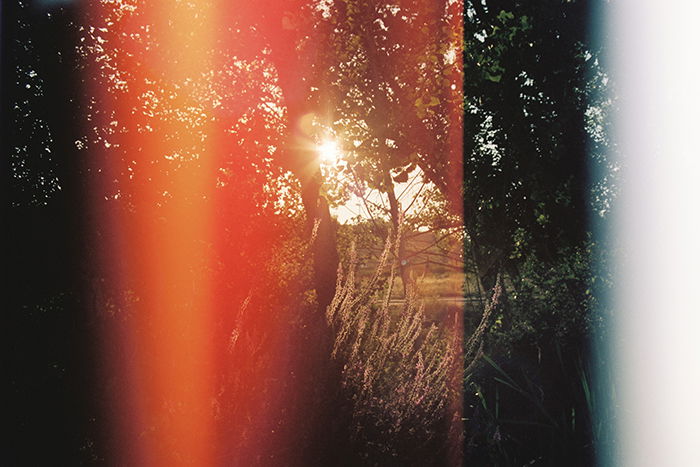
Light Leak
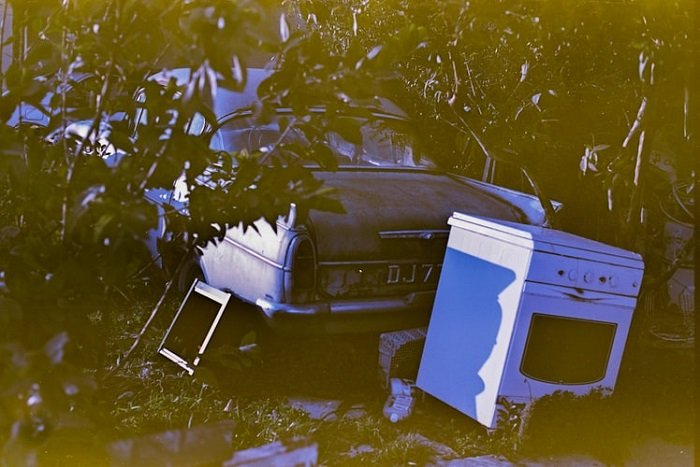
Light leaks can add a nostalgic, old-school look to your film photos. They occur when light unexpectedly hits the film, creating unique and unpredictable effects. Older cameras are more prone to light leaks, but you can also create them intentionally.
One way to achieve light leaks is by quickly rewinding and opening the back of your camera after taking photos. This brief exposure to light will create interesting effects, though you may lose a few frames in the process. Experimenting with different cameras, lenses, and techniques will help you find the perfect light leak style for your photography.
If you want to learn more about creating beautiful film light leaks, check out our in-depth guide on how to add a unique touch to your analog images.
Lomography
Lomography is a unique form of analog photography that celebrates creativity and spontaneity. It’s known for its vibrant colors, high contrast, and soft focus. Lomography cameras often have large apertures, resulting in blurry backgrounds.
The Lomography community has 10 golden rules, like taking your camera everywhere, shooting from unique angles, and not overthinking your shots. Lomography sells a variety of affordable cameras, lenses, and accessories to help you achieve a distinct Lomo look.
You can also recreate the Lomography effect in Photoshop by adding a vignette, adjusting color curves for a cross-processed look, and blurring the edges. Check out our in-depth guide to learn more about the art of Lomography.

Polaroid Ideas
Polaroid cameras are a fun way to get creative with your photography. One easy idea is to use a blunt tool to draw on your Polaroid as it develops. This adds texture and uniqueness to your images.
You can also place your Polaroid on a rough surface like sandpaper and then draw on it to transfer the texture. Warping subjects in your Polaroid is another option—simply push an area to the side before it fully develops.
Cutting your Polaroid can create a transparent effect that’s great for photo displays and scrapbooks. The emulsion-lift technique, where you soak the Polaroid in water and transfer it to watercolor paper, gives a vintage look. For an overexposed effect, let your Polaroid develop in sunlight. If you want to experiment, try soaking Polaroids in safe liquids like colored water or ink for abstract results.
You can use Polaroid ideas like these to take your instant photos to the next level.
Developing Film
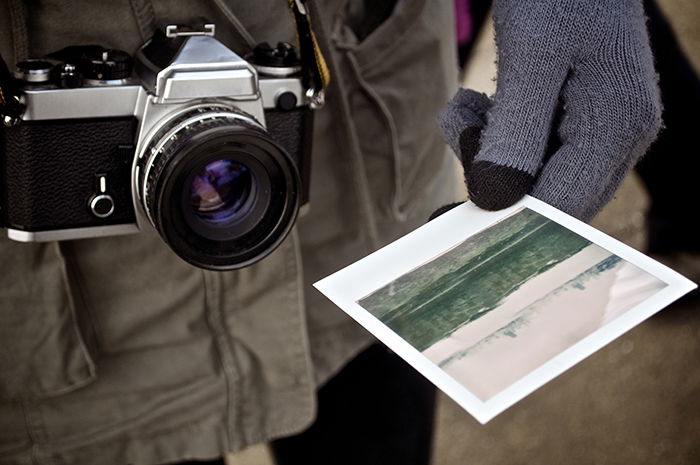
One of the unique features of film photography is needing to develop the film. Unlike digital photography, where you can immediately see the photo you’ve just taken, you have to develop film before you can see your work.
Usually, photographers take their films to processing labs to have the photos developed, scanned, and printed. This is by far the most convenient option and trusted labs can produce the best results.
One problem with developing film is the time it takes. Some labs can take several days or even a week to get your final photos back to you. The waiting can be excruciating, but it also adds to the excitement of the film photography process.
Another problem is the price. In addition to paying for the film when you buy it, you also have to pay when you get it developed. Good labs don’t charge too much, but the costs add up.
Thankfully, there are a few solutions like developing and printing film at home. Of course, there are initial cost for this too, but it might work out cheaper in the long run.
Develop at Home
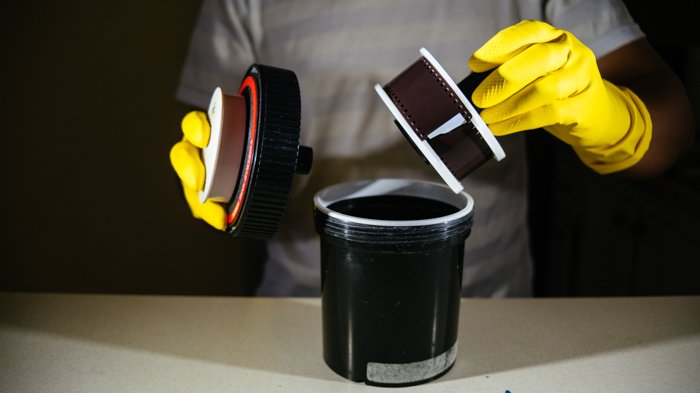
Developing film at home is a fun and rewarding process. To get started, you’ll need a few key items like a developing tank, chemicals, and a dark room or changing bag. The most challenging part is loading the film onto the reel in complete darkness.
Mix the chemicals according to the instructions and maintain the proper temperature. Then, follow the developing times for each step: pre-soak, developer, blix, wash, and stabilizer. Agitate the tank as directed and pour the chemicals back into their bottles when finished.
Finally, hang the film to dry and scan the negatives to digitize your photos. You can use a dedicated film scanner or even a smartphone app. Either way, developing film at home is a great way to experience the magic of analog photography.
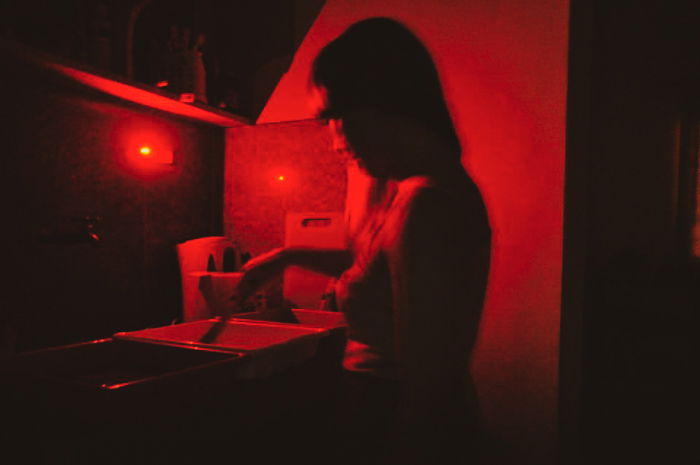
DIY Darkroom
Building your own DIY darkroom for film photography is easier than you might think. The most important part is finding the right equipment, such as a developing tank, film-changing bag, chemicals, trays, safelight, enlarger, and timer. You can find these items online or at photography stores.
Next, choose a location for your darkroom that has running water and can be made completely dark. A bathroom often works well. Use black duct tape or thick towels to seal any gaps where light could enter.
Organize your darkroom by creating separate dry and wet areas. Set up your enlarger and timer in the dry area away from the sink. Then, place your developing trays near the sink for convenience.
Install a safelight so you can see without exposing your photo paper. When loading film, use a film-changing bag to prevent accidental exposure. With some patience and practice, you’ll have your own functional darkroom. We have a step-by-step guide to learn how to make your own DIY darkroom.
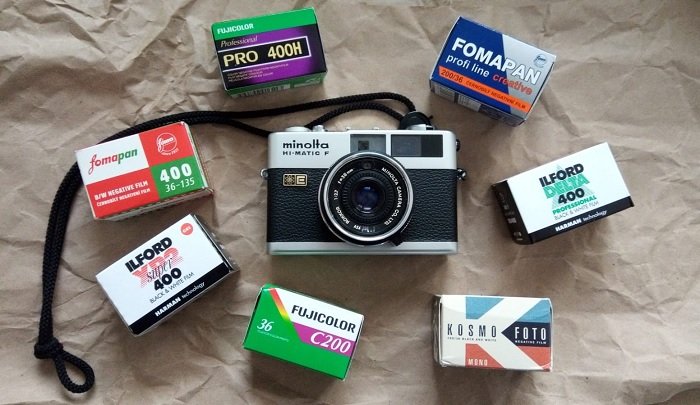
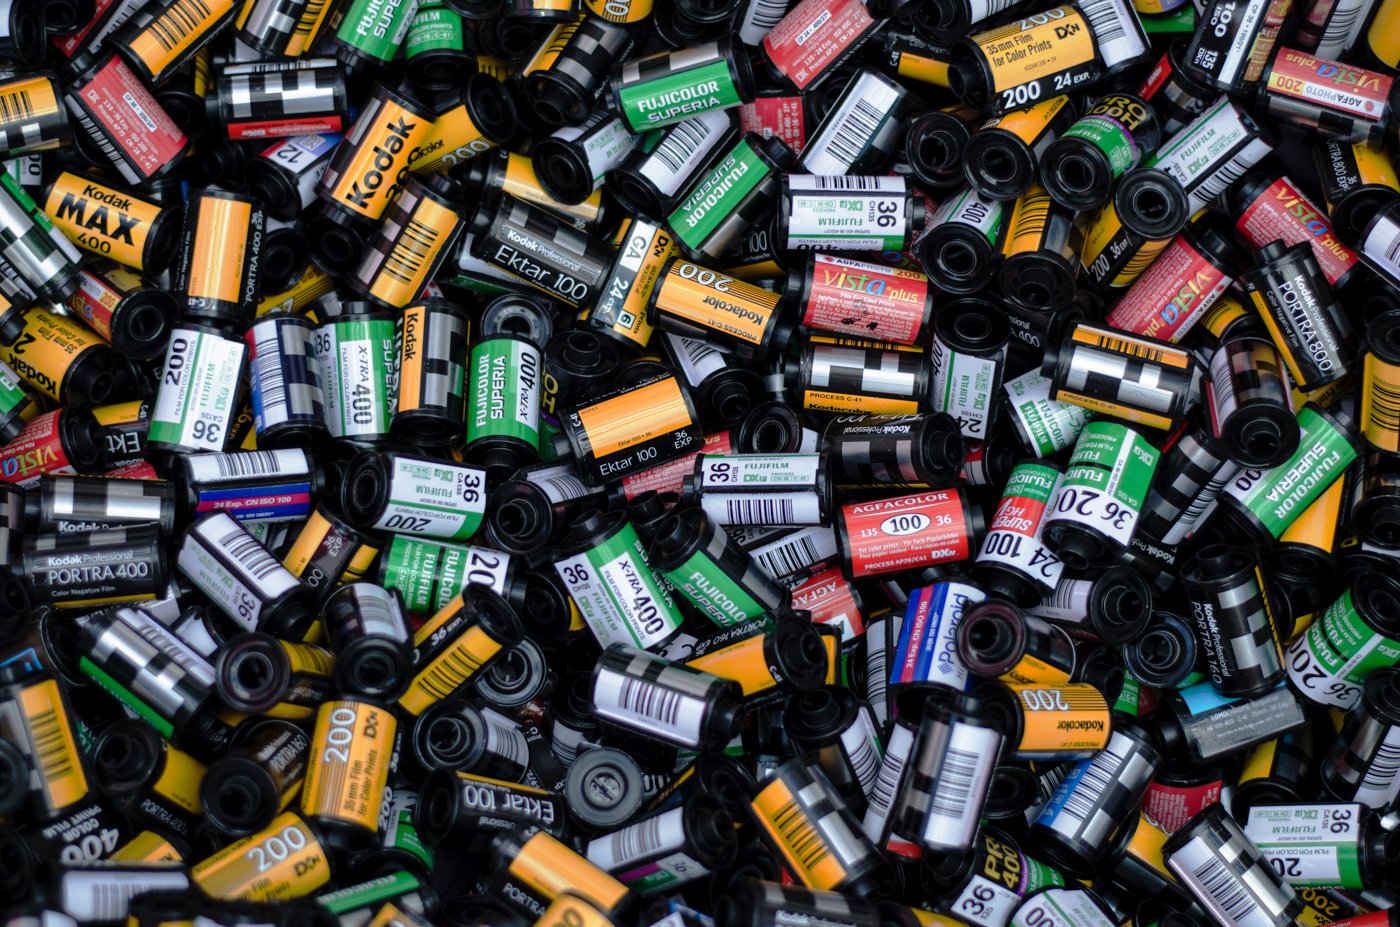
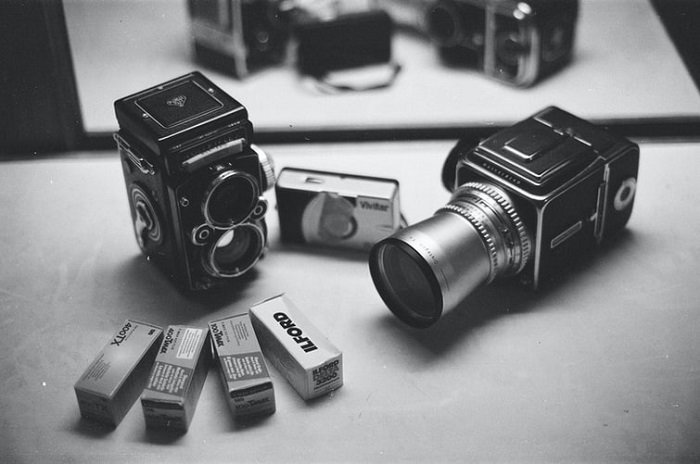
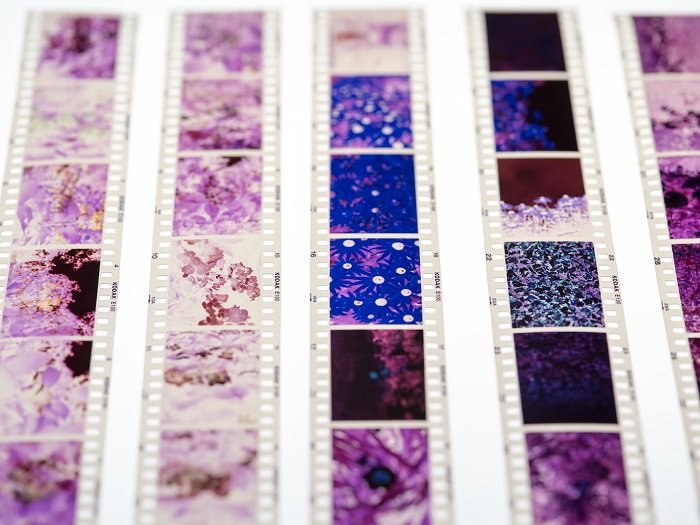
Film Stocks
Experimenting with different film stocks is one of the joys of film photography. You can work with color or black-and-white film. And you can experiment with different ISO films.
There are also different film manufacturers, and their respective films have unique tones and textures. A color 400 ISO film from Kodak will have a different finish compared to a color 400 ISO film from Lomography.
We recommend you try as many rolls as possible and experiment with different stocks to find what works best for you. With film producers constantly introducing new stocks, you have plenty to choose from.
Best Place to Buy
Film photography is alive and well. If you want to buy a roll of film, there are many places to do so. B&H Photo, KEH Camera, Film Photography Store, Adorama, and others have a wide selection of 35mm, medium-format, large-format, and instant films.
You can also find film on eBay and Amazon, but be careful when ordering from individual sellers. You may receive expired film without knowing it. Stick to professional stores for the best results.
Most of these stores ship worldwide, so you can easily get the film you need no matter where you live. Check out our in-depth article if you want to learn more about where to buy film.
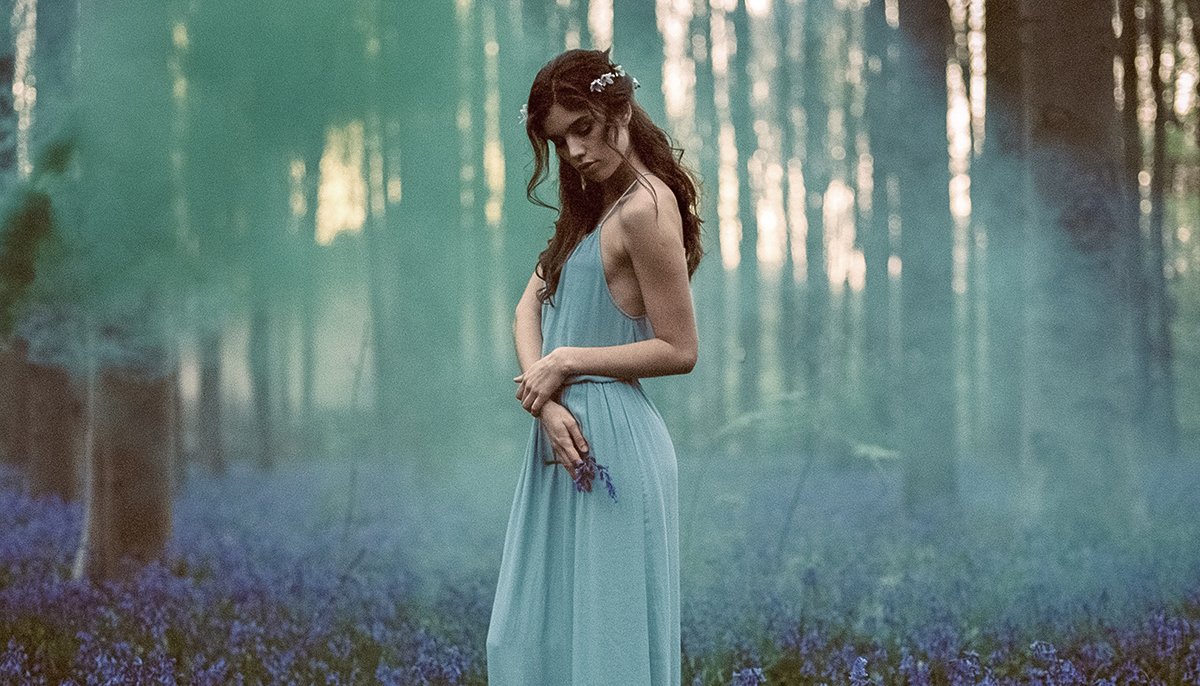
Color Film
Kodak Gold is a fantastic color film for 35mm cameras. It produces bright and vibrant colors with a glossy finish. The 200 ISO gives you excellent image quality with no visible grain.
Kodak Gold works well in most shooting situations. The colors, especially the yellows and golds, are rich and saturated. It makes portraits look lively and gives landscapes a warm glow.
This film is a great choice for beginners and experienced photographers. It’s readily available and won’t break the bank. If you want to learn more about camera film, we have a detailed guide to help you find the best option for you.
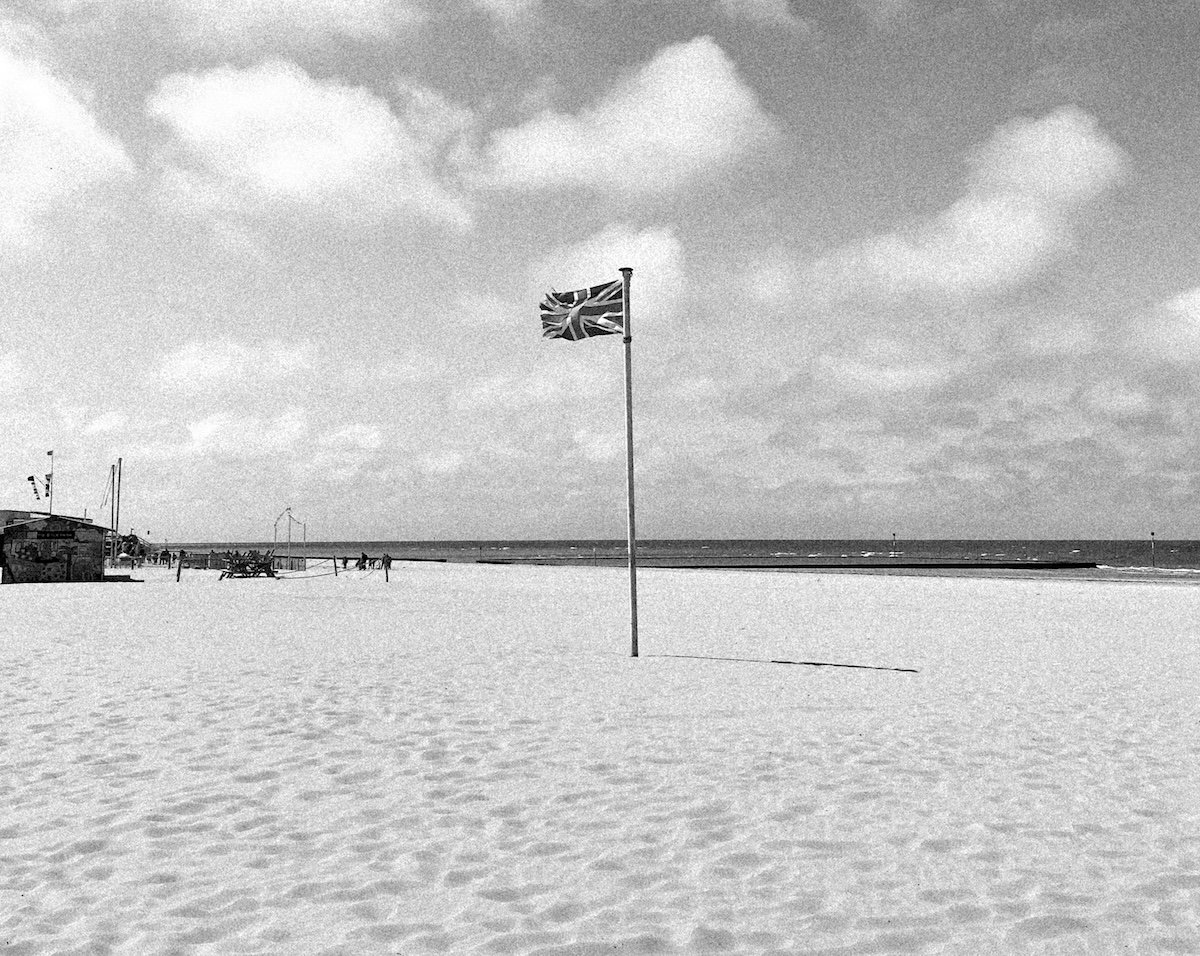
Black & White Film
Black-and-white film photography is alive and well. Ilford, Foma, and Rollei all produce a variety of excellent film stocks. The best option is Ilford HP5 Plus, a versatile 400 ISO film that delivers deep tones and sharp contrasts.
Fomapan 100 is another standout choice, especially for those on a budget. This low-ISO film offers stunning image quality with smooth finishes and dramatic contrasts. Ilford FP4 Plus is a top pick for professional results thanks to its ability to capture beautiful portraits, fine art, and landscapes.
Choosing the right black-and-white film depends on your specific needs as a photographer. If you want to learn more about black-and-white film, we have an in-depth guide that covers everything from ISO to popular brands.
Film Cameras
The Kodak EKTAR H35 is a new 35mm film camera that’s perfect for anyone who enjoys analog photography. It’s compact, lightweight, and super easy to use. The camera produces 72 images from a 36-shot roll of film, so you get twice as many photos.
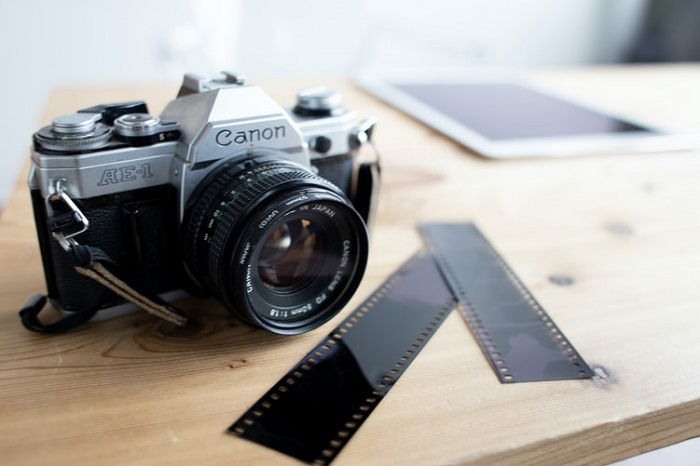
Classic SLRs like the Canon AE-1 are also growing in popularity. They are robust and reliable, and they take incredible pictures. They are classics for a reason.
Film photography is becoming popular again, and the Kodak EKTAR H35 is an affordable way to join in on the fun. Check out our detailed guide if you’d like to learn more about 35mm film cameras.
Canon AE-1
The Canon AE-1 is a classic 35mm film camera that was hugely popular in its day. Its timeless, mechanical design still appeals to photographers today. The AE-1 was Canon’s most successful attempt at a mass-market SLR camera, competing against Nikon and Olympus in the 70s.
The AE-1 produces crisp, clear, and vibrant photos when used correctly. It has a semi-automatic mode that selects the correct aperture based on available light, but the user must choose the right shutter speed. The viewfinder is basic, and focusing can be slow, but the smooth action of the Canon lens is a delight.
While not ideal for beginners or fast-paced shooting, the AE-1 is a great choice for those who enjoy the hands-on approach to film photography. If you want to explore the world of 35mm cameras, the Canon AE-1 is a fantastic option. Check out our in-depth review to learn more about the Canon AE-1.
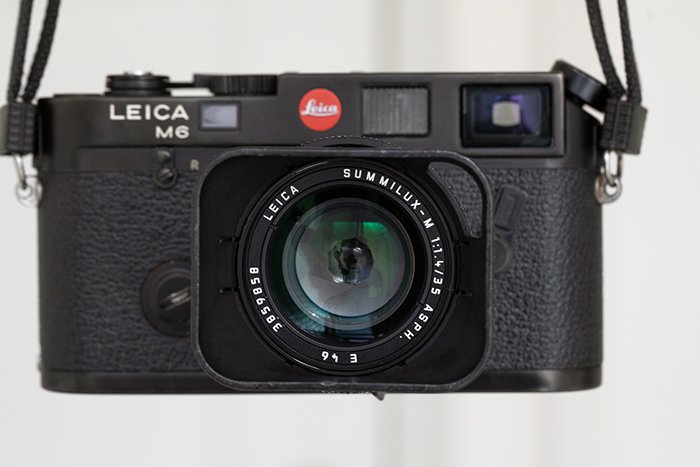
Leica M6
The Leica M6 is a classic 35mm film camera known for its excellent build quality and compatibility with Leica’s outstanding M lenses. It’s a favorite among street photographers, photojournalists, and film enthusiasts who appreciate its compact size and discreet operation.
The M6 features a bright, clear viewfinder with a rangefinder focusing system that allows for precise manual focusing. The camera’s light meter is intuitive and easy to use, ensuring properly exposed shots on film.
While the Leica M6 is one of the most expensive 35mm film cameras, its durability and timeless design make it a worthwhile investment for serious photographers. With proper maintenance, an M6 can easily last a lifetime. To learn more about this iconic camera, read our Leica M6 review.
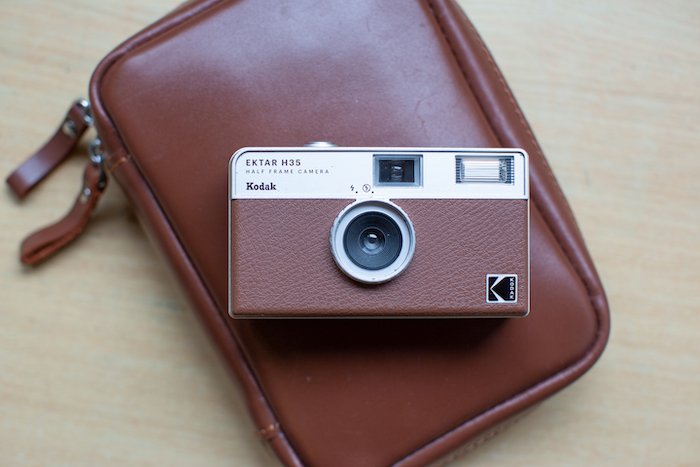
Kodak Ektar H35
The Kodak Ektar H35 is a fun and portable half-frame film camera. It has a low-fi aesthetic and produces images reminiscent of disposable cameras. The camera is extremely light and compact, making it perfect for everyday use.
The Ektar H35 has a fixed shutter speed of 1/100 s, which can be unreliable when shooting moving objects. You’ll also find that you need the flash in more situations than you normally would. But despite these limitations, this camera is a joy to use.
If you want to have fun with photography again, the Kodak Ektar H35 is a great choice. It’s simple to operate and produces unique results that will make you fall in love with film photography all over again.
Disposable Cameras
Disposable cameras are perfect for capturing special moments at parties, weddings, and vacations. They’re simple and easy to use. The best disposable cameras produce fantastic photos with minimal effort.
The Ilford Ilfocolor Rapid Retro is our top pick. It uses versatile 400 ISO color film and has a built-in flash for night photography. The Fujifilm QuickSnap Flash 400 is another great option, delivering vibrant colors and fine details. The Kodak FunSaver can’t be beaten with its high-quality 800 ISO film for all-around use.
Disposable cameras are all about having fun and preserving memories. They are affordable, durable, and give you photos you’ll treasure forever.
Instant Cameras
The Fujifilm Instax Mini 12 is our top pick for the best instant camera. It’s easy to use with auto exposure and flash, a selfie mode, and parallax correction. This camera is compact, lightweight, and comes in fun colors.
For those who want the most portable option, the Polaroid Go is a great choice. It’s simple to operate and has a selfie mirror, self-timer, and double exposure feature. The Polaroid Go uses classic Polaroid film for that distinct retro look.
If you prefer square prints, the Fujifilm Instax Square SQ1 is the best option. It has a simple design with just two buttons and automatically adjusts brightness and shutter speed. The SQ1 also has a built-in selfie mirror and prints photos in just 1.5 seconds.
To learn more about instant cameras, check out our in-depth guide.
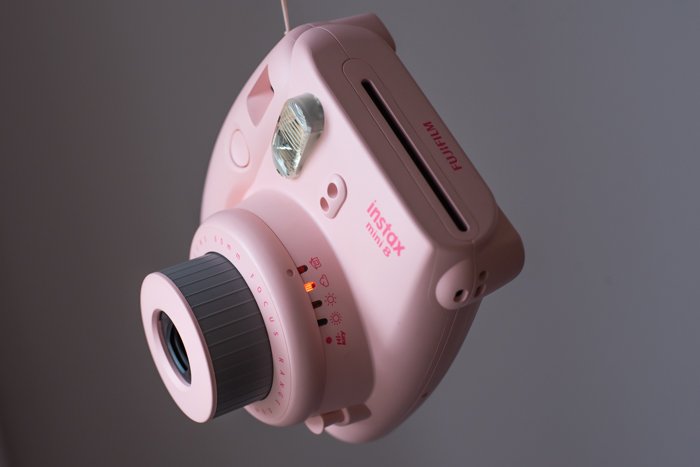
Fujifilm Instax Mini 8
The Fujifilm Instax Mini 8 is a fun and easy-to-use instant camera. It has a 60mm prime lens and uses special Instax Mini instant film. The camera automatically measures light and suggests settings, making it simple enough for anyone to capture great photos.
The Instax Mini 8 has a minimum focusing distance of 2 ft (60 cm) and uses zone focusing. It also features a built-in flash that fires with every shot. The camera body is compact, durable, and available in seven colors.
While the Instax Mini 8 is affordable, the instant film can be expensive. Image quality may also vary depending on lighting conditions. Despite these drawbacks, the Instax Mini 8 remains popular with those seeking a fun and instant photography experience.
Digitizing Photos
Digitizing your photos is a great way to preserve and share old memories. You can use a flatbed scanner to scan prints or a negative scanner for film. Flatbed scanners are simple to use—just place your photo on the glass, close the lid, and scan.
If you don’t have a scanner, you can use your smartphone or digital camera. The Google Photoscan app is a quick way to digitize prints using your phone. For the best quality, use a digital camera with a macro lens and a tripod.
You can also use local or online photo scanning services. They’ll scan your prints and return digital files along with the originals. This is a good option if you don’t have the equipment or aren’t very tech-savvy. To learn more about how to digitize photos, check out our in-depth guide.
Photo Scanners
Using a photo scanner is the best way to digitize your photos. Whether you’re getting new photos printed or you have a closet full of old pictures, a flatbed photo scanner is the best tool for the job.
The Epson FastFoto FF-680W is our top recommendation. You can bulk scan groups of up to 36 photos, allowing you to get on with other things while it scans. And it can scan photos of various sizes, including larger-format images. The software also enhances old photos, and it has built-in wireless connectivity.
Photographers looking for professional quality might opt for the Epson Perfection V600 scanner, which can also scan 35mm and medium-format negatives.
There are plenty of other options for photographers and archivists, so check out our article on the best photo scanners now.
Film Scanners
Using a film scanner is the quickest way to digitize your old negatives. It saves you money on printing costs and gives you more control over the final image.
The best film scanners produce high-resolution digital images with sharp details and vibrant colors. They can also remove dust spots and scratches from old negatives, bringing new life to your old photos.
Some film scanners connect directly to your computer, while others have built-in LCD screens and SD card slots for standalone use. The included software often provides basic editing tools to adjust exposure, color, and dynamic range.
If you want to learn more about choosing the best film scanner, our detailed guide covers the top options for every budget and skill level.
Film Photography Editing
Many analog photographers have a strict no-editing policy. But more and more film shooters are starting to use photo editing software to enhance their 35mm or medium-format images.
You can also use software to give digital images a film photo look. By adding grain, saturating colors, and enhancing textures, you can make a brand-new digital image look like a film photo from the 90s.
Adobe Lightroom and Photoshop are the two most popular programs, but you can also use Luminar Neo and ON1 Photo RAW to get that film aesthetic.
Here are some specific tips on how to bring the film look into your digital photography.
Film Look in Lightroom
Lightroom is a powerful tool for creating a film look in your digital photos. To get started, create an inspiration board of your favorite film photos and analyze their colors, shadows, and highlights. This will help you pinpoint the specific film look you want to achieve.
In Lightroom, use the Basic panel to adjust the overall brightness, contrast, and clarity of your image. The Tone Curve panel gives you even more control over the colors in your photo, allowing you to create a specific film look by gently adjusting the curve. The Color Mixer panel lets you fine-tune the hue, saturation, and luminance of individual colors to achieve a nostalgic or vintage atmosphere.
Adding grain and light leaks can further enhance the film look. Use the Grain slider in the Effects panel to control the size, amount, and roughness of the grain. Create realistic light leaks with the Graduated Filter tool by adjusting the Exposure, Dehaze, and Color sliders.
Once you’ve achieved the desired film look, save your settings as a preset for quick application to other photos.
If you’d like to learn about creating a film look in Lightroom, click on the link to see our full tutorial.
Add Grain in Lightroom
Adding grain in Lightroom is a quick way to give your photos a film look. The Grain tool is in the Effects panel of the Develop module in Lightroom Classic or the Edit panel in Lightroom CC.
Use the Amount slider to control how much grain is added. The Size slider adjusts the grain size, with larger grain being less sharp but more noticeable. Roughness is like contrast for the grain, making it more or less obvious.
Film grain can work well for many types of photos, from fashion to street photography. Experiment with the settings to get the look you want. To learn more about adding grain in Lightroom, check out our in-depth guide.
Add Grain in Photoshop
Adding film grain in Photoshop is a great way to give your digital photos a vintage look. The process is simple and quick. First, create a new layer and set the blending mode to Overlay. Then go to Filter > Noise > Add Noise and adjust the amount of grain you want. Finally, apply a slight Gaussian Blur to soften the grain effect.
With the grain layer as a smart object, you can easily add grain in Photoshop by double-clicking the filter and adjusting the settings. This allows you to fine-tune the grain effect until you achieve the desired look.
Inspirational Film Photographers
Film photography is alive and thriving in 2024. The most influential film photographers today prove that analog image-making is still full of beauty, passion, and energy.
From landscapes to portraits and abstract to documentary, these photographers have mastered their craft. Their work demonstrates the unique qualities of film that digital can’t replicate.
Film photography is an art form all its own. If you pick up a film camera, there is no end to the creative possibilities. To learn more about the film photographers shaping the medium today, check out the full article.