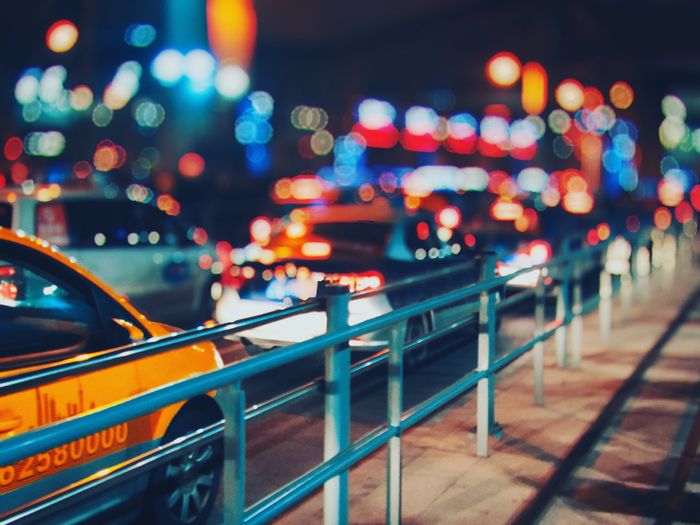
Bokeh refers to a soft, out-of-focus background that you get when shooting a subject. It comes from the Japanese word “boke,” which means “blur.”
But how do you achieve that creamy background with your kit? Read on to learn how to use your camera to create a beautiful bokeh effect.
What Is the Bokeh Effect?
Bokeh is a term used to describe the out-of-focus portions of a photograph. It usually refers to an out-of-focus background. Bokeh relates to the quality of the lack of focus. The best lenses produce smooth bokeh. It doesn't distract from the in-focus subject.
To understand bokeh photography, you need to understand depth of field. And how photography converts three-dimensional space into a two-dimensional mold.
To control and shape bokeh to your needs, you first need to understand how it works and what affects it.
By JJ Ying on Unsplash
Bokeh and Focus
We know well that you can’t have everything in focus at the same time. Your lens is not capable of that in practical circumstances. You have to prioritize a plane as your area of focus.
Let’s take a look at this graphic to see how that works. In the first figure, the rays coming from the subject converge on the sensor, projecting a sharp image of the subject’s plane.
On the latter two figures, the plane of focus for our subject is before or behind the sensor. This means that in the sensor’s plane, the projected image is not sharp, but out of focus.
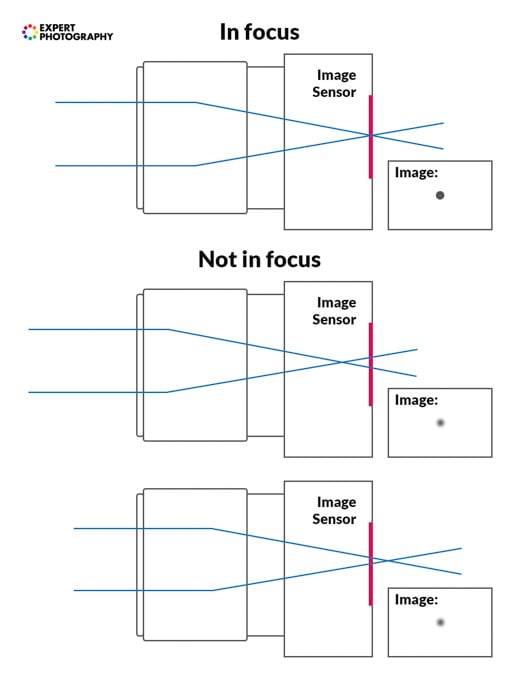
As all the individual out-of-focus points add up and blend together, you get bokeh.
Bokeh and Depth of Field
You may be asking, “What’s the difference between bokeh and depth of field?”
Well, the two are closely related to each other, but they’re not the same. Depth of field refers to the range in space that’s in acceptable focus. It’s a number, a measurement.
Bokeh, in turn, is the result of a shallow depth of field. It’s a visual element and aesthetic factor. You can’t really measure or calculate its qualities.
The size of bokeh balls is actually possible to precisely calculate. But not many people actually do that. Bokeh is more than that. It’s about visual quality above all.
What Influences the Amount of Bokeh?
Not every camera and lens behaves the same when it comes to out-of-focus areas. The quantity and quality of bokeh depend on many things. Let’s dive in and see them one by one.
Subject Distance
The most important factor is the distance between the subject and the camera. The distance between the subject and the background is important, as well.
The closer your focus is to the camera, the shallower the depth of field becomes. This means more bokeh appears. But if your subject is too close to the background, there won’t be enough separation to let large bokeh balls.
Subject distance affects the relative size and amount of lens blur in your frame.
Focal Length
The longer your focal length is, the more bokeh will show up. This is because perspective compression forces the blur to spread out more.
So, you’ll get more background blur from an 85mm f/2 lens than from a 50mm f/2 lens.
Aperture
This is quite straightforward for anyone who’s learned DSLR photography basics. The more you open up your aperture (decrease your f-stop), the stronger the background blur becomes, and the more bokeh appears.
Sensor Size
Physically, sensor size doesn’t have anything to do with the amount of blur. But, in practice, it does.
Let’s say you use the exact same lens on a full frame and a 1.5x camera. The crop camera will force you to move away from your subject to keep the same framing.
Now, we know that subject distance does indeed affect bokeh. The further you stand, the less bokeh you’ll have. So in these conditions, the crop sensor setup will show less bokeh.
What Affects the Quality of Bokeh?
Until now, I only mentioned things that affect the amount of our bokeh. But there’s much more to that. The aesthetic qualities are just as important.Aperture Blades and Shape
The shape of the aperture is a perfect circle when it’s wide open. This means the shape of your bokeh will be circular, too. But once you start to increase your f-stop just a little bit, differences in iris design become apparent.
Lenses that have plenty of blades will keep the iris looking roughly circular even when closed down. If they’re rounded, even better. Typically, high-end lenses have 7-8 blades, especially portrait-oriented ones.
There are lenses out there with more aperture blades. The Nikon 105mm f/1.4E ED has nine, and so does the Sigma 35mm f/1.4.
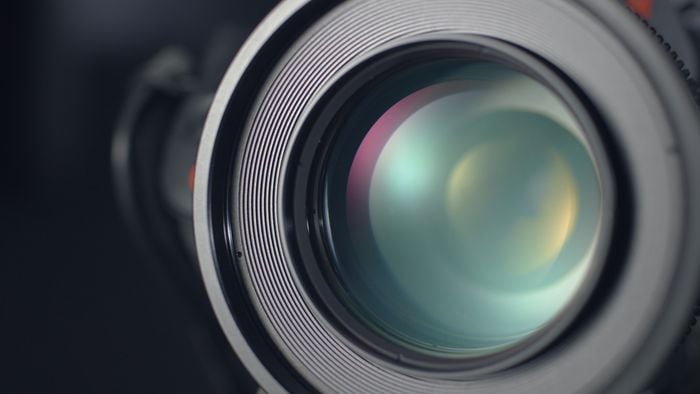
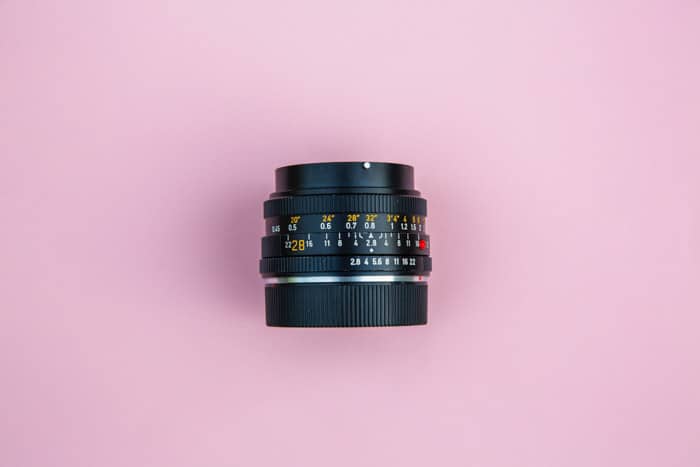
Here’s what this bladed aperture looks like inside a lens.

A quite infamous lens from this standpoint is the Canon 50mm f/1.8 II, the nifty-fifty. It only has five blades, which are not even rounded! As a result, it produces a signature type of pentagonal bokeh balls when stopped down. (Despite that, it’s probably our favorite prime lens for the price.)
Lens Design
Huge differences can be found among lenses just because of their different designs. It depends quite a bit on the optical structure.
At wide aperture values, many lenses will present a phenomenon called the cat’s eye bokeh thanks to optical vignetting. Towards the edges of the frame, bokeh balls will be distorted from their original circular shape. They will be an eye-like, crushed shape.
Optical vignetting at the extreme can cause the out-of-focus parts of an image to be warped into a swirly form. This is a signature look of many vintage portrait lenses, like the Helios 44-2 58mm f/2.
The Mayer Optik Görlitz 100mm f/2.8 renders out-of-focus highlights in a very special way, with distinctive edges. Many photographers call that “soap-bubble bokeh.”
Mirror telephoto lenses, such as the Samyang 500mm f/8 will display a distinctive, donut-shaped bokeh. This is because its middle is dark—the light can’t pass there. So, their bokeh also has an empty part in the middle.
Aspherical lens elements in many cases cause the bokeh balls to have lighter and darker concentrical rings, like an onion or growth rings.
Dirt and Dust in the Lens
Larger dust and dirt pieces and other imperfections on and in your lens will show up in your bokeh.
Typically, this is more of an issue in older lenses, particularly vintage manual ones. Correcting such spotty bokeh during editing can be really time-consuming, if not practically impossible. So, remember to keep the glass of your lens clean.
How to Achieve the Most Pleasing Bokeh
To be clear, there is no such thing as “the most pleasing bokeh.” It’s all up to your taste and vision.
However, there is a widely acclaimed type of look with a lot of bokeh. I’m talking about images like this: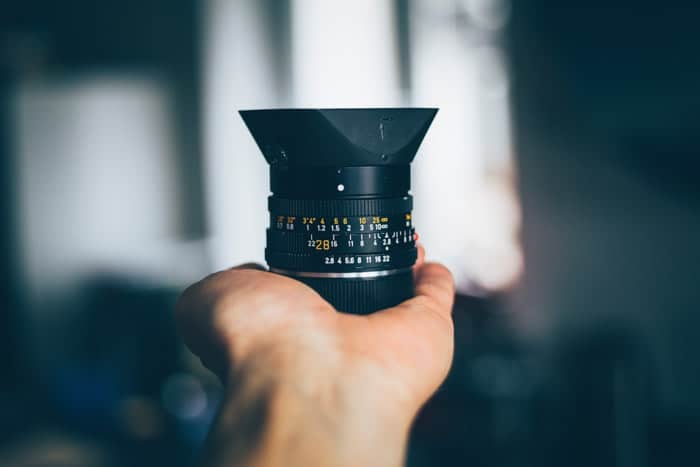
Or this:

Photo by the Author
Or this:

Photo by Andras Gyori
How can you achieve that, you might ask? Well, use what you’ve learned in the first part of this article!
Lens
So, which lens is best for creating a bokeh effect? First and foremost, you’ll need a fast lens. A great cheap option is the 50mm f/1.8 lens for Canon or Nikon DSLRs. But there are a ton of great options out there.
You need to keep in mind that every lens is capable of blurring the background to a degree. If you have an 18-55mm kit lens, it will produce some kind of blurring. Especially at 55mm wide open (around f/5.6).
But a standard prime or a fast, higher-end zoom lens is capable of much more. It will give you further control over your backgrounds.
Another level of extra bokeh is superfast primes and f/2.8 telephoto zooms. The 70-200mm f/2.8 lens (by any brand) is a very popular choice among professionals and serious hobbyists alike. It offers unique versatility and a fantastic blur.
An 85mm f/1.4 or 135mm f/2 prime gives a shallow depth of field with excellent bokeh.
Another (really expensive) step-up is a 200mm f/1.8, 300mm f/2.8 or 400mm f/2.8 lens. The 200mm f/1.8 is built specifically for portraits and bokeh, and it’s an absolute pleasure to shoot with.
In macro photography you’ll get a lot of bokeh even with a narrow aperture. This is because of how close you shoot.
Why Is Distance Important for Bokeh?
Aperture is the most important area when it comes to bokeh. Depth of field and focus are a close second and third. In addition to aperture, distance also plays a significant role in blurring parts of your photograph.
The distance relates to the camera and the subject as opposed to the subject and the background.
You can achieve a large amount of great bokeh blur in a photograph using f/2.8, even if you are far from your subject. This is because the focal distance is very small.
But if you place yourself very close to a subject while using a medium aperture, the background will come out blurred. This is due to the background being much further away from the subject than the camera.
This is a great tip to know if your lens only drops down to f/5.6, as many zoom lenses do.

Why Is Lighting Important for Bokeh?
Of course, one of the most important aspects of producing great bokeh is the lighting in your photo.
If you’re in controlled conditions where you can adjust your light and want to experiment, you may find that opening your aperture wide works best.
Remember, this is going to have the smoothest results and produce the largest bokeh.

Or perhaps the light is breaking through some leaves of a tree in the background. Maybe you want to capture this with a smooth bokeh blur.
The light source doesn’t have to come from behind the subject like in the photo above. It can just be incidental light creeping through a well-lit scene.
You always have to pay attention to the environment of your subject. It’s your job to spot it and use it to your advantage.
How Do You Get the Bokeh Effect?
1. Find Your Image
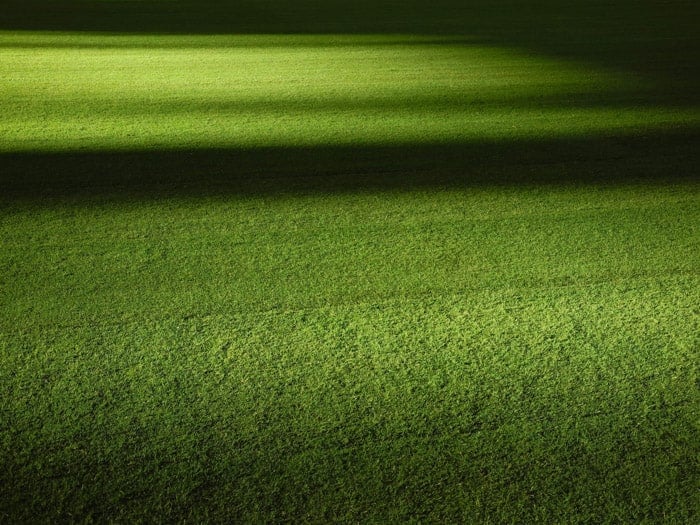
First of all, you need to find where you are going to take the image. What you need to be aware of is light, the size of the area, and what the background is going to look like.
Here, we found a field for the bokeh experiment.
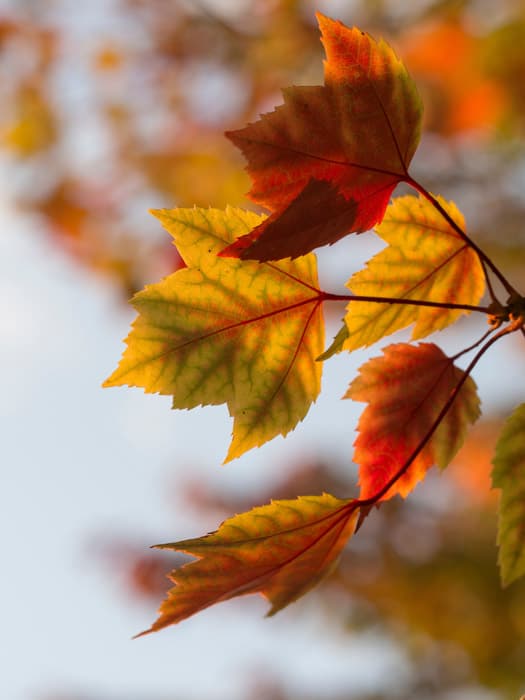
2. Find Your Subject
We wanted to keep the theme as natural as possible, so we went with a leaf.
Mixed with the field, it will provide a nice contrast in terms of shape and complementary colors.
3. Set Your Camera to Aperture Priority for Easy Shooting
Setting your camera to Aperture Priority will make it easier to change the aperture. If the area is well-lit, choose ISO 100.
On a bright sunny day, an f/2.8 at ISO 100 will give you around 1/1000 of a second, if not more.
The benefit of aperture priority is if you feel f/2.8 is too shallow and want to use f/8, the camera will work out the corresponding shift for you.
As you move the aperture up 3 stops, the shutter speed will drop by an equal amount.
Choose a lens with a long enough focal length to show adequate blurring.
4. Capture
Take the picture. As you can see, the camera is close to the subject, and the distance from the subject to the horizon is much farther. This accentuates the blur, creating more of the bokeh effect.
The image and bokeh are enhanced by the dew on the blades of grass. It allows the light to become more prominent.
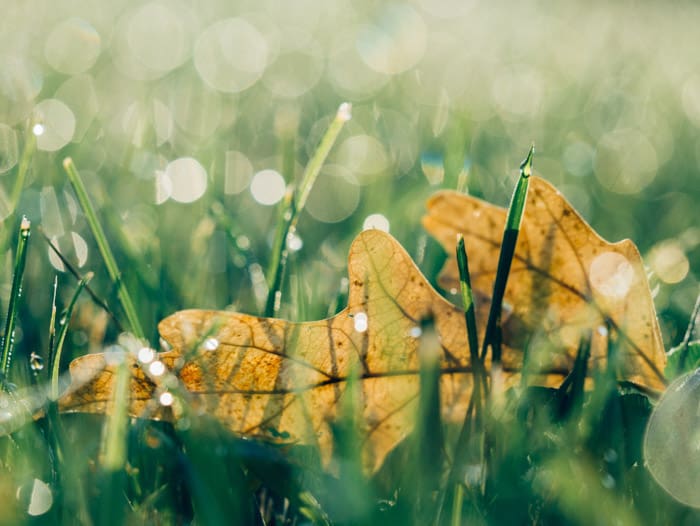
And that’s it. You can take beautiful bokeh photographs in-camera by using a wide aperture. It is that simple.
Get Creative
You can also make your own, custom-shaped bokeh. Just cut out a shape from a piece of paper and place it on your lens. Then, point it at a highlight point. And now you’ve got a reshaped bokeh.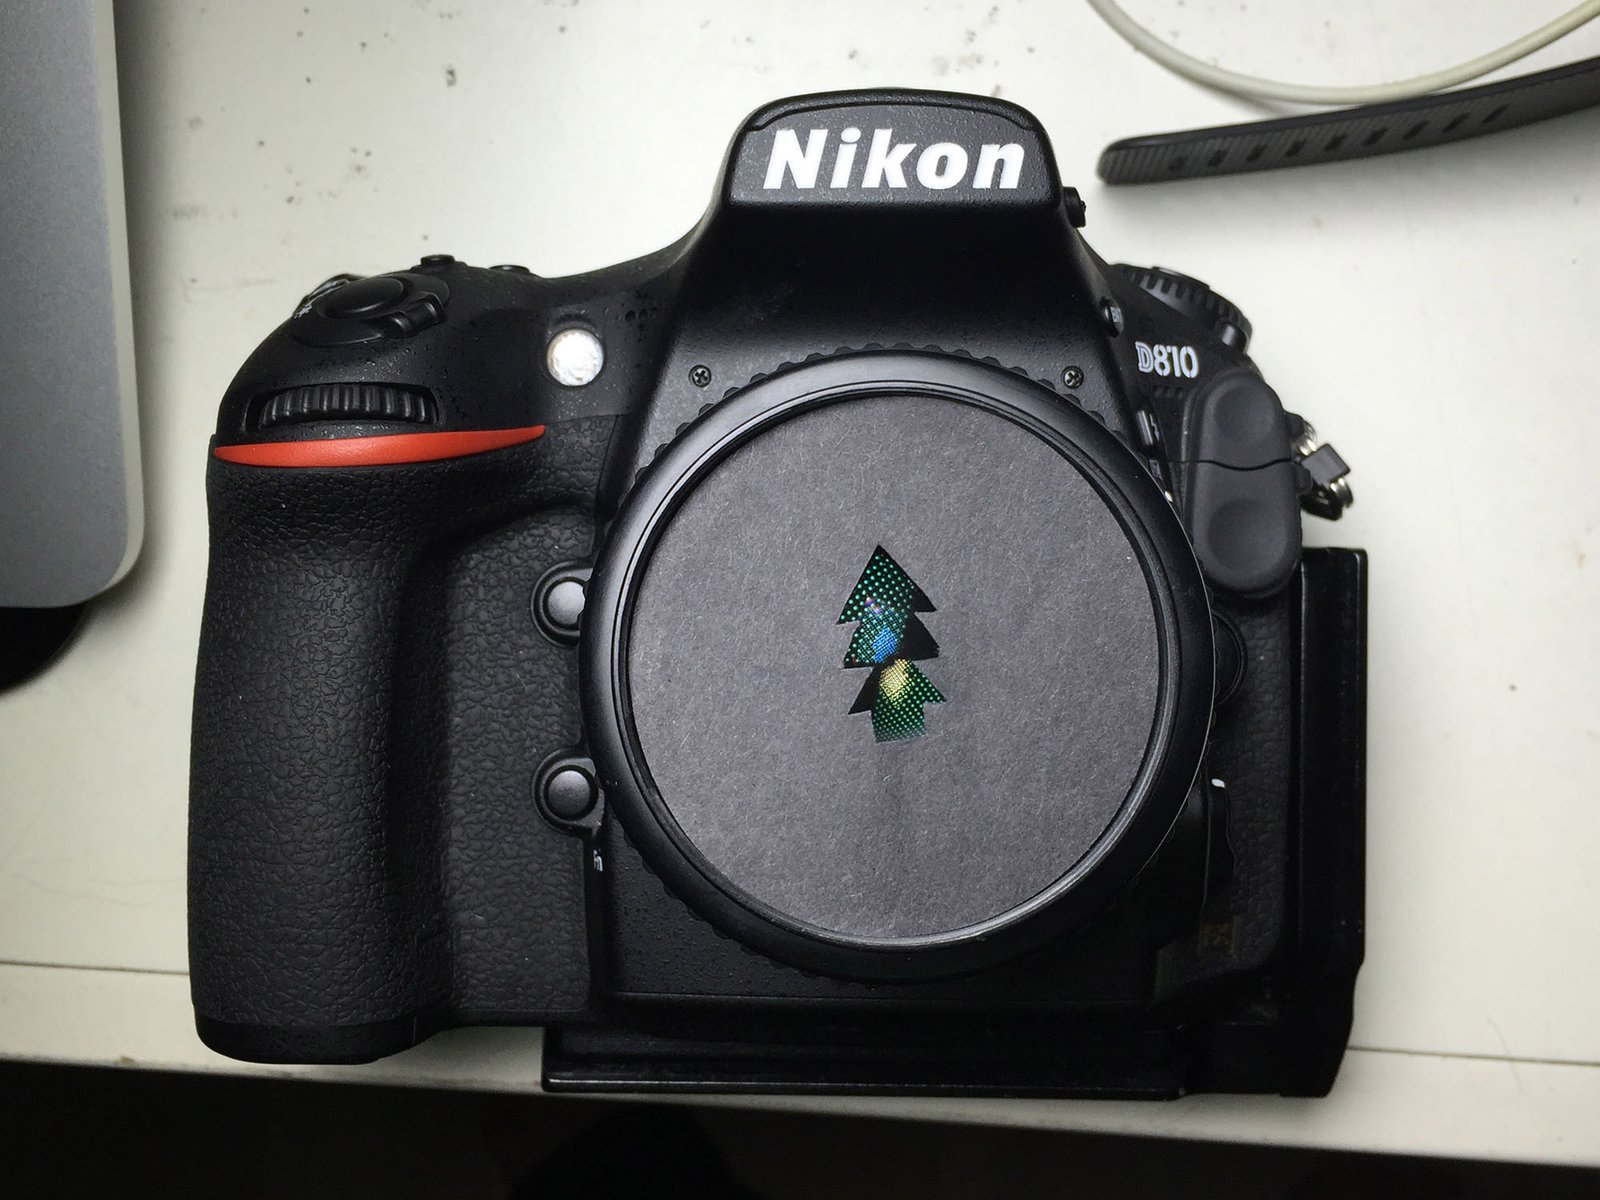
Be sure to place the cutout in the middle

It works with all kinds of shapes
Frequently Asked Questions
There are a few instances where your bokeh might not appear as you hoped. Let’s visit a few common problems.
Why is my bokeh background not as blurry as I had hoped?
This may be down to your aperture not being wide enough. Try shooting at f/2.8 or lower. If you find that your camera lens doesn’t drop down that far, follow these steps.
- Set the lens to the widest aperture possible (smallest number).
- Bring the camera closer to the subject.
- Close that gap and reshoot.
You will find it much better for bokeh. If not, get closer to the subject in capturing that shallow depth of field.
Why are my images dark?
If you are using aperture priority, your settings should change according to your chosen f-stop. Check if your exposure compensation is at the level you want it to be, close to neutral.
If you still have problems, increase your ISO a bit. That should fix things. With a higher ISO, you’re giving your f-stop and shutter speed more room to play with.

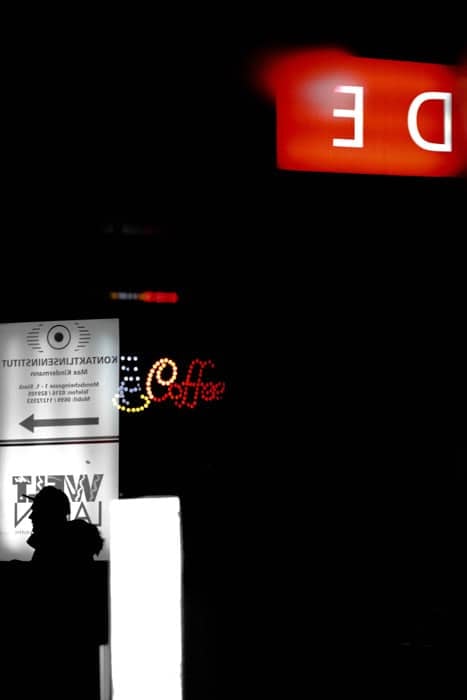
Why are there blinking bokeh lights in the background?
You may find that some background lights will disappear and magically reappear within your photographs. Don’t be alarmed, it hasn’t really got much to do with you.
Electrical lights such as Christmas lights may not show up in your photograph at all. This is due to the fact that the lights aren’t exactly constant. They strobe.
They disappear in your image because your image isn’t synced with them. Try using a shutter speed slower than 1/60th of a second.
If you have a camera with built-in flicker correction, turn it on.

Conclusion
I often find that working with lights at night produces the coolest bokeh. I would suggest going out during the golden hour and working into the evening to capture bokeh lights in the distance.
This works really well in a city where there are cars and street lights. Get out there and try creating a bokeh background for yourself.
You can even create a blurred bokeh background in Photoshop and Lightroom. For more information, check out our tutorial on how to blur a background in Photoshop.
If you are up for a little DIY, you can make your own bokeh filters very cheaply.


