Learning new skills is one of the most exciting things about being a photographer. Our fun photography tutorials contain tips, tricks, and explanations. We hope they’ll help you improve your skills or explore new creative avenues.
You don’t have to be a beginner to enjoy these photography tutorials. With so many to choose from, we’re sure even experienced shooters will be able to learn something new. We have how-to guides on everything from color in composition to off-camera flash lighting.
We’re here to help you improve your photography skills, so let’s get started. The main article is rich with educational information, but remember to click the links for the full tutorial articles.
- Efficiently covers 52 topics for quick learning and mastery.
- Designed for clarity with beautiful illustrations and layouts.
- Accessible anytime, anywhere—downloadable or printable for convenience.
Fun Photography Tutorials
With a wide range of fun photography tutorials, we aim to ignite your creativity and get your photographic juices flowing.
We start by looking at camera techniques. These tutorials give you an introduction to your camera and examine more specific features like burst mode. We also have a whole bunch of tutorials on composition theories and styles.
More technical tutorials on photography lighting show you how to use on-camera and off-camera flashes. We also have in-depth how-to guides on using Lightroom, Photoshop, and other editing programs.
The final collection of articles looks at different photography genres. You can shoot everything from professional headshots to wildlife photography using these tutorials.
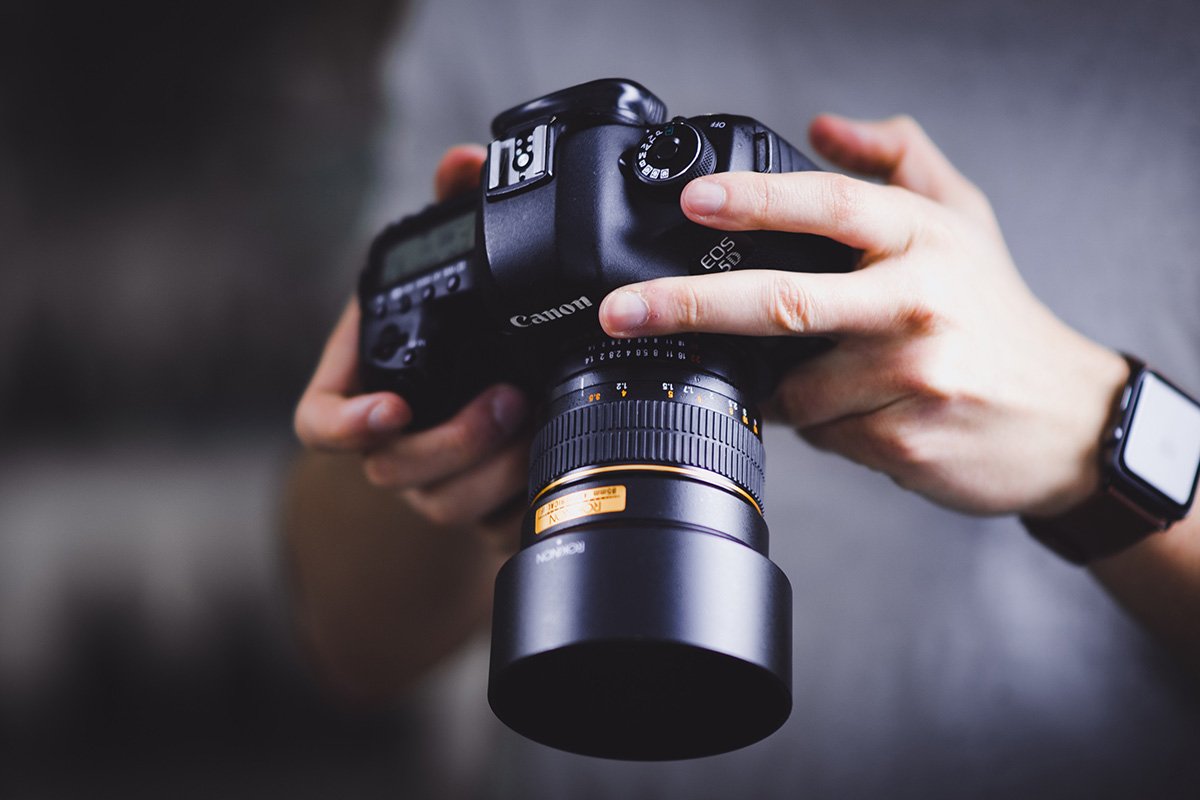
Camera Techniques
The camera is always the best place to start if you want to learn something new in photography. Even if you think you know your camera well, there might still be a few unfamiliar features. Knowing these features is a great way to improve your photography and find inspiration.
Camera Basics
Learning to use your first interchangeable lens camera can seem overwhelming. But with practice and following some basic tips, you’ll soon be taking great shots.
Start by using autofocus mode to ensure sharp focus in your images. Choose the appropriate autofocus setting based on whether your subject is stationary or moving.
Experiment with aperture priority mode to control depth of field or use shutter priority mode to freeze or blur motion. Use the camera’s light meter to check exposure and adjust brightness with exposure compensation if needed.
As you become more comfortable with your camera, try shooting manually for greater creative control. To learn more about DSLR basics, check out our in-depth guide. It covers everything you need to know to master your first camera.
Burst Mode
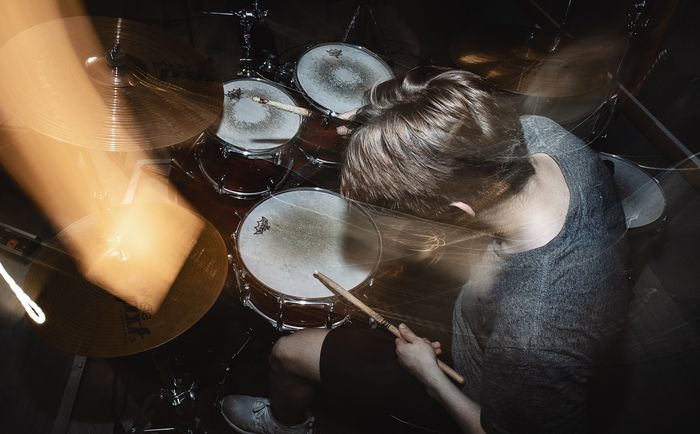
Burst mode is a camera setting that captures multiple photos in quick succession. This setting helps photograph fast-moving subjects. It also ensures the perfect shot in unpredictable situations.
To use burst mode effectively, start with a fast memory card to keep up with the rapid-fire photos. Next, switch your camera’s drive mode from single shot to continuous shooting. Adjust the focus mode to continuous autofocus to keep moving subjects sharp.
Press and hold the shutter button when ready to start the burst. Keep shooting until you’ve captured the moment or the camera stops. Burst mode is a valuable tool for improving your action photography.
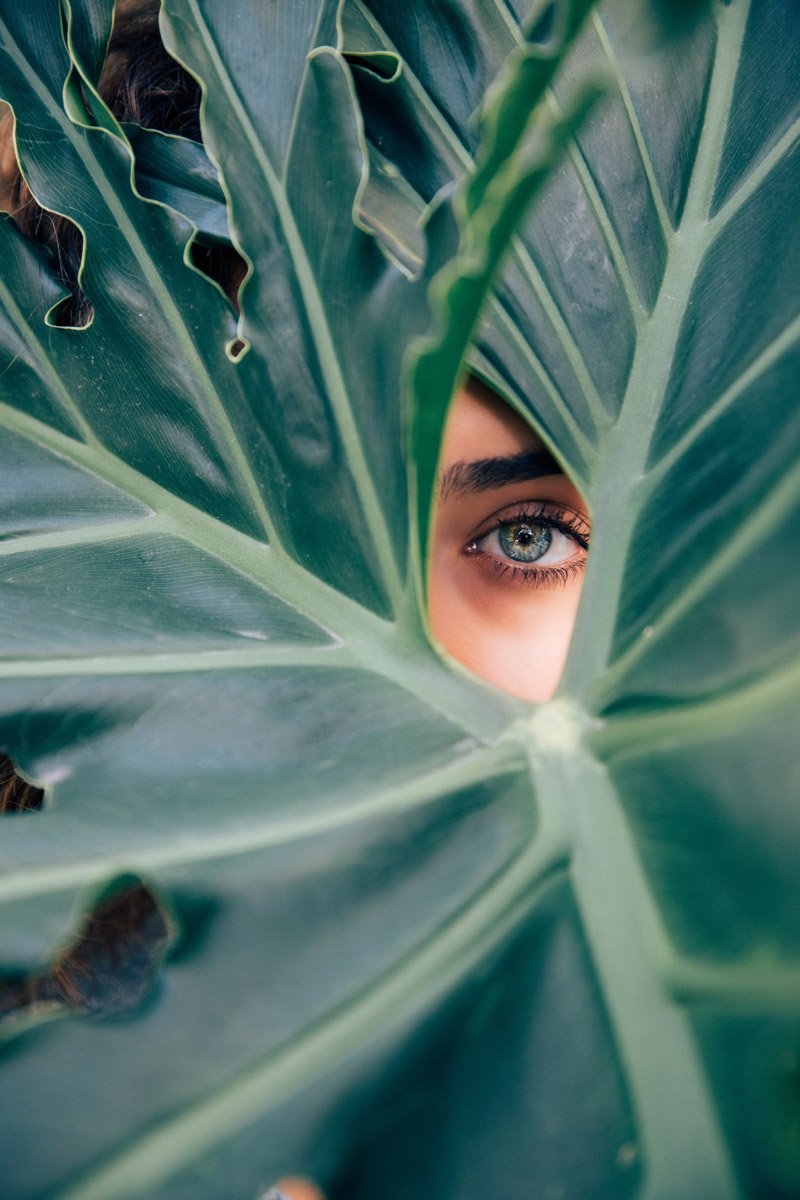
Shallow Depth of Field
Shallow depth of field is a photography technique in which only a slim part of the image is in focus. The background and sometimes the foreground are blurred while the subject remains in focus, creating a soft, dreamy look.
To achieve this effect, use a wide aperture and set your f-stop to a small number, like f/1.4 or f/2.8.
Shallow depth of field is great for simplifying busy scenes, guiding the viewer’s eye to the subject. Portrait and nature photographers often use it to create clean backdrops and make their subjects pop. You can also use it to hide distracting elements or even obscure a person’s identity.
With a shallow depth of field, you can add dimension to your photos. Separate layers and create a frame around your subject.
If you struggle to get the desired effect, try moving closer to your subject. You can also increase the distance between the subject and background or use a different lens.
Shallow depth of field is a powerful tool for creating stunning, professional-looking images. Our full tutorial explains how to achieve the best results.
Focus Peaking
Focus peaking is a camera feature that helps with manual focusing. It shows a colored overlay on the sharp areas of the image in real time.
The camera analyses the live image feed, looking for high-contrast areas, especially micro-contrast. It then covers those areas with a false-color layer. Most cameras let you set the overlay’s color and change the detection sensitivity.
Focus peaking lets you focus much quicker with manual lenses than with the traditional Live View magnification. Click this link to learn more about focus peaking.

Focal Lock
Focal lock is a useful technique for getting sharp focus on off-center subjects. It’s built into all modern digital cameras. And it helps when autofocus struggles with these off-center compositions.
To use the focal lock, start by composing your shot with the subject placed according to the rule of thirds. Then, move your camera to aim directly at the subject.
Press the shutter button halfway to lock focus. Next, carefully return to your original composition without releasing the button. Finally, press the shutter fully to take the photo.
Be careful not to move the camera too much after locking focus, especially when using a wide aperture, as this can throw the image out of focus. Our full focal-lock article is available to delve into this subject more.
Composition
Composition is a key ingredient when making dynamic, eye-catching photographs. But there isn’t one recipe for making powerful photos. You can explore many composition techniques and theories to set your photography apart.
Common composition techniques, like the rules of thirds, are a great place to start. Learning these rules provides a good framework to build confidence and skill.
Then, you can try different composition styles. As your confidence grows, you learn to break the rules for unique images.
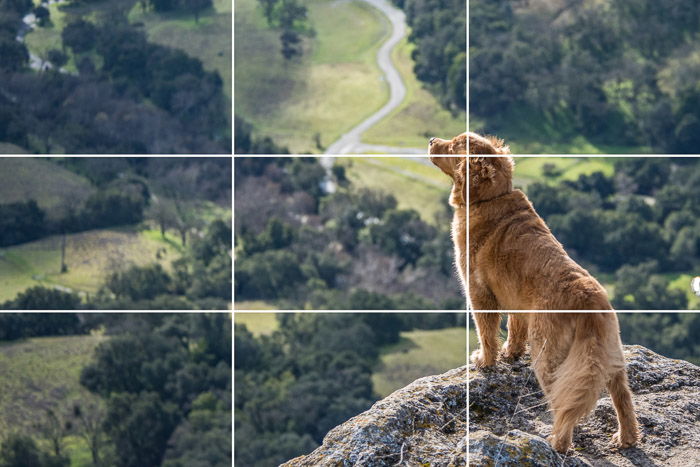
Rules of Thirds
The rule of thirds is a basic composition technique. It can improve the balance and harmony of your photos.
To use it, imagine dividing your frame into nine equal rectangles using two vertical and two horizontal lines. Place your subject or other important elements near one of the four points where the lines intersect.
For landscapes, try to position the horizon along one of the horizontal lines. This placement creates a more dynamic image compared to placing the horizon in the middle of the shot.
You can also use the rule of thirds grid to crop your photos in post-processing software like Lightroom or Photoshop. Learning the rule of thirds will help you guide the viewer’s eye and make your images more engaging.
We have a great article available if you’d like to learn more about the rule of thirds. Dive deeper into this important composition technique!
Rule of Space
The rule of space in photography adds important context to a photo. It creates motion through negative space, leading the viewer’s eye away from the subject. This technique grabs attention by showing the scale of the scene.
The subject’s gaze or movement should lead into the negative space. Coastal locations, country roads, and deserts work well for this style. You can use urban settings like subways, though they may be more challenging.
Wide-angle lenses give an epic sense of scale, while long focal lengths allow you to focus on a distant subject. Combine the rule of space with other techniques, like the rule of thirds, leading lines, minimalism, and patterns. You will create more interesting images.
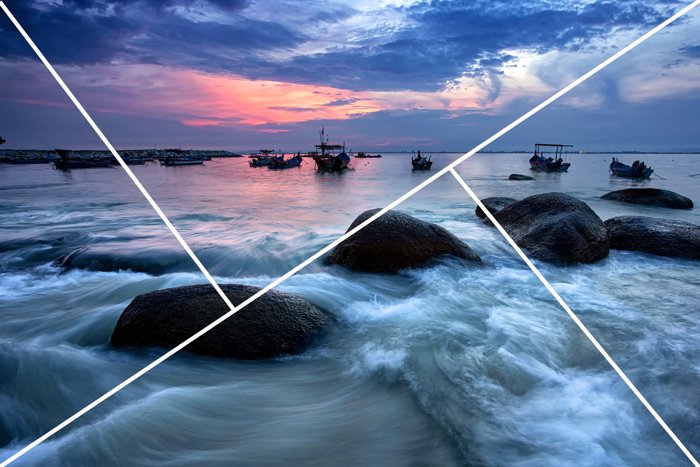
Golden Triangle
The golden triangle is a composition technique that uses diagonal lines to form right-angle triangles. This rule is like the rule of thirds, but you divide the frame differently. It’s best to place the main subject at the intersection of these triangles.
Using the golden triangle can add a dynamic feel to your photos. It works well for subjects like portraits with the model sitting or lying down. It also works with mountains with a diagonal horizon line and roads that cut through the frame diagonally.
To compose a photo using the golden triangle, draw a diagonal line from one corner to the opposite. Then, draw lines at right angles from the other two corners until they hit the diagonal line.
Place your point of interest at one of the two intersecting points and use leading lines that follow the diagonal. With practice, you start to see it everywhere and use the golden triangle to improve your photography composition.
Golden Ratio
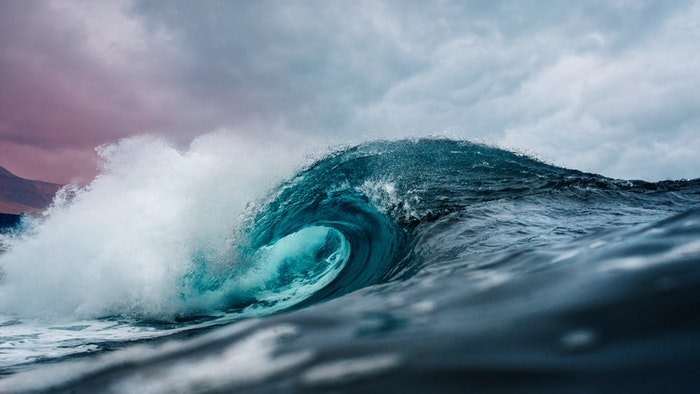
The golden ratio is a powerful tool for creating pleasing and balanced compositions in photography. This rule is based on a mathematical sequence and appears throughout nature, from nautilus shells to ocean waves.
One common way to apply the golden ratio is with the phi grid, which divides the frame into a 1:0.618:1 ratio. This grid places the subject more centrally than the rule of thirds.
Another option is the Fibonacci spiral. In this technique, you position the main subject in the smallest part of the spiral and arrange other elements along the curve.
To use the golden ratio effectively, consider the scene and choose the method that best fits the subject and any leading lines or curves. Imagine the overlay as you compose the shot, and don’t be afraid to adjust your position to exaggerate lines and angles.
Using the golden ratio in your photos lets you naturally lead the viewer’s eye through the frame. The golden ratio can help you create unique and visually appealing compositions when used well.
Perspective
Perspective in photography is about showing a three-dimensional world on a two-dimensional plane. It gives depth to an image and makes it feel more realistic.
Move your camera left, right, up, or down to change perspective. Even a small movement can have a big impact, especially in the foreground. Changing your angle lets you see the world in a new way.
You can also use conceptual ideas to create perspective. Overlap, leading lines, and lens choice all affect how the viewer perceives depth in an image. Forced perspective is another technique that plays with the relative size of objects to create an illusion.
Perspective is a powerful tool in photography for adding interest and depth to images. You can create unique and engaging photographs by experimenting with different viewpoints.

Vertical Lines
Vertical lines in photography are a powerful tool for creating compelling compositions. They can add depth, stability, and a sense of infinity to your images. You stress vertical lines when shooting in portrait orientation. It encourages the viewer to see the lines within the frame.
Place objects of similar height at different distances from the camera to create depth. The vertical lines will appear smaller as they recede into the distance.
Perspective also plays a crucial role in how we perceive lines. So, experiment with different focal lengths to achieve the desired effect.
In landscape orientation, multiple vertical lines can create a sense of repetition and depth. By intersecting with horizontal lines, they add stability to the composition. Read our full tutorial about vertical lines in photography to learn more.
Color Contrast
Color contrast is a powerful tool in photography, and orange and blue make the most common combination. These complementary colors are opposite on the color wheel, producing the highest contrast level when placed side by side.
Using orange and blue in your photos can help emphasize each color. This color combo makes skin tones stand out and creates a natural look close to ambient light.
Experiment with color blocking by arranging objects in a minimalist composition. You can also use orange and blue to highlight your point of interest.
You don’t have to limit yourself to the brightest shades of orange and blue. Wooden backgrounds and craft paper lie on the orange spectrum, while old paper and smoke can add a bluish tinge. Incorporating other colors can add variety to your palette.
If you’d like to learn more about using color contrast in your photography, go to our full, in-depth guide.

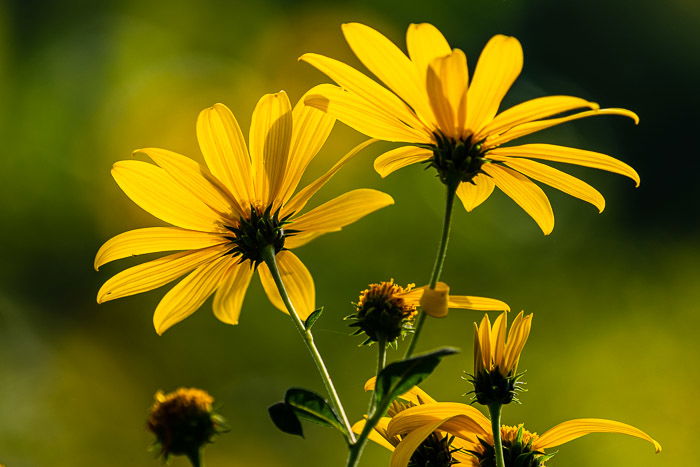
Analogous Colors
Analogous colors are three or more colors next to each other on the color wheel. They usually look good together because they share some common hues. Using analogous colors in photography can create a harmonious and pleasing image.
Analogous colors are easy to find in nature, especially in macro photography of flowers and insects. Landscape photographers often use analogous color schemes without realizing it. You can also find analogous colors in urban settings.
It’s important to keep the image interesting when using analogous colors. Do this by paying attention to composition and lighting. Skipping a color can also help, such as using green and orange instead of green and yellow-green.
The key is to make sure your images are balanced, with every component and color having its place in the frame. Check out this in-depth article to learn more about analogous colors in photography.

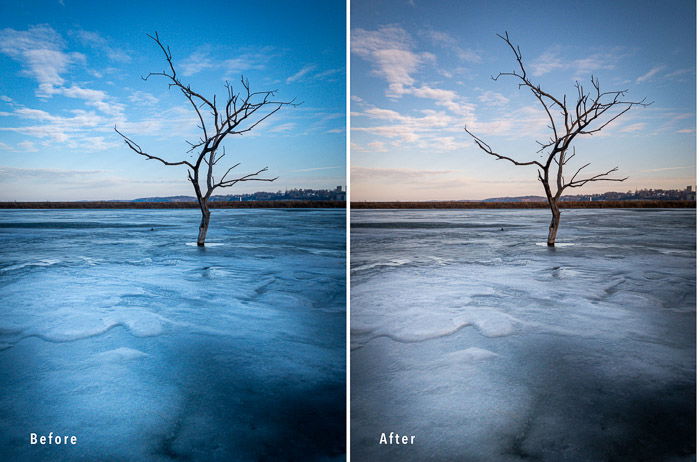
Color Temperature
Color temperature is the warmth or coolness of light. Every light source has a unique color, tinting the scene and skin tones. Some lights make colors cooler, while others make the scene look warmer.
If your photos have an orange or blue tint, you must adjust the color temperature. Use your camera’s white balance presets, such as Tungsten, Fluorescent, Daylight, Cloudy, Shade, and Flash. Auto White Balance is best for complex or uncertain lighting.
In Lightroom Classic, you can adjust color temperature in the Develop Module under the Basic panel. Use the sliders to make the image warmer or cooler. Adjust greens and magentas with the Tint slider. The eyedropper tool lets you select a neutral grey in your image for a quick fix.
Check out our full guide to learn more about color temperature.
Art & Design
The seven art and design principles are balance, rhythm, pattern, emphasis, contrast, unity, and movement.
These principles help photographers create visually appealing and engaging images. Understanding and applying these principles can improve your compositions. It creates more interesting photos.
Balance refers to an image’s visual weight, while rhythm is the recurring distribution of elements. Patterns are repetitions. They evoke emotional reactions, and emphasis shapes the center of interest.
Opposing elements create contrast. Unity describes the cohesiveness of an image. And movement guides the viewer’s eye through the photo.
Mastering these principles gives you greater control over your photography. They help you recognize photographic opportunities. Check out the full tutorial if you’d like to incorporate the principles of art into your photography.
Asymmetrical Balance
Asymmetrical balance photography is a composition technique. It’s when you unevenly distribute the visual weight of elements. This “balance” creates tension and visual interest in the photo. To achieve asymmetrical balance, carefully consider the placement of objects in the frame.
Use the placement of elements to your advantage by manipulating size perception. Framing can also turn a symmetrical object into an asymmetrical one. Applying compositional rules like the rule of thirds helps create asymmetry.
Grouping objects or using the complexity of subjects can also create asymmetrical balance. You can create dynamic and exciting photographs using an asymmetrical balance with practice and a creative eye.
Take a deep dive into our full tutorial on asymmetrical balance photography.
Rhythm
Rhythm in photography brings structure and stability to your images, much like rhythm in music. It can hold the viewer’s gaze to a steady beat or quicken the pace as the eyes move around the image.
You create rhythm with elements that repeat or echo throughout the photo. These can be shapes that form a pattern or subjects that appear at different points in the frame.
Regular rhythm features identical elements that repeat at equal intervals. In turn, they create a uniform structure. Random rhythm has elements that repeat but at irregular intervals without conforming to a rigid structure.
Alternating rhythm uses two different rhythms that can work together or clash, bringing harmony or discord to the image. Progressive rhythm uses patterns that progress into the photo, creating diagonal lines that draw the eye.
Undulating rhythm is common in landscape photography, with soft shapes that roll through the image. Breaking a steady rhythm can add emphasis and create points of interest.
Explore how to incorporate rhythm into your compositions with our full how-to guide.

Lighting Techniques
Light is the most important element in photography. Without it, we can expose our images.
But light is also a source of creativity, allowing you to alter moods or develop atmospheres within your images. That’s why it’s important to think about lighting every time you take a picture.
Speedlight flashes produce hard light with strong shadows. They are great for creating high-contrast images.
Place one behind a diffuser to create a bright white background perfect for photographing glass objects. You can even use a speedlight to make objects glow from the inside by placing one in a box or behind a cut-out shape.
Speedlights are also excellent for freezing motion, such as splashes and steam. The short flash duration captures sharp details you would blur with continuous lighting. To learn more about the creative possibilities of flash photography, check out our in-depth guide.
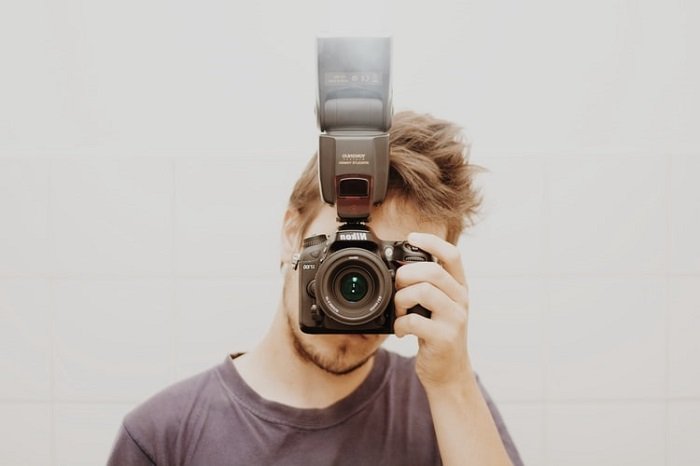
Flash
Learning how to use a flash can improve your photography. A flash provides extra light and more exposure options, letting you advance your skills and try new areas of photography.
Use your flash to minimize shadows and isolate your subject. A flash can also bring a photo to life on cloudy days or with backlighting. Balance your flash and camera settings for natural-looking photos.
Bounce your flash off a wall or ceiling to soften the light. You can also use a softbox to diffuse the light before it reaches your subject.
You can also use your flash off-camera for more creative lighting options. If you want to learn more about using flash, we have a detailed article that covers everything you need to know.

Off-Camera Flash
An off-camera flash is a powerful tool for improving your photography. It’s a flash you don’t mount on your camera, so you have more options when positioning it. You can position the flash anywhere to create different effects, giving you more creative control.
You can add light to dark areas or even out harsh sunlight using an off-camera flash. You can also use it to highlight certain parts of your image or make your subject stand out from the background.
When using an off-camera flash, be careful about shadows. The flash can create unwanted shadows on your subject’s face or other parts of the scene. With practice, you can learn to use an off-camera flash to take your photography to the next level.
See our full tutorial on using off-camera flash to improve your flash photography.
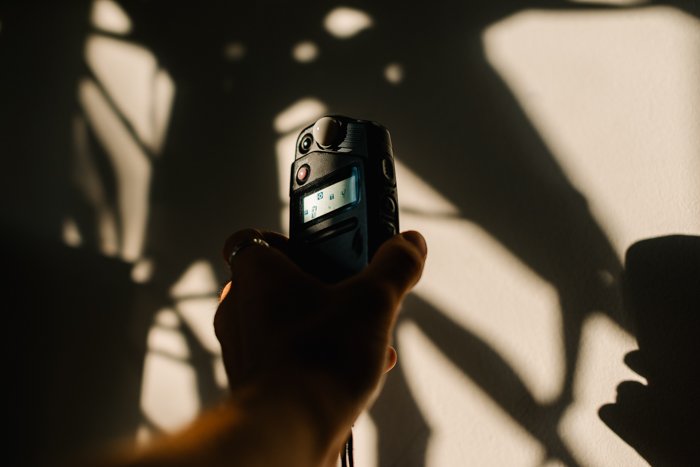
Light Meter
A light meter is important for capturing the correct exposure in your photos. There are two main types of light meters— reflective and incident.
Manufacturers often build reflective meters into camera bodies. These meters measure the light the subject reflects to calculate exposure settings based on the scene’s mid-tones.
Incident meters are external devices that measure the light falling on a subject and provide more accurate readings. They check a specific area and consider only the intensity of light hitting the subject.
A handheld incident meter improves accuracy. This is especially true when reflective readings may cause overexposure or underexposure. It helps in situations like photographing snow or capturing skin tones in portraits.
To use an incident light meter, set it to photo mode. Then, cover the light-receiving sensor with the Lumisphere and select your metering mode based on the light source.
Calibrate the ISO to match your camera settings. Choose aperture or shutter speed priority. Then, take a reading by holding the meter in front of the subject with the Lumisphere facing the camera lens.
Finally, adjust your camera settings according to the exposure value provided by the meter. Our full article is the best place to start if you want to learn more about using a light meter.
Spot Metering
Spot metering is a camera metering mode that measures light in a small area of the frame, usually less than 5% of the viewfinder. It lets you pinpoint and expose specific details even in high-contrast scenes.
Spot metering is useful in situations with strong highlights and shadows. Examples are backlit portraits or stage performances.
By placing the spot meter on the subject’s face, you can ensure proper exposure for the most important part of the image. This is the best exposure, even if it means overexposing the background.
Select the spot metering mode on your camera and half-press the shutter button. Your camera measures the light in the chosen area and adjusts the exposure accordingly.
Read our full tutorial to learn more about spot metering and how it can improve your photography.
Ambient Light
Ambient light photography is a great way to capture atmospheric portraits. It involves using available light sources like windows, doors, and even the sun during golden hour.
Experimenting with different types of ambient light can be beneficial. It improves your imagination, observation skills, and resourcefulness as a photographer.
You can capture mysterious atmospheres using cloudy daylight or toplight. You best capture dreamy atmospheres with golden hour light or backlight.
Window and door lights easily create soft atmospheres indoors. But harsh atmospheres need direct light to create strong contrasts and shadows.
The best thing about ambient light is its availability. On a sunny day, it can be found almost everywhere, from your home to a park. Look for atmospheric portrait opportunities, and you’ll find inspiration everywhere.
To learn more about ambient light photography, check out our in-depth article.

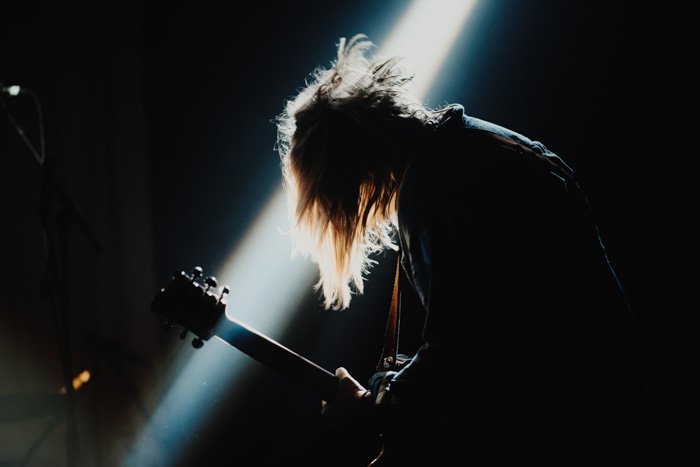
Backlight
Backlighting in photography is where the main light source is behind your subject, facing the camera. This light can create a unique atmosphere and emphasize the subject.
Yet, it can also be challenging to expose correctly. Your subject may appear too dark if you don’t use the right metering mode and settings.
To capture a well-backlit photo, shoot in RAW format for better editing flexibility. Use manual mode and spot metering to expose your subject accurately.
Compose your image consciously, considering the time of day and position of the light source. Experiment with accessories like reflectors to bounce light back onto your subject’s face.
Backlighting can create interesting effects. They can create silhouettes, enhance translucent subjects, and produce lens flare. It’s also useful for adding drama to street photos.
When editing backlit photos, focus on enhancing contrast. But preserve details in the subject’s face and maintain good skin tones. With practice, you can use backlighting to add great atmosphere to your photos.
Our full article is helpful if you want to learn more about backlight photography.

Three Light Setup
A three-light setup is a versatile lighting technique common in portrait photography. It uses key light, fill, and backlight to illuminate the subject. Adjusting the intensity of each light lets you control the mood and depth of the image.
The key light is the brightest and provides the main illumination. The fill light is placed opposite the key light to soften shadows. The backlight is placed behind the subject to separate them from the background.
Mastering the three-light setup is an important skill for any photographer. You can use it for portraits, product shots, and more. A three-light setup for photography is a fundamental technique. Every photographer should learn it!

Slow Sync Flash
Slow sync flash is a creative technique for capturing photos in low light. It combines a longer shutter speed with a flash. This setting lets you freeze motion while also capturing ambient light.
Set your camera to a slower shutter speed, like 1/8 s (second), to use a slow-sync flash. Then, choose either first-curtain sync (the flash fires at the beginning of the exposure) or second-curtain sync (the flash fires at the end).
First-curtain sync can make light trails appear in front of your subject. Second-curtain sync places them behind.
Experiment with different shutter speeds and flash settings to achieve your desired effect. For even more creative results, try moving the camera during the exposure. Check out our full tutorial for a deeper dive into slow sync flash.
Rembrandt Lighting
Rembrandt lighting is a classic portrait technique that creates a dramatic, moody look. It’s named after the Dutch painter Rembrandt, who often used this type of lighting in his paintings.
Place your key light on the side of the model’s face at a wide angle to create Rembrandt lighting. And lift it above the model while angling it down. Adjust the light until you see a triangle of light under the model’s eye on the shadowed side of their face.
The camera angle doesn’t change the lighting pattern but affects the mood. Shooting from slightly below can give your model a sense of power. A simple, black backdrop suits the mood that Rembrandt lighting creates.
Go to our full article if you’d like to learn more about Rembrandt lighting.

Photo Editing
Editing photos has become another creative outlet for photographers. Playing with camera settings and lighting can be heaps of fun. But the fun doesn’t need to stop once you take the picture. You can continue to express yourself and experiment using photo editing software.
This section has tutorials on the best photo editing software for creative photographers. You can be an experienced editor or new to photography post-production. Either way, you’ll learn something new from these fun tutorials.
Lightroom
Adobe Lightroom is a powerful photo editor that lets you organize and improve your images. It has tools for basic adjustments like exposure, color, and sharpness. You can also use more advanced features like the healing brush to remove blemishes or the graduated filter to adjust specific areas.
One of the best things about Lightroom is its ability to handle large numbers of RAW files. You can quickly sort through your photos, rate them, and simultaneously apply edits to multiple images. It saves you a lot of time compared to editing each photo individually.
Lightroom also offers a wide range of presets that apply popular looks with just one click. Presets are available for most photography styles, such as portraits, landscapes, and black-and-white. You can also create your own presets to speed up your editing workflow.
If you want to learn more about Adobe Lightroom, check out our in-depth tutorial. It covers everything from importing photos to advanced editing techniques.

Photoshop
Adobe Photoshop is a powerful digital image editing software used by photographers of all skill levels. It lets you make general and local adjustments to your images using layers. You can edit photos, create digital drawings, and design graphics with Photoshop.
Photoshop has many tools and features, which can be overwhelming for beginners. First, focus on learning the basic editing techniques. Learn about working with layers, cropping, rotating, and adjusting exposure.
As you gain experience, you can explore more advanced features and techniques. Our collection of Photoshop tutorials covers everything from beginner tips to advanced adjustments.
Maybe you’re interested in editing portraits or landscapes or creating special effects. We have step-by-step guides to help you improve your Photoshop skills. If you’d like to learn more about using Photoshop, check out our comprehensive guide.

Capture One
Capture One is a powerful photo editing software known for its color control and correction abilities. It offers a tempting alternative to Lightroom, but switching may come with a learning curve.
The software organizes tools into separate tabs, such as Lens, Color, Exposure, and Details. You can easily rearrange these tabs to match your preferred editing workflow.
Capture One’s color wheels make adjusting white balance and color simple. The Exposure tab lets you recover highlights and shadows. And the Details tab handles sharpening, noise reduction, and spot removal.
With built-in styles and the ability to create layers and masks, Capture One provides a wide range of editing options. To learn more about Capture One, check out our in-depth review.

Digital Painting
Digital painting is a great way to flex your creative muscles and bring your ideas to life. To get started, you can experiment with different genres, like people and landscapes, or a combination of both.
Collect references to help you understand perspective and anatomy. And create a folder of inspiring photography and digital art.
Paint silhouettes first to better understand your entire painting and avoid losing motivation. Choose a focal point to keep your composition clean and engaging.
Work on shadows and light to create depth, starting with basic shades and building up to highlights. You can also use photos to make your concept art look more realistic through “photo bashing.”
Merge photos and digital paintings. Cut, color-correct, and paint over the pictures to blend them seamlessly. Use color-correcting tools like Curves and Selective Color to enhance your final results.
To speed up the learning process, read our full digital painting tutorial and put your new knowledge into practice.

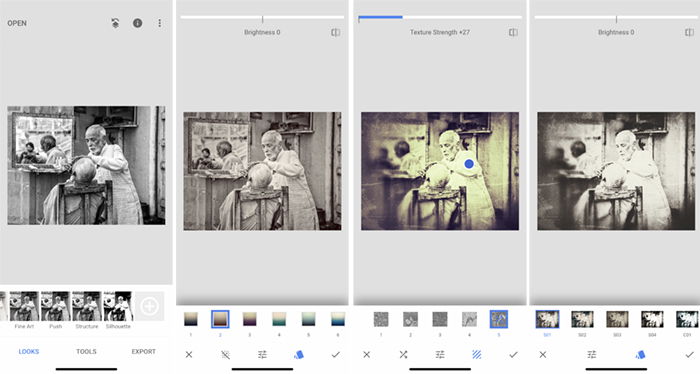
Snapseed
Snapseed is a powerful mobile photo editing app packed with features. It has 29 tools for basic adjustments, retouching, and creative effects.
The Tone Image tool lets you tweak brightness, contrast, and saturation. The Curves tool allows you to adjust colors by dragging points on the S-curve. The Selective tool lets you change the brightness in specific areas of your image.
Snapseed also offers artistic presets like Drama, Vintage, and Grunge filters. For portrait editing, try the Glamour Glow and Head Pose tools. You can even get creative with Double Exposure, adding text and frames.
To learn more about Snapseed, we have an in-depth tutorial covering all the features and how to use them effectively.
GIMP
GIMP is a free photo editing program that offers many tools like paid programs like Photoshop. It’s a great alternative for those just starting with photo editing or looking to save money.
Some key features in GIMP include exposure adjustments, cropping, and white balance correction. The healing brush makes it easy to remove spots or imperfections. You can also resize images to any specifications you need.
GIMP’s interface may take some time to get used to, but its varied tools make it a powerful choice for photo editing. Our full tutorial is the best way to start using GIMP like a pro.

Genres
There are many types of photography, and each genre has unique demands. Some basic camera skills cover most styles. But the skills needed to capture street photos differ greatly from those for wildlife photography.
These fun photography tutorials look at specific photographic genres. They help you hone your skills to match your ambitions. Click the links to see each tutorial in full.
Headshots
Corporate headshot photography is a great way to expand your client list as a portrait photographer. One big advantage is that clients typically need multiple portraits in one session, which means higher pay for you.
Learning to set up and execute business headshots can take some time. But you can produce excellent work with one or two lights.
When shooting indoors with no natural light, find a blank wall as a backdrop and set up a key light with a diffuser at a 45-degree angle. Outdoor business headshots are handled like any other outdoor portrait session. Keep the client’s brand in mind.
Our tutorial is the best place to start if you want to learn more about professional headshots.

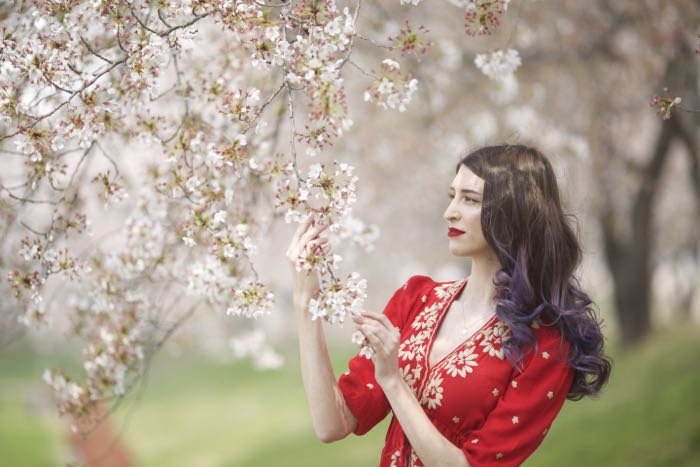
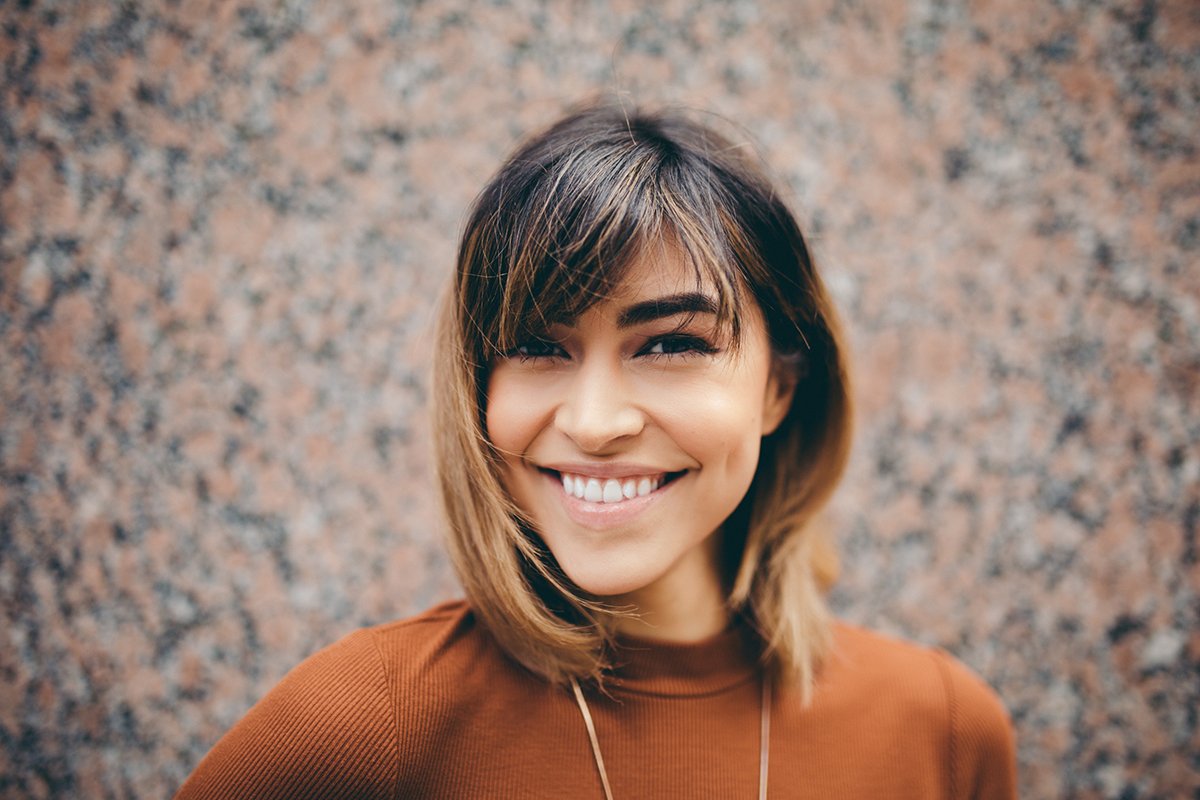
Female Portrait Photography
Female portrait photography is a beautiful way to tell meaningful stories. You must use the right camera settings and lighting to take stunning photos of women. Use a zoom lens to take sharp photos from afar, giving your model space.
A large aperture like f/2.5 captures details and blurs the background for a classy bokeh effect. Frame your model’s face with her hair hanging loose for a dreamy look. Shoot at eye level or higher angles for the most flattering results.
Use soft natural light to make a person glow. Shade their face with a hat or take photos next to a large window.
Play with facial expressions and ask your model to look in different directions for unique portraits. Simple backgrounds can avoid distractions and complement your model’s features.
See our full tutorial if you’d like to learn more about female portrait photography.
Food Photography
Food photography is all about taking photos of dishes to look appealing. Lighting is key. Use natural light from a window and a diffuser to soften shadows. Composition is also important. Arrange food along a curved line to create flow and guide the viewer’s eye around the image.
Choose the right camera angle for the dish. Overhead shots work well for large spreads, while 45-degree angles show more background. Even a smartphone can take great food photos with the right lighting and background.
Color is crucial in food photography. Use a color checker to ensure colors are accurate.
Props and backgrounds add flair—try vintage items or colorful cutlery. Steam or water splashes can make images more dynamic. With the right techniques, you can capture mouth-watering photos of everything from burgers to cupcakes.
To learn more about food photography, read our full article, which has plenty of tips and inspiration.

Street Street Photography
Street photography is all about capturing candid moments in public places. It’s a fun and accessible genre that anyone with a camera can try. Look for interesting light, shadows, and reflections to add visual interest to your shots.
Composition is key in street photography. Use the rule of thirds and include negative space to emphasize your subject. Get creative with perspective by shooting from high or low angles.
If you want to learn more about street photography, our in-depth guide covers everything from camera settings to laws and ethics. It’s a great resource for beginners and experienced photographers alike.
Read our full street photography tutorial for tips, tricks, and recommendations.

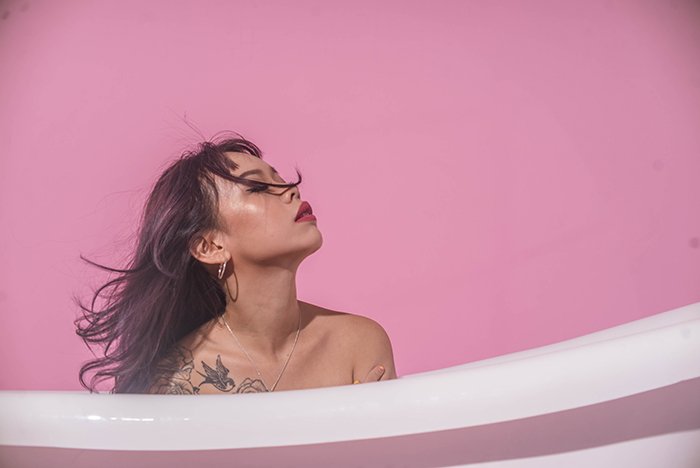
Nude Photography
Nude photography can be an intimidating genre if you’ve never tried it before. There are strict guidelines to follow during the photoshoot, but it can also be a fun and creative experience for everyone involved.
Start working with limited light to make your model feel more comfortable. Dim light hides parts of their body, allowing them to experiment more freely with different poses. Using a zoom lens is another way to give your model space and avoid distortion in close-up shots.
Get creative by covering specific body parts with props like blankets, clothes, or flowers. Shooting in black and white can also help focus on shapes and light rather than specific body parts.
We have plenty more nude photography tips in our full-length tutorial.
Sports Photography
Sports photography captures the excitement and emotion of athletic events. To get the best shots, use a fast shutter speed of at least 1/500 s to freeze the action. Increase your ISO to compensate for the fast shutter if needed.
Use burst mode to take multiple shots in quick succession. This setting ensures you don’t miss important moments. Continuous autofocus mode helps keep moving subjects sharp.
Knowing the sport you’re shooting is key. Anticipate key moments, like a baseball player hitting the ball or a basketball player jumping for a dunk.
Our guide has many helpful tips if you want to learn more about sports photography.

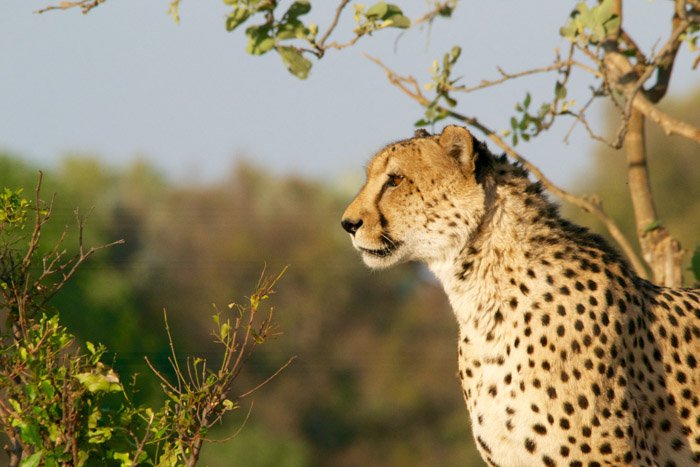
Wildlife Photography
Wildlife photography captures stunning images of animals in their natural habitats. It requires patience, skill, and the right gear. A telephoto lens is essential for getting close-up shots from a distance.
Look for lenses with fast autofocus and image stabilization. Tripods keep your camera steady in low light or when using slow shutter speeds. Wear clothing that helps you blend in with your surroundings.
Wildlife photography is challenging but rewarding. Start by practicing on animals in your backyard or local park. You can visit more exotic locations to photograph rare species as your skills improve.
Capturing the beauty of wildlife is a never-ending journey celebrating nature’s wonders. If you’d like to learn more about wildlife photography, our complete guide thoroughly examines the genre.
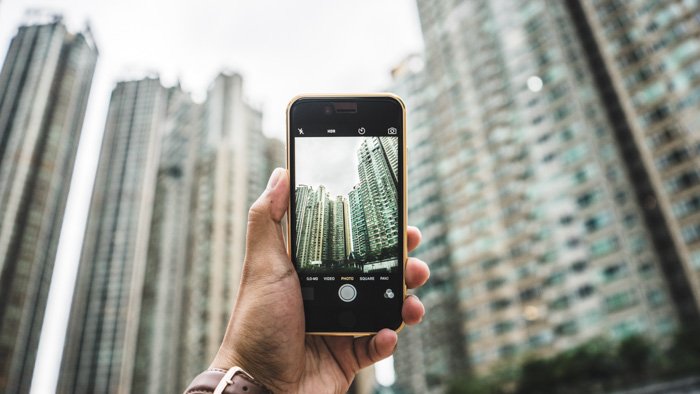
Smartphone Photography
Smartphone photography is a great way to capture the world around you. Your phone is always with you, making it the perfect tool for snapping photos of friends, family, food, and travel landscapes.
Consider investing in a few accessories to take your smartphone photography to the next level. A tripod will keep your phone steady for sharper shots, while extra lenses can expand your creative options. Macro, wide-angle, and telephoto lenses are all available for smartphones.
Editing your photos is also key to creating stunning images. Many apps, like Adobe Photoshop and Lightroom, offer mobile versions for quick and easy editing.
With the right techniques, you can improve your smartphone photography. You can then capture amazing shots wherever you are!
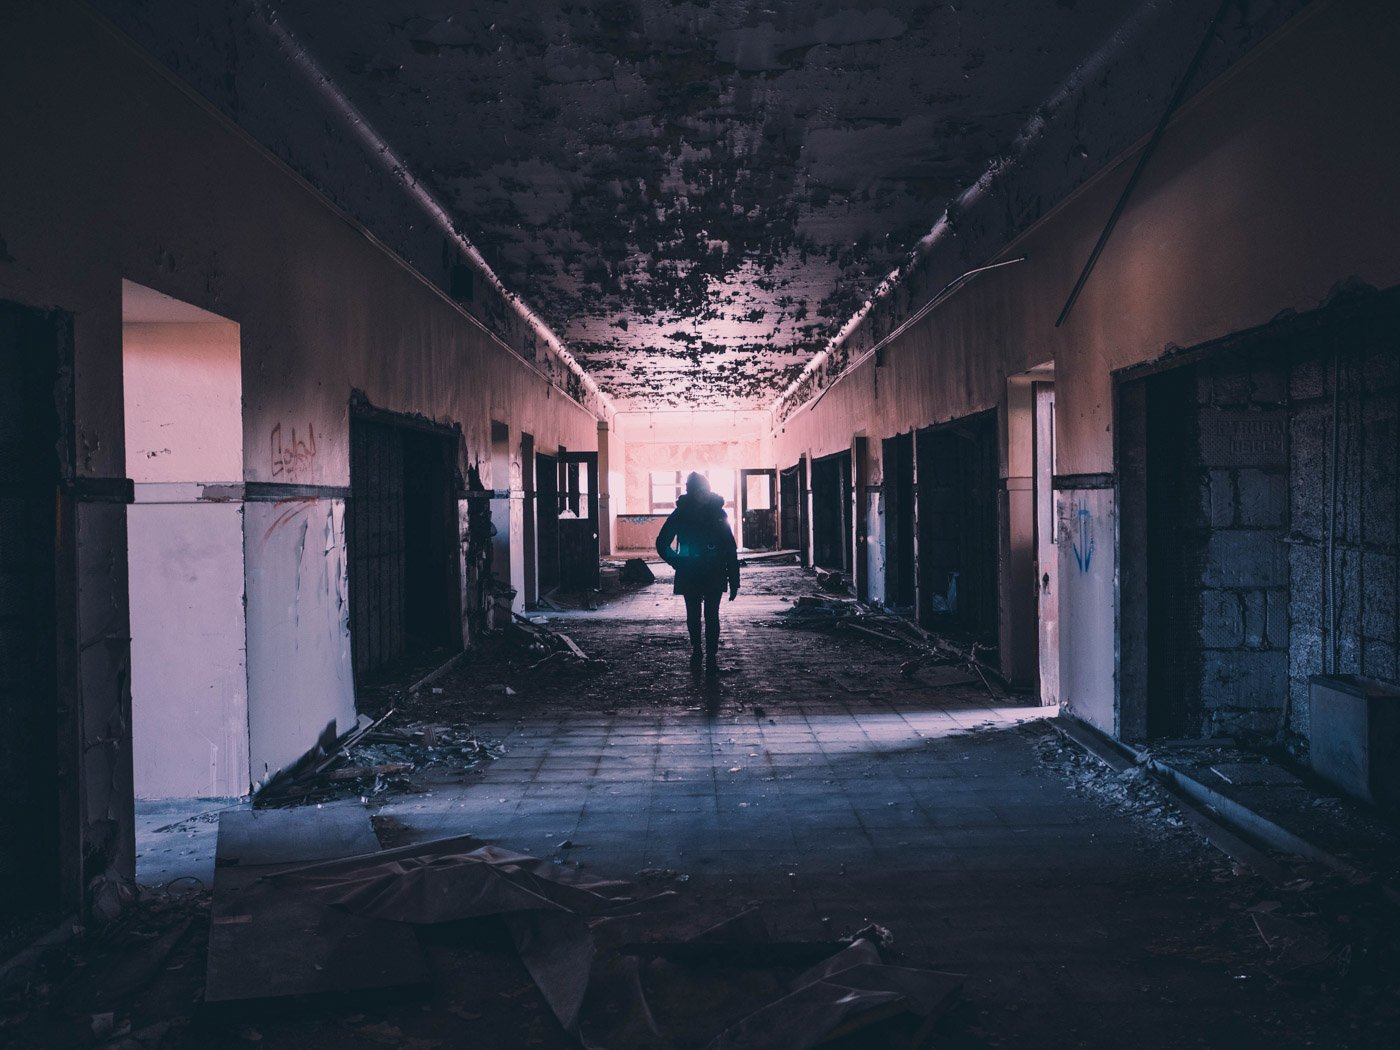
Urbex
Urban exploration, or “urbex,” is a thrilling type of photography. It involves exploring abandoned buildings and structures. It offers a unique opportunity to capture eerie and captivating images but can also be dangerous.
To get started with urbex photography, you’ll need the right gear. A compact camera like the Fujifilm X-Pro3 is a great choice for its rugged design and excellent image quality. Wide-angle lenses are ideal for capturing full-room views of abandoned spaces.
When exploring, always remember safety. Wear protective clothing and bring a first-aid kit. Research locations beforehand and never go alone.
Remember to be respectful and follow the urbex philosophy: “Take nothing but pictures and leave nothing but footprints.” With the right preparation and mindset, you can create stunning urbex photographs.
To learn more about urbex photography, check out this comprehensive guide.