Your iPhone has a powerful camera and many exciting features that can result in wonderful photos. Carrying your phone with you means that you can turn any situation into an instant photo shoot. But do you know how to take full advantage of your iPhone camera settings?
In this article, we’ll show you 12 iPhone camera settings that will change the way you take photos.
Instead of freezing the moment and taking a still photo, you can use Live Photo with your iPhone camera setting to capture movements and sounds. This camera mode is perfect for preserving special moments that wouldn’t look the same in an ordinary picture.
To use the Live Photo setting on your iPhone, look for the symbol consisting of circles within each other at the top of the screen. If it has a line through it, it means it is disabled.
When applying this camera mode, remember that your device automatically captures a 1.5 second-long video before and after you press the shutter button. Make sure to keep the camera still for a few seconds when taking the shot.
Go to the Photos app to play back your Live Photo, open it and hold your finger on the screen to watch it. You can even apply certain effects to make it more unique.
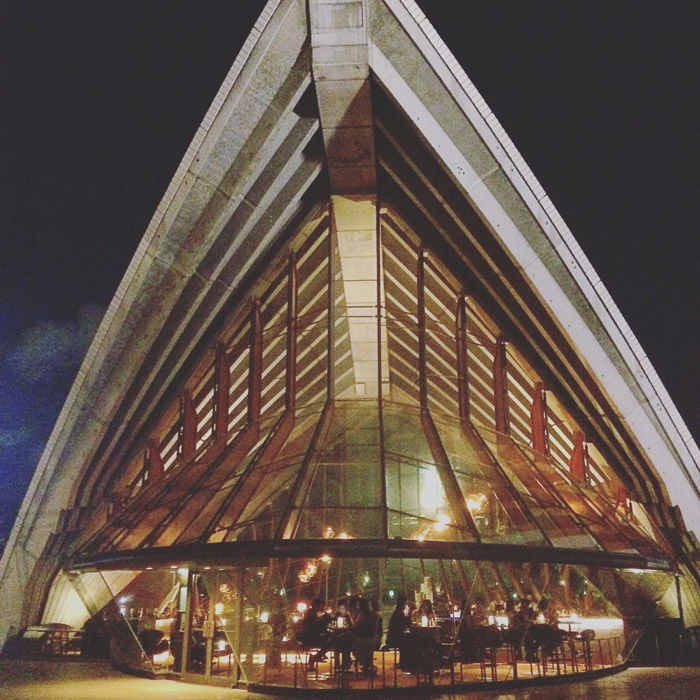
Open up your Live Photo and swipe up to access the effects. You can choose between Loop, Bounce or Long Exposure. Loop will turn your Live Photo into an endless video loop. Bounce will play your Live Photo forwards and then reverse, similarly to Boomerang. Long Exposure blurs any movement and it is the perfect way to create silky effects of waterfalls or rivers.
The iPhone camera has a large depth of field. This means it’s good at keeping both the foreground and background sharp. But that doesn’t mean you don’t need to focus anymore. Otherwise, you might end up with a blurry image you won’t be able to use.
Every time you take photos with your device, wait before you press the shutter button and set the focus point first. After framing your shot, tap the screen where you want to set the focus on (this should be your subject). A yellow box will appear signalling the focus point.
Unless you are taking photos in a studio, the environment is likely to change. Your iPhone camera will automatically refocus itself. To preserve settings, your iPhone camera makes it possible to lock the focus and the exposure manually. To do so, tap and hold on the yellow square which is indicating the focus point of your photo. After a few seconds, you’ll see the AE/AF Lock sign popping up at the top of the screen. To unlock the mode, tap anywhere on the screen.
Sure, it sometimes takes a moment to focus on your subject. But at least it guarantees you’ll have a sharp photo in the end. Make a habit of tapping that screen before you press the shutter button.
Your iPhone camera automatically adjusts the exposure for you. However, it won’t get it right every time and your photo will be too dark (under-exposed) or too bright (over-exposed). What should you do when this happens?
The answer is to use the Exposure Slider. This tool lets you override your iPhone’s exposure settings and adjust it yourself.
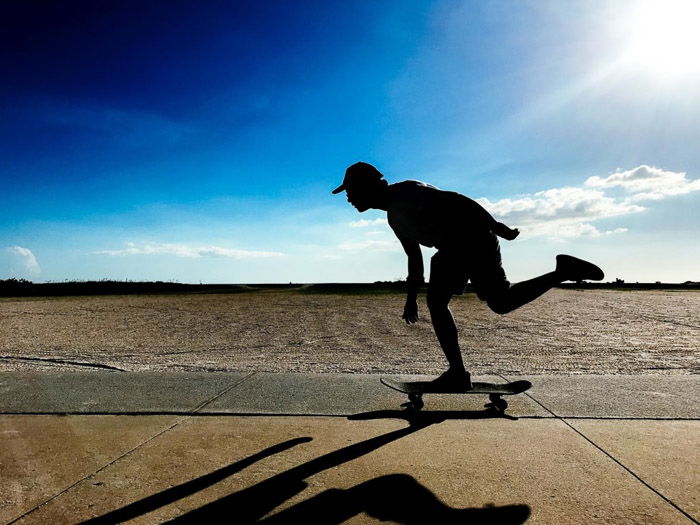
You can use the Exposure slider for a variety of reasons. The most crucial is using it to correct the brightness. But you can also over/underexpose your shots to achieve specific effects such as the silhouette you see in the photo above.
The Exposure Slider only appears when you tap on the screen to select a focusing area. So make sure you see the yellow box before making any adjustments. Once the yellow box appears on your iPhone screen, a sun icon also pops up beside it. Move your finger up or down to change the exposure.
You’ll see the scene darken or brighten in real-time so you know how much you need to adjust. It is one of the hidden iPhone camera settings and many people don’t even realise it exists.
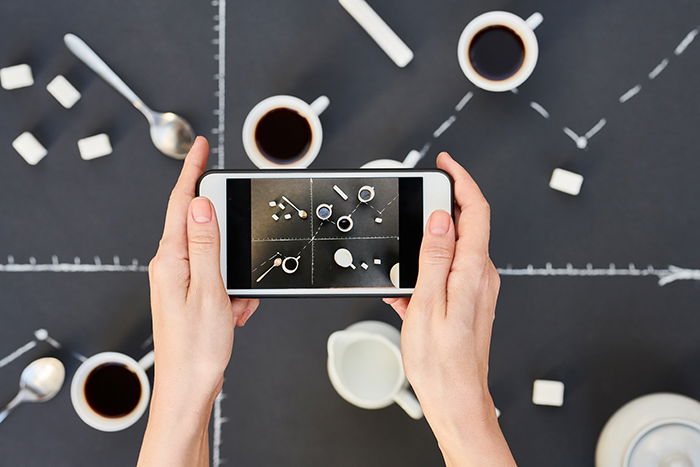
Some beginner photographers find it difficult to understand the concept of composition. Fortunately, there are easy composition guidelines you can follow such as the Rule of Thirds.
By dividing the frame into a 3 x 3 grid, the Rule of Thirds shows you where to place your subject in the photo. Following this guide should be easy enough, but what if you can’t imagine the lines in your head?
The good news is, you can access the gridlines feature as one of the iPhone camera settings to help you master the shot. Just go to the Settings on your iPhone, choose the Camera tab and switch on the Grid feature. Once you activate the mode, the grid lines will show up on the screen right in front of the scene you want to take a photo of.
All you have to do is position your main subject along those lines or wherever any of them in the grid intersect. Hit the shutter button and your perfect composition is ready!
Like many people, there’s a good chance you use Instagram/VSCO filters a lot more than the ones your iPhone camera offers. But using your original app to edit the hues of your photos does have a few advantages over third-party apps.
The first advantage is that you can use iPhone filters even when you’re in Live Photo Mode. That means you can apply your favourite settings in real-time while taking a photo.
First, open the camera app and tap the icon with three overlapping circles at the top right corner of the screen. If you have a newer version of the iPhone, you have to tap on the arrow on the top of the screen to access additional camera settings such as the filters, the timer or the Night Camera Mode.
Then, all you have to do is choose from the available filters and start taking pictures!
The Photos app also lets you change the preset of your image at any time without affecting its quality. To do this, go to the Photos app and tap the icon with the three circles. Next, select from numerous filter options to replace the one you already have.
Unlike third-party apps, your iPhone doesn’t overlay a filter over the one you already applied earlier. That way, you don’t end up with an over-saturated photo featuring unnatural colors.
Getting the timing right when you’re taking photos can be challenging when you have a moving subject.
So how do you make sure you don’t miss the moment as it happens? Well, you can either hold your breath and hope you press the shutter at the right second… or you can use Burst Mode.
You don’t have to change any of your iPhone camera settings to activate the Burst Mode. All you have to do is press and hold the shutter button. With a newer iPhone camera (11, 11 Pro or 11 Pro Max), you have to tap the shutter button and immediately slide it to the left for portrait-oriented photos or drag it up in case of landscape orientation.
Your device will then keep taking photos as long as your finger touches the screen. Burst Mode takes approximately 10 photos per second.
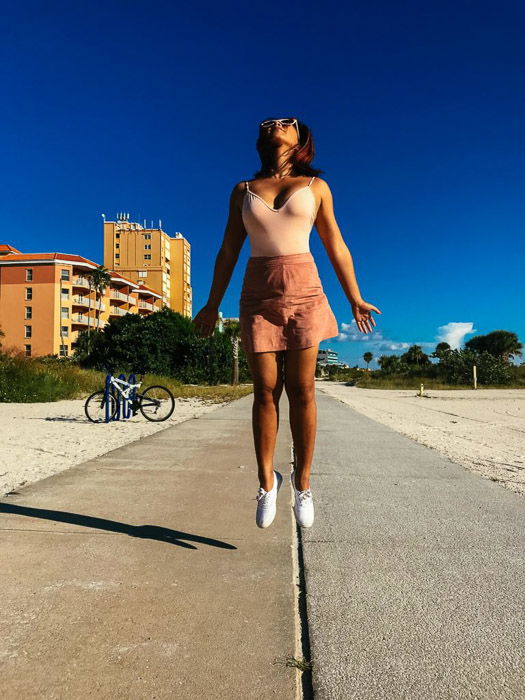
You can use Burst Mode for action shots where movements happen quickly. It is the best mode for taking photos of children, animals or capturing people running, jumping, walking, dancing or biking. You can also try it when taking candid photos where you capture moments as they arise.
Once you are done, you can select the best photos and disregard the rest of them. Open the Photos app, tap on the Burst to open it and choose the Select button at the bottom of your screen. Choose the photos you want to keep, then tap on the Done button in the right upper corner and select Keep Only Favorites.
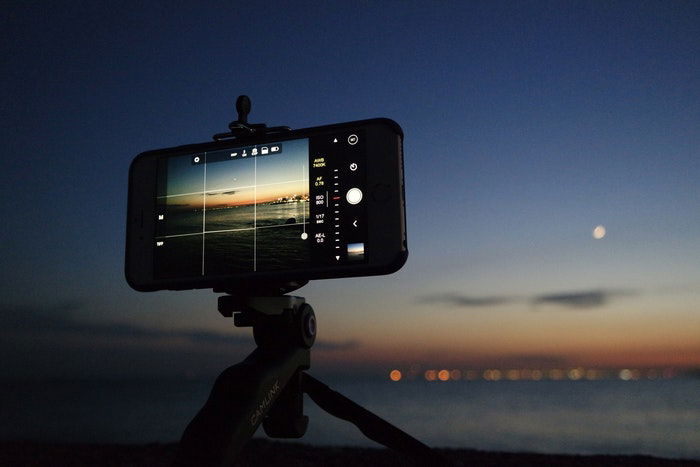
Another very useful iPhone camera setting is the self-timer. You can use this camera mode for different purposes such as taking self or group portraits. But you can also activate it when shooting landscapes or nighttime photos to prevent camera shake.
You’ll find the iPhone’s self-timer at the top right area of the screen or after tapping on the up-arrow if you have an iPhone 11, 11 Pro or 11 Pro Max. Once you tap it, it will show you the 3-second and the 10-second timer options.
When shooting a self-portrait or a group photo, choose 10 seconds. Doing so gives you enough time to get into the frame before the shutter goes off. If you’re shooting landscapes and nighttime shots, the 3-second option works fine.
When using the self-timer camera mode, always make sure to find a solid surface to stabilize your iPhone. If you think you’ll be using the self-timer a lot, consider bringing at least a mini tripod with you.
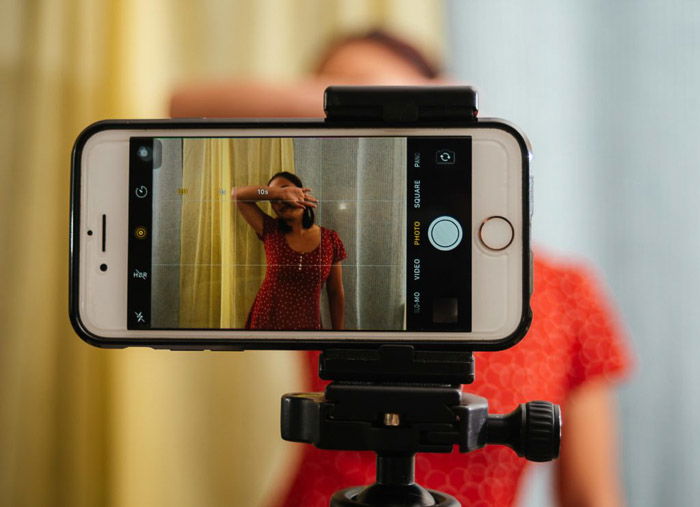
In the age of social media, you can’t limit yourself to the rectangular 5:4 or 4:3 photos anymore. These days, you’ll need the flexibility to try a 1:1 square format and other aspect ratios as well. The easiest way to do that is by using the crop tool on your iPhone.
First, open your Photos app and choose the image you want to edit. Next, tap the crop tool (a square icon with arrows surrounding it). You can trim the file manually, but the easier way is to choose the aspect ratio you want, instead.
There are a variety of options when it comes to your selection of aspect ratios. The most common ones are 5:4, 5:3,4:3, and 3:2 for rectangular images.
For panoramic photos, your choices are 7:5 and 16:9. And if you want a square picture for Instagram, then pick 1:1.
The downside of cropping is that it can decrease the quality of your files. To maintain the iPhone camera resolution, choose the aspect ratio you want via shooting modes.
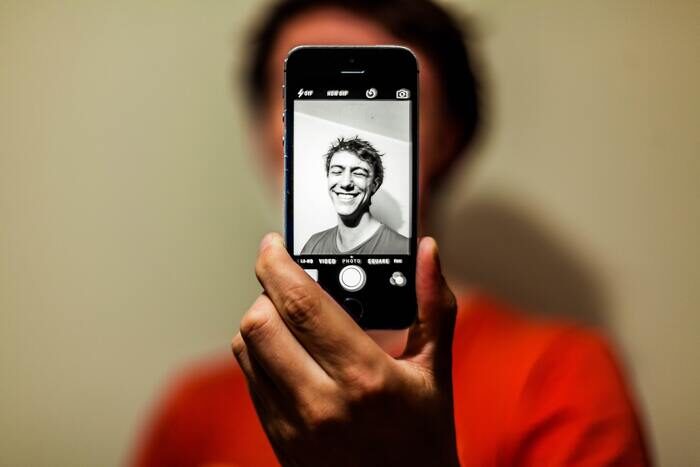
At the bottom of the screen in your camera app, you can choose from Photo, Square, and Pano among others. The default setting is Photo, which produces 5:4 size images. For Instagram, pick the Square mode which has an aspect ratio of 1:1. And for 16:9, you can select Pano. Your phone will then adjust the screen size on live view to reflect the aspect ratio you prefer.
Unfortunately, if you still want to reduce your panorama photo from 16:9 to 7:5, you’ll need to use the crop tool. And the same goes for cutting down 5:4 images to 4:3 or 3:2.
Of course, the iPhone offers more shooting modes than the Photo, Square, and Pano. But we grouped them together because they’re the ones you’ll need if you don’t want to crop your images.
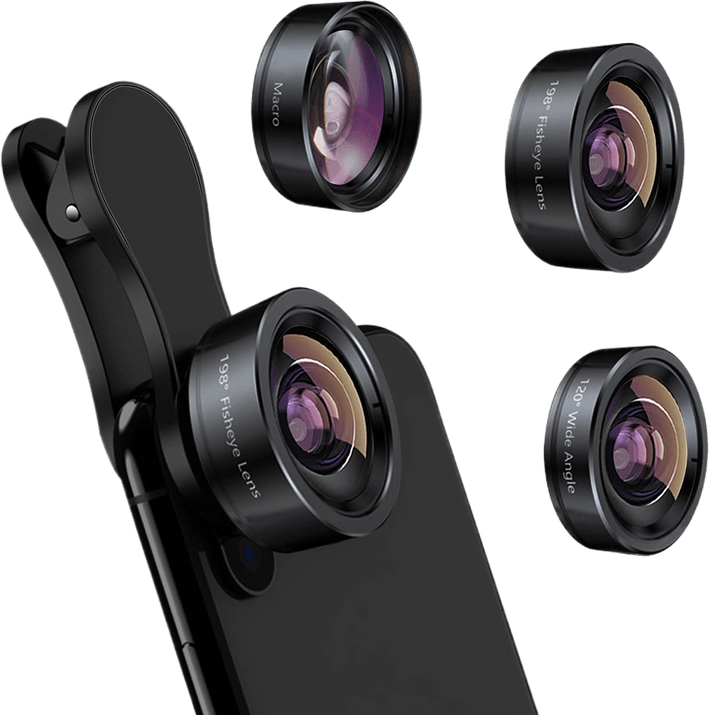
If your iPhone camera has multiple lenses, you have even more options to increase the quality of your photos. If your iPhone has two lenses and it is older than an iPhone 11, you have the Wide and Telephoto camera mode. The iPhone 11 has Wide and Ultra-Wide lenses, while the 11 Pro and 11 Pro Max are equipped with three different lenses for Ultra-Wide, Wide and Telephoto camera settings.
If you open the iPhone camera app, you will see numbers at the bottom of your frame. These are the Zoom options and let you switch between the different lenses. If you tap on the 0.5x option, you will get the Ultra-Wide lens which allows you to capture larger landscapes, buildings or city skylines.
Tapping on the 1x button opens the Wide lens which is appropriate for most photography settings. Switching to the 2x Telephoto lens lets you capture a closer view of subjects in the distance. You can use this camera mode when it is physically impossible to get closer to your subject.

Sometimes, you’ll encounter conditions where neither automatic or manual adjustments will get you the correct exposure. Such situations often involve high-contrast lighting such as overcast scenes, sunrises, and sunsets.
Whenever you find yourself in tricky lighting conditions, make sure to turn on your HDR (high dynamic range) at the top of the screen. Activating it prompts your phone to take three photos with different exposure levels.
The first one is normal, while the next two are brighter and darker respectively. Your device then composes them together to create a vivid image with the correct exposure.
If you own an iPhone 11, this device has two extra camera settings that you cannot control: Smart HDR and Deep Fusion. Both of them try to use many images captured in a short amount of time to create the best one and maximise the fine details such as hair, fur, and texture in the photo.
To disable the Smart HDR camera mode, go to the iPhone camera settings and turn off the button. There is no switch for the Deep Fusion camera setting but you can disable it if you go to your iPhone’s settings, choose the Camera tab and enable the Capture Outside the Frame option.

One impressive feature that iPhone 7 Plus and newer models have is the Portrait Mode. It allows you to take photos with blurry backgrounds by using its dual cameras as well as clever software.
To try the Portrait Mode, open your camera app and tap Portrait at the bottom of the screen. The camera automatically detects the background and blurs it.
If the app tells you that you’re too close to the camera, move until you’re at the proper distance.
Unfortunately, iPhone 5 and iPhone 6 camera settings lack the Portrait Mode. But if you want to try bokeh in your photos, you can opt for third-party apps such as Tadaa SLR, instead.
In Portrait Mode, you also get to change the lighting in your photo through Portrait Lighting. By tapping the iPhone camera screen, you can make your image look like you took it at a stage or even a studio.
To use Portrait Lighting, you first need to select Portrait Mode in the camera app. You’ll find the following lighting effects at the lower part of the screen:
If you don’t want to add any lighting effects, then choose the default iPhone setting Natural Light. To create moody portraits, you can try Contour Light. For professional-looking results, you can select Stage or Studio Light.
The iPhone camera evolves continuously. Always take your time to learn about the new features your device offers and how to use them effectively.
Remember that there’s almost no limit for what you can do when you combine photography skills and creativity with technology.
For more information on iPhone camera settings check out how to use live photos or portrait camera mode next!
For photography tips on-the-go, try our Quick Capture Cheat Sheets!