A CPL filter is a landscape photographer’s best friend. Our article covers everything you need to know about circular polarizing filters, from what they are to how to use them for the best results.
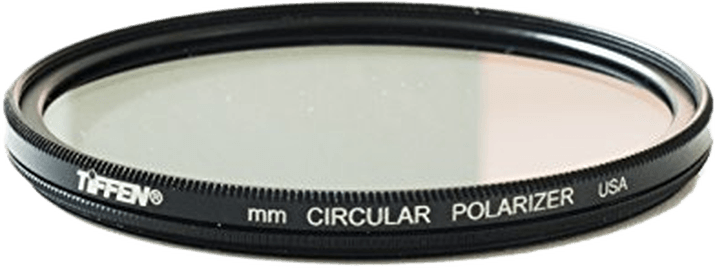
Our Top 3 Choices for the Best CPL Filters
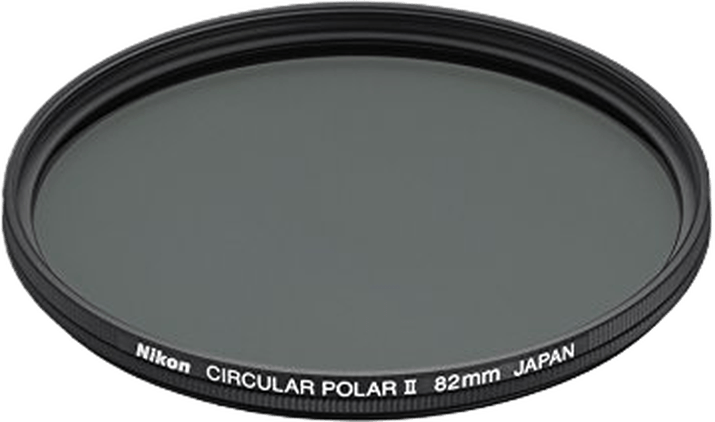
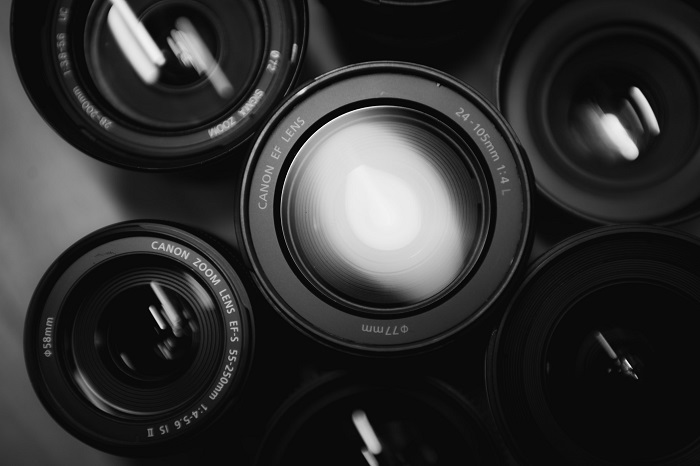
What Is a CPL Filter?
A CPL filter is one kind of optical camera filter commonly used in photography. The abbreviation “CPL” stands for “circular polarizer/linear.”
The circular polarizing filter is placed at the front of a camera lens. It reduces glare and reflections from surfaces like water or glass.
They are a bit different from less common linear polarizing filters. Circular polarizers are designed for cameras with through-the-lens (TTL) metering and autofocus systems.
How Does a CPL Filter Work?
First, we need to understand the two types of light polarization. In nature, light can be polarized linearly or circularly:
- Linear polarization happens when you have a reflection in water, plastic, or glass
- Circular polarization is typical of reflections on metallic surfaces
A CPL filter selectively allows light waves with a specific orientation to pass through. It blocks or reduces light waves with other orientations.
Natural light (like sunlight), or lamplight, is composed of waves vibrating in various directions. This is known as non-polarized light. A CPL filter selects a specific component of the light waves. And it only allows those waves with a particular orientation to pass through.
A CPL filter first polarizes the light by selecting a polarization plane. It then depolarizes it again.
There is a mathematical formula for dampening light intensity through a polarizing filter. It’s called the Malus formula. The Malus formula indicates how much the CPL filter dampens the light intensity that hits the sensor.
Let’s say the angle between a light beam’s input and output direction through the CPL filter is zero degrees. In that case, the light completely crosses the lens filter, and there is no polarization.
If the same angle of entry and exit is 90 degrees, then the two directions form a right angle. Thus, we have the light beam’s maximum absorption and polarization.
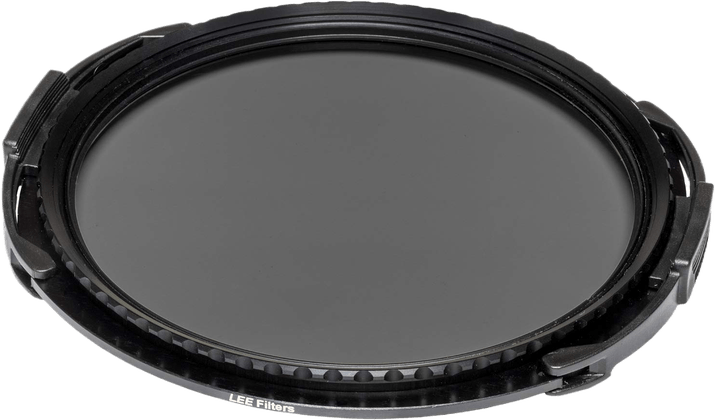
CPLs are built with a rotating ring that allows movement of the lens filter. You can orient the plane of the polarization until you get the desired effect.
The filter appears dark. That’s because it is designed to absorb or block a significant amount of light that does not have the desired orientation. It helps to reduce reflections and improve the overall quality of the captured image.
What Are the Effects of a CPL Filter?
Elimination of Reflections
The polarizer’s first and most important effect is to help remove reflections. A linear polarizer eliminates reflections from water, glass, and non-metallic surfaces. A circular polarizer also removes reflections from metal surfaces.
A CPL filter returns transparency to a body of water. It removes reflections and gives you a higher-quality image. For example, you’ll be able to see the bottom of a sea or lake.

Rocks under the water are only visible with the CPL filter
Wood and metal paints polarize the light, so you should use a polarizing filter. Protective lacquers do the same.
A CPL filter is also great on any glass. It removes the reflection, making the objects behind the glass visible. Think of paintings or exhibits, for example.
The CPL filter is not all-powerful, though. Glass is difficult to photograph due to its reflection. You might get leftover reflective residue.
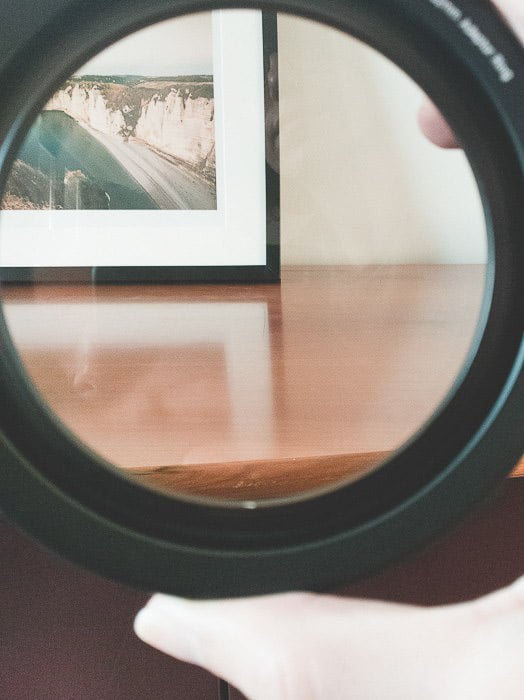
CPL filter with no effect on wood reflections
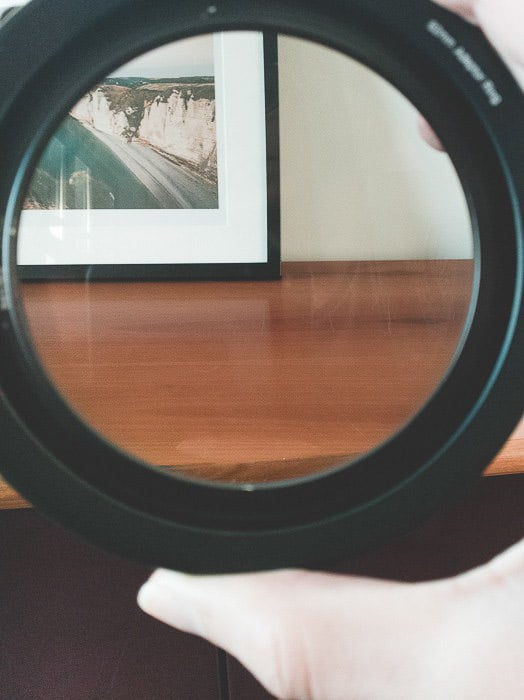
CPL filter with maximum effect on wood reflections
Darker and More Intense Skies
Another classic effect of the CPL filter is to darken and saturate the sky. This results in an intense blue sky with a gradient that slopes towards the horizon line.
You can see an example of this effect on a sky on clear days with strong contrasts from the clouds. The effect is more significant if the sun is placed to the side of the shooting point. The filter’s effect will be lessened if the sun is at your back.
It is difficult to darken the sky and polarize the light at sunrise, sunset, or very cloudy days. In these conditions, I only use the CPL filter to remove reflections on the surfaces.
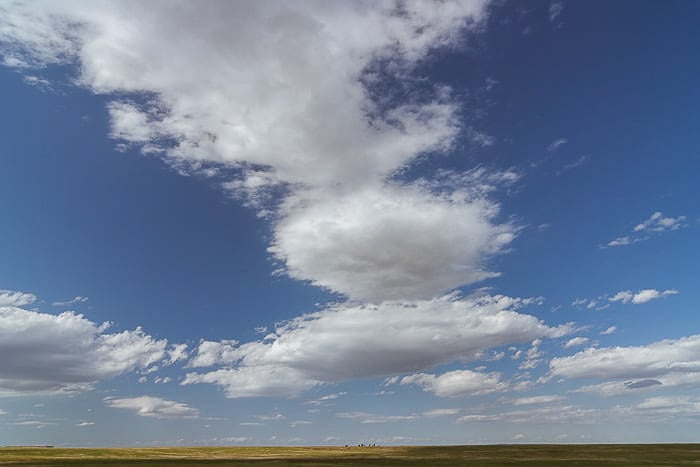
A CPL filter was used to bring out the texture of the sky
Saturated Colors
The last consideration is coloring. A CPL filter can saturate colors. Removing reflections and filtering the light leads to this effect.
It does so with deep blue skies but also by intensifying the green color of foliage. It also removes the white glow of incandescent light from leaves. It makes them a pleasant, uniform green color.
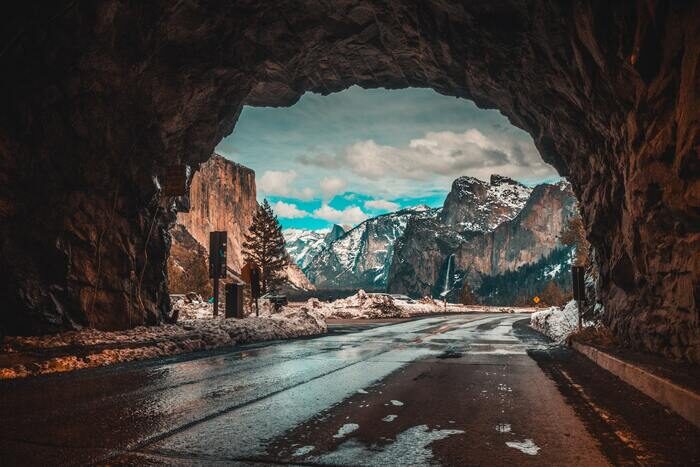
When Should I Use a CPL Filter?
A CPL filter can improve your image quality whether you photograph in a national park or on a travel assignment in India. It is also a must-have accessory if you shoot interiors with reflective surfaces or only want a filter to protect your front element.
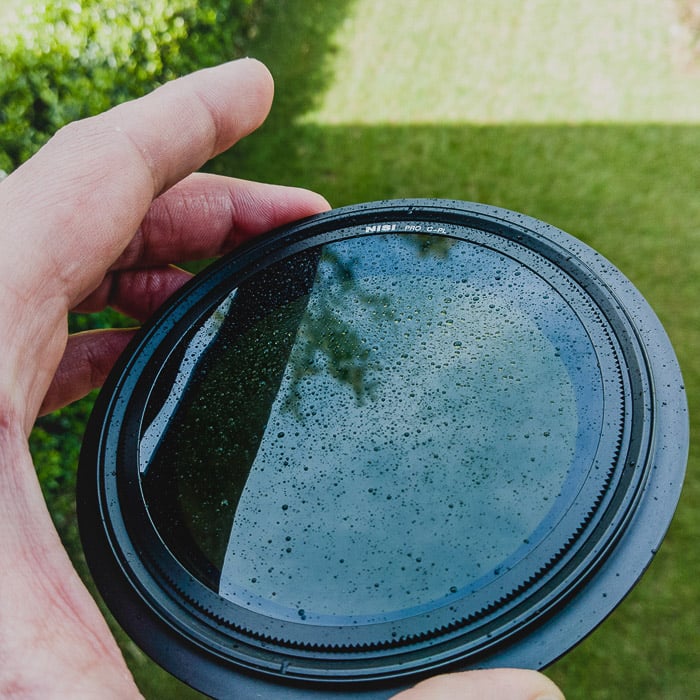
The NiSi V5 Circular Polarizer filter and its rotational mechanism
How About the Sun?
The Malus formula shows that the best polarization occurs when the CPL filter’s incoming rays are 90 degrees. This is for the rays coming out of the polarities.
This means you have the maximum effect of the polarization when the sun is to the side. With the sun in front of or behind you, the effect of polarization will be minimal or even nil.
When Not to Use a CPL Filter
When There’s Not Enough Light
A polarizing filter reduces the light that enters the lens and affects the camera sensor.
This is not a big problem for landscape photographers since the camera is usually on a tripod. But if you are shooting freehand, consider this loss of brightness. This helps you avoid blurry shots.
Good CPL camera filters reduce the incoming light by approximately one stop. But turning the filter can mean that the exposure compensation reaches two stops.
Unlike neutral density filters, a CPL filter has a certain variability in light absorption. For example, ND and graduated ND filters have a set amount of filtered light based on how they’re built.
Usually, photographic filter manufacturers indicate the “filter factor” or compensation factor with an arithmetic scale (1x, 2x, 3x, 4x, etc.).
For a CPL, usually, there is a 2x or 4x filter factor. This means losing one or two stops of light (a half and a quarter of the incoming light, respectively).
If your ISO is 100, it needs to change to 200 or 400. Your shutter speed or aperture could also change instead.
Even if you do landscape photography on a tripod, you should remember this characteristic of the CPL filter and adjust the exposure. Remember that when you use several filters, the cutting multiplies.
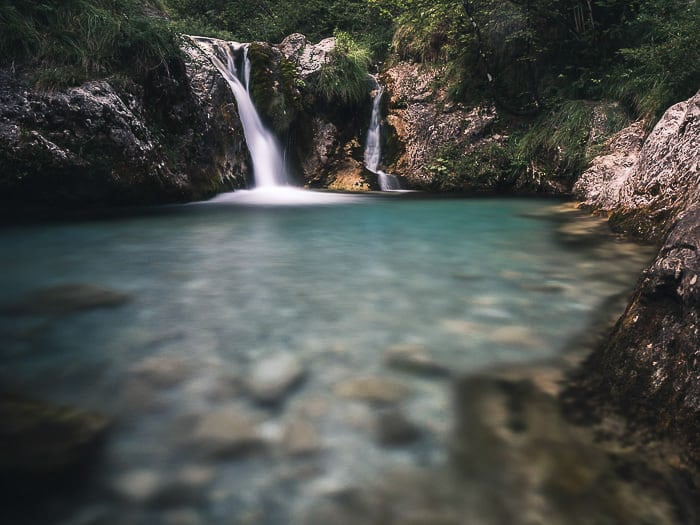
I took this long exposure shot with just the use of a CPL filter
When Using an Ultra-Wide-Angle Lens
A wide-angle lens can lead to halos in the sky. This “defect” is not a true halo. It’s the correct polarization of light in the central and upper parts of the frame. There’s a progressive loss of polarization towards the edges.
This problem occurs mostly with ultra-wide-angle lenses. Generally speaking, a full-frame equivalent focal length between 18mm and 20mm can cause this issue.

A CPL filter causes the classic halo effect.
When You Want to Keep a Reflection
I take most of my photos in the marine environment. That’s why using a CPL filter is crucial to remove the reflections. But in some cases, the reflection is a beautiful detail you want to keep in the image.
Always be mindful of your subject before using any filter. It might affect the overall essence of a scene. Look at the example of this image below.

Sometimes, you should not use a filter to preserve beautiful reflections
Conclusion: What Is a CPL Filter?
The CPL filter is an outdoor photography enthusiast’s best friend. It can restore life to your photos and remove those small defects that cause glare in camera lenses. I never leave home without one in my camera bag when shooting landscape images.
Are you interested in drastically improving your landscape photography skills? Have a look at our Simply Stunning Landscapes course.
Our Top 3 Choices for the Best CPL Filters