
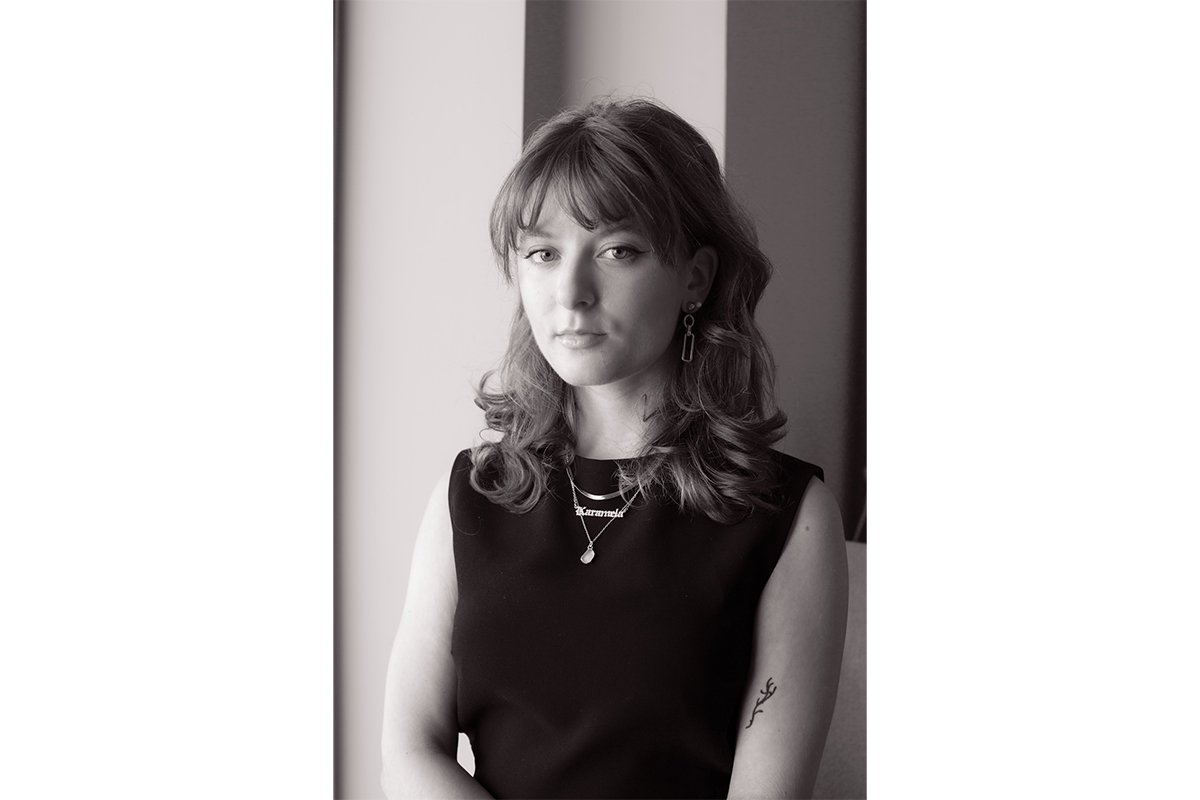
Editing portraits in Adobe Lightroom can be an extremely easy process. Now, there are multiple ways to edit a portrait thanks to all the modern features Lightroom employs. There are different approaches for different difficulty levels, which offer you different levels of control.
In this article, we will guide you through different approaches to editing portraits in Lightroom. By the end of this article, you will have a good idea of what results you get from these different approaches. You will then be able to confidently create your own portrait edits in Lightroom!
Editing Portraits in Lightroom
Adobe Lightroom is a brilliant digital editing software, but it may require some attention from beginners. Luckily, Adobe spends a lot of time ensuring the interface and usability are as smooth as possible. Thanks to this approach, beginners can experiment and learn as they go.
There are a few ways to approach editing portraits in Lightroom. We will take you through four different methods when approaching portrait editing in Lightroom. The methods are:
These four methods give you different levels of control. Let’s explore them to see their benefits and find which works best for you!
Using Auto to Edit Portraits in Lightroom
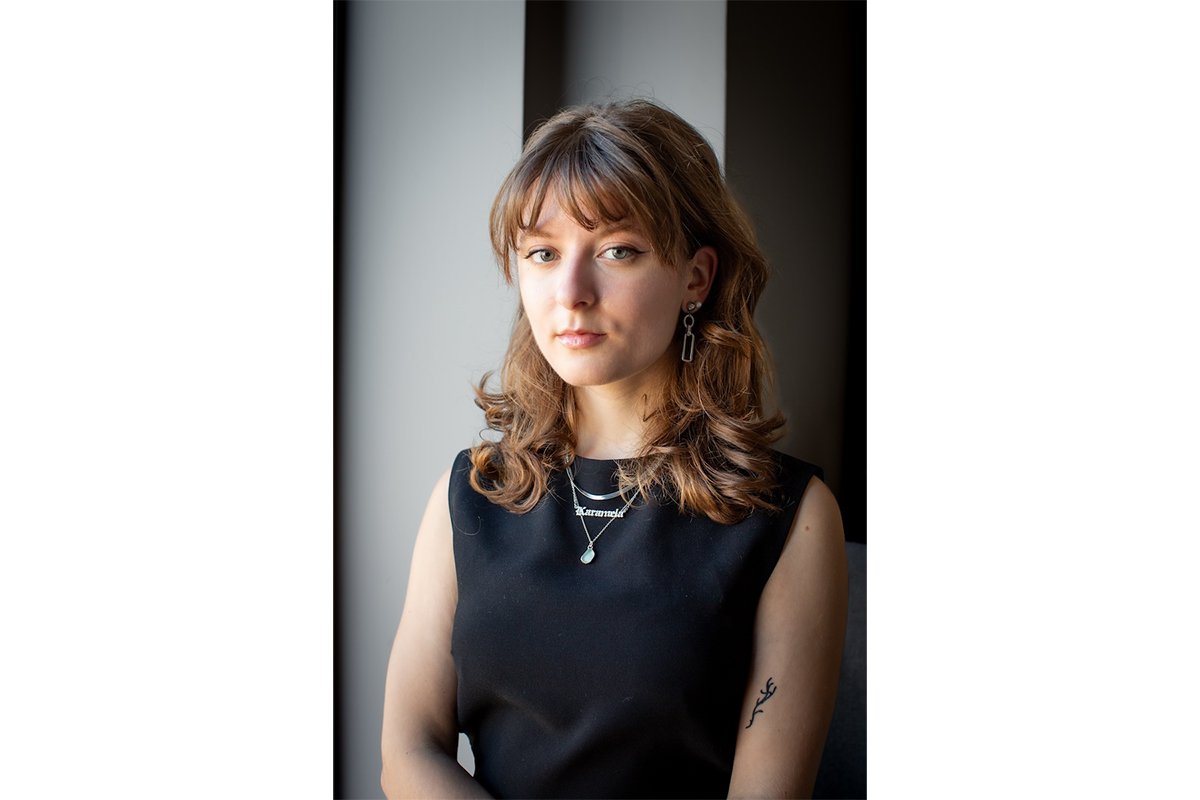
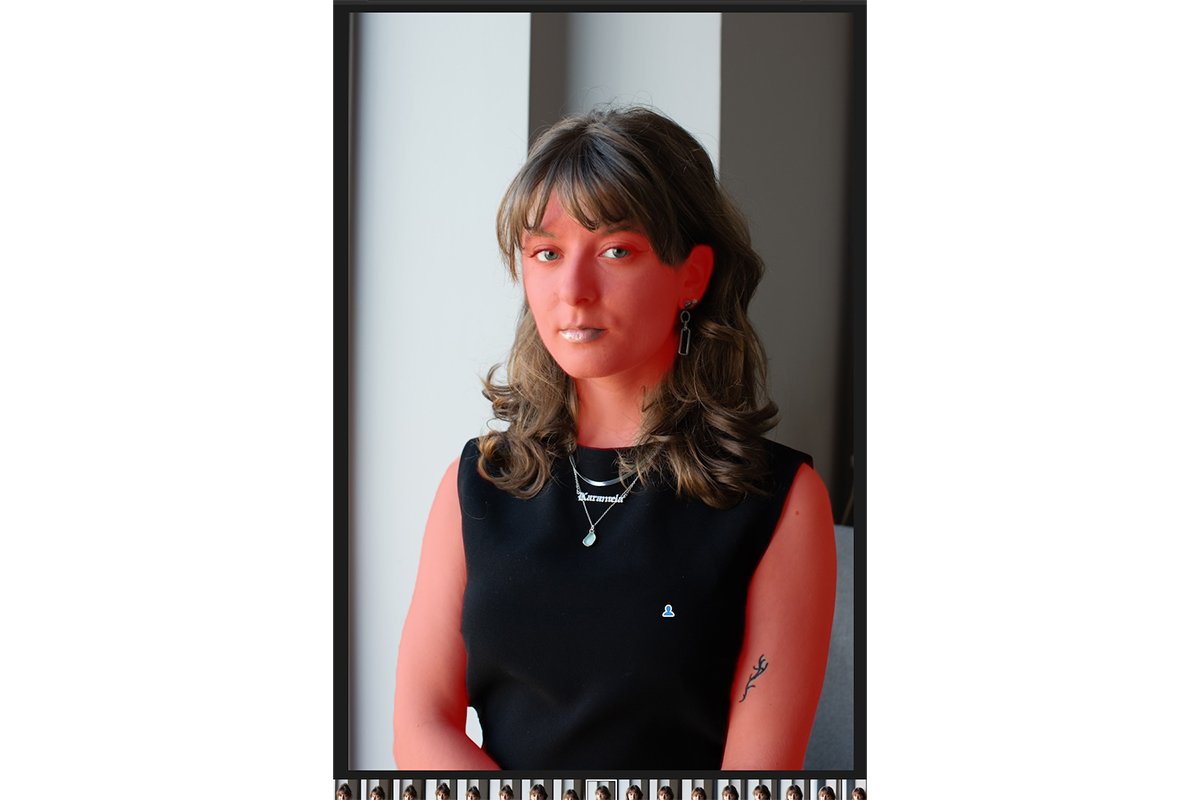
If you are unfamiliar with Lightroom and want to spend as little time editing as possible, click the Auto edit button! Many digital editing software go overboard when adjusting automatically, but not Lightroom.
Lightroom dramatically enhances an image without overdoing it. This simple click enhances your portrait within seconds.
Using Presets to Edit Portraits in Lightroom
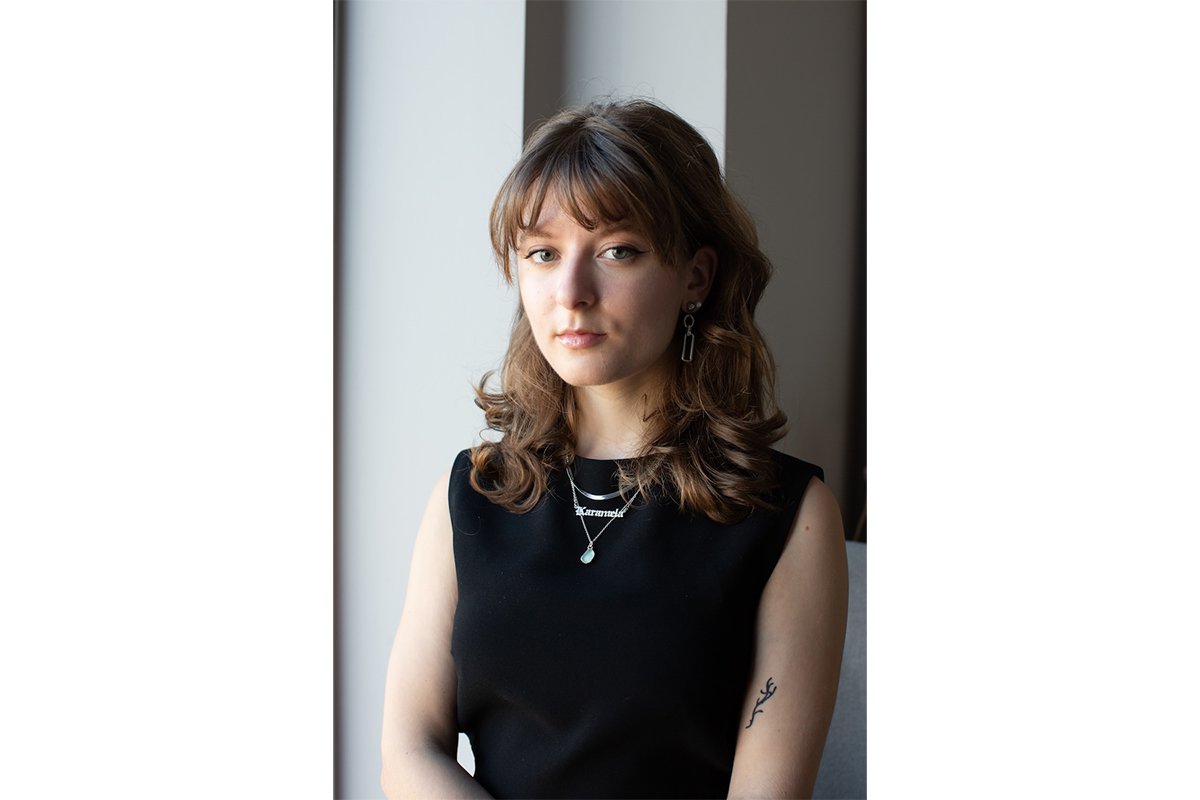
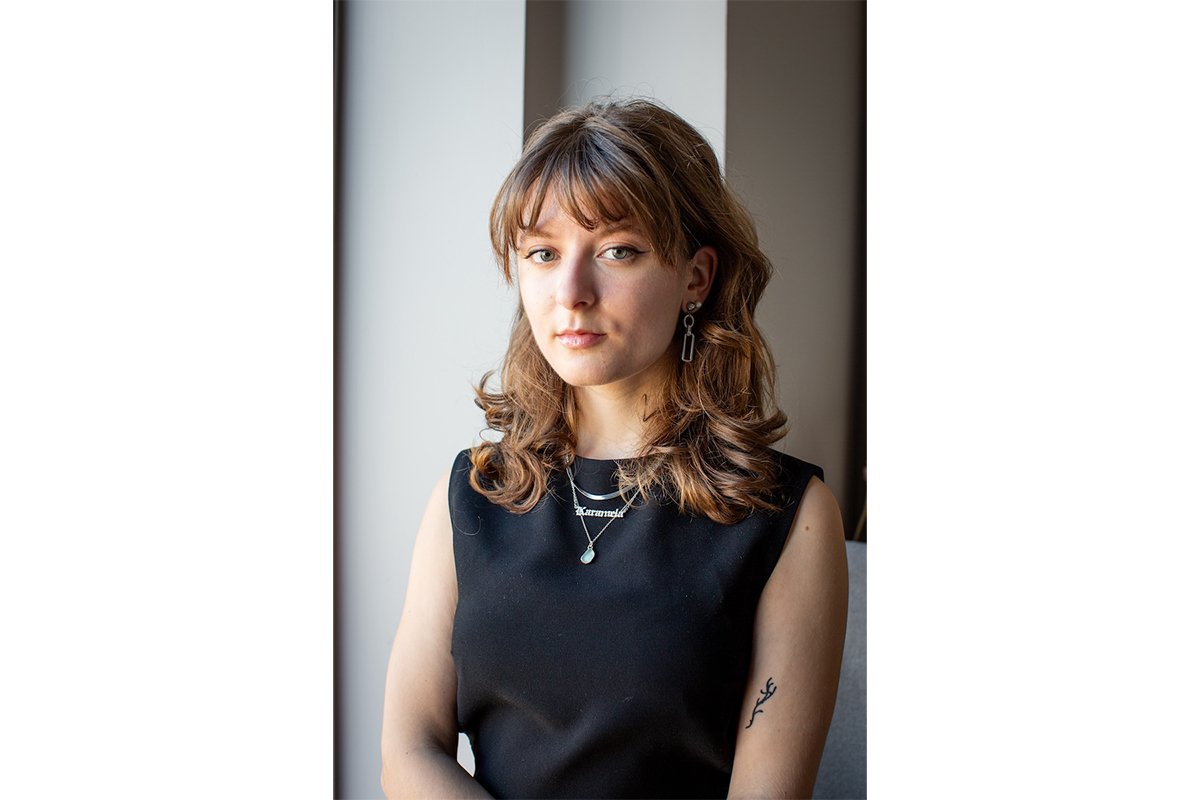
The easiest and quickest way to select a portrait style is to use Lightroom presets. Lightroom offers a wide range of presets you can experiment with. This method is the best approach for beginners because it involves the least human input. You can always fine-tune your edits as much as you want after Lightroom applies the preset.
Adobe Lightroom provides some adaptive presets for portraiture. These presets only affect the face of our subject. Thanks to the use of AI, we can achieve particular portrait styles with little intervention. Lightroom also has a range of presets specifically designed for portraits.
The adaptive presets are brilliant for enhancing your portraits in a single click. One preset may make a small adjustment, like Enhance Eyes, while another may apply a popular photography effect, such as Gritty Portrait. There are even options to enhance the texture of the hair.
One of the most helpful features is found only in Lightroom CC (not on Lightroom Classic.) This is the “Recommended” section in the Presets panel. The recommended section uses AI to read your image and suggests a range of user-made presets that may match your image. These suggestions are brilliant for seeing the different capabilities of your photo. You can then fine-tune your adjustments once they’re applied.
Using AI Masks to Edit Portraits in Lightroom
If you like the adaptive presets but want even more control, you’ll want to edit your portrait with masks. Luckily, Lightroom has an excellent masking system that simplifies the process.
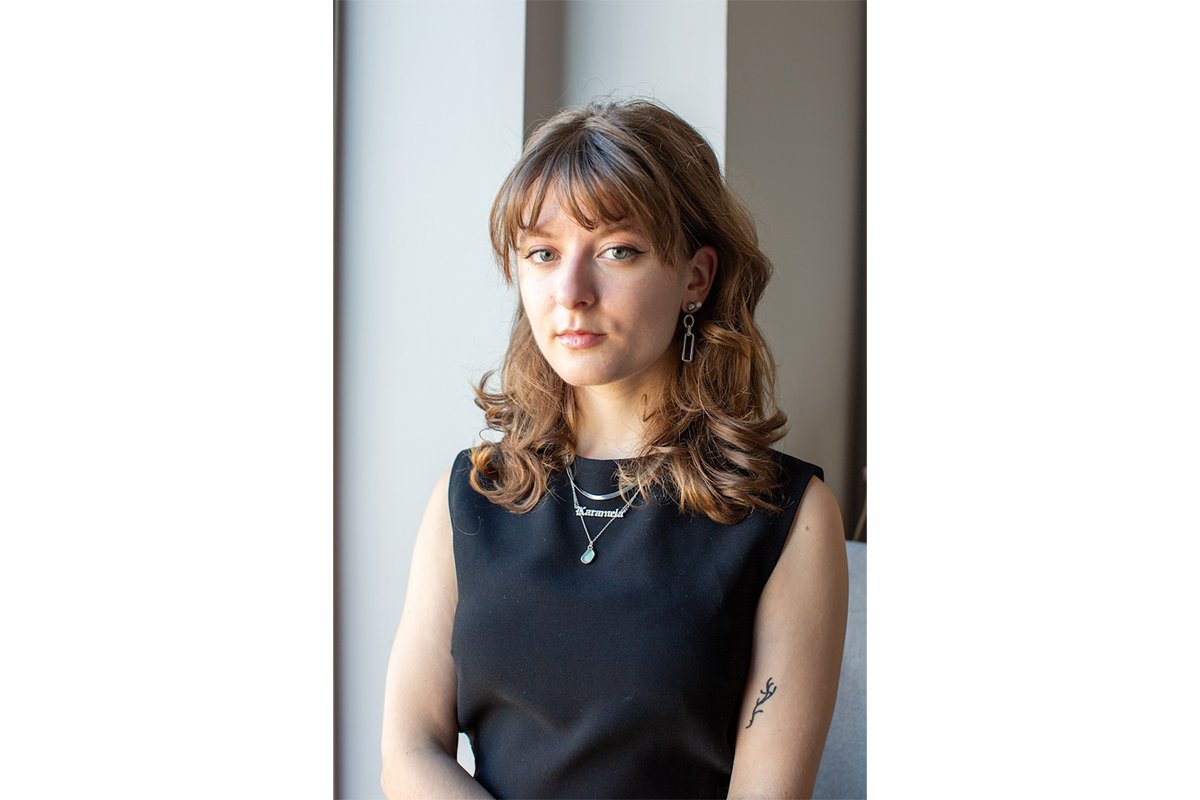
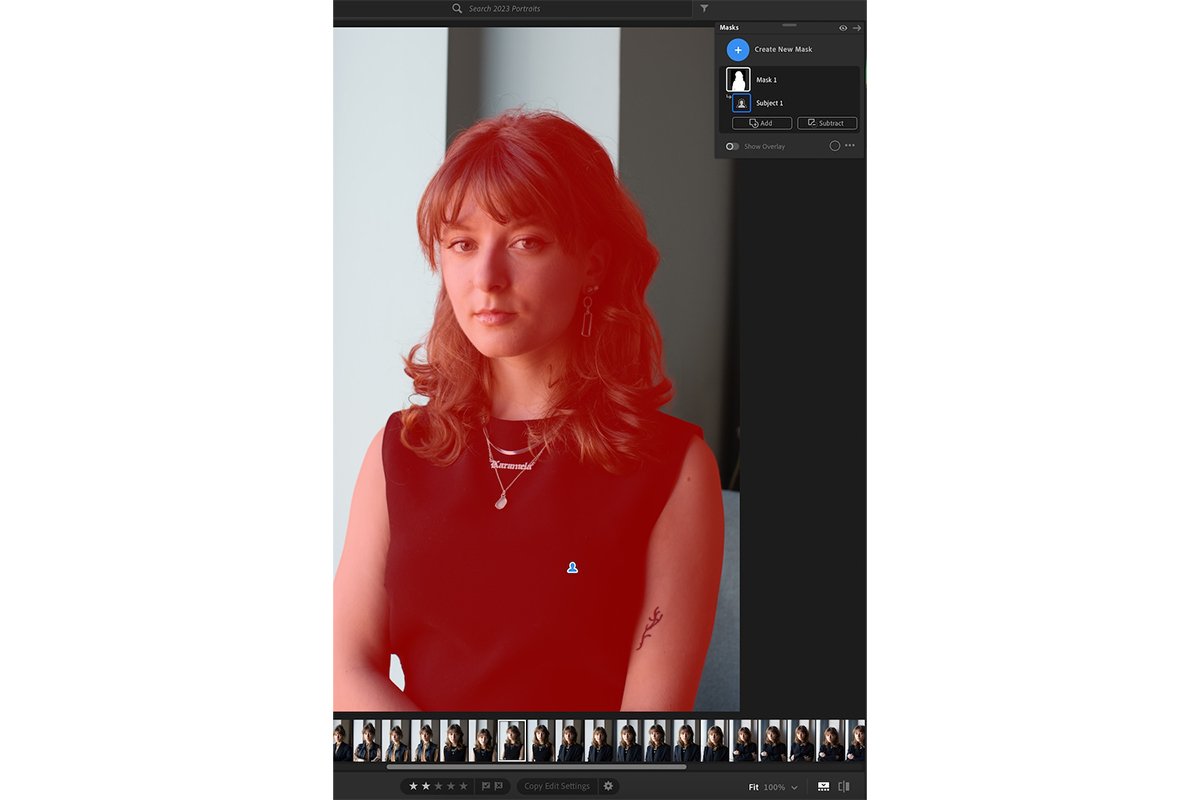
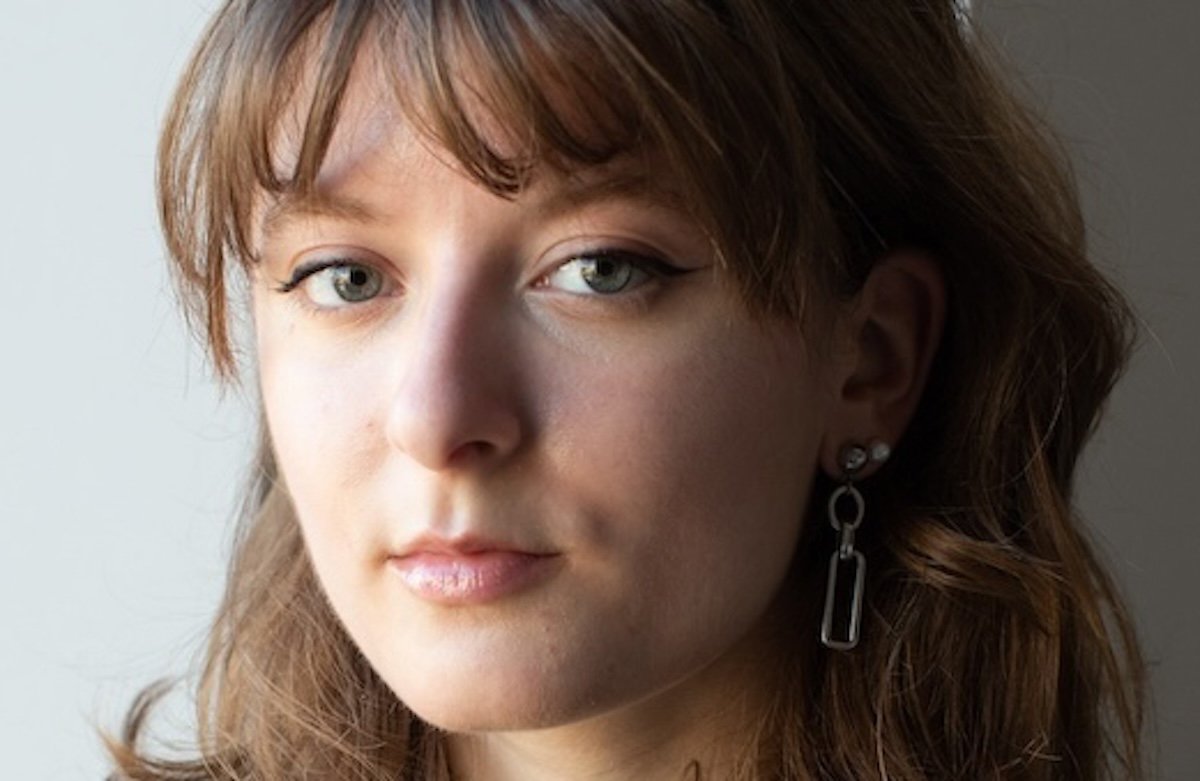
First, navigate to the Mask section in Lightroom. Then, click “Subject” if you want to edit the person in the portrait. Adobe Lightroom will now create an extremely accurate mask that is highlighted in red.
A better way to create a professional mask is to select “People” when choosing your mask. You can click on this person to open Adobe Lightroom’s brilliant array of portrait masks. These masks are game-changers. They make finer portrait editing accessible for beginners while saving loads of time for professionals.
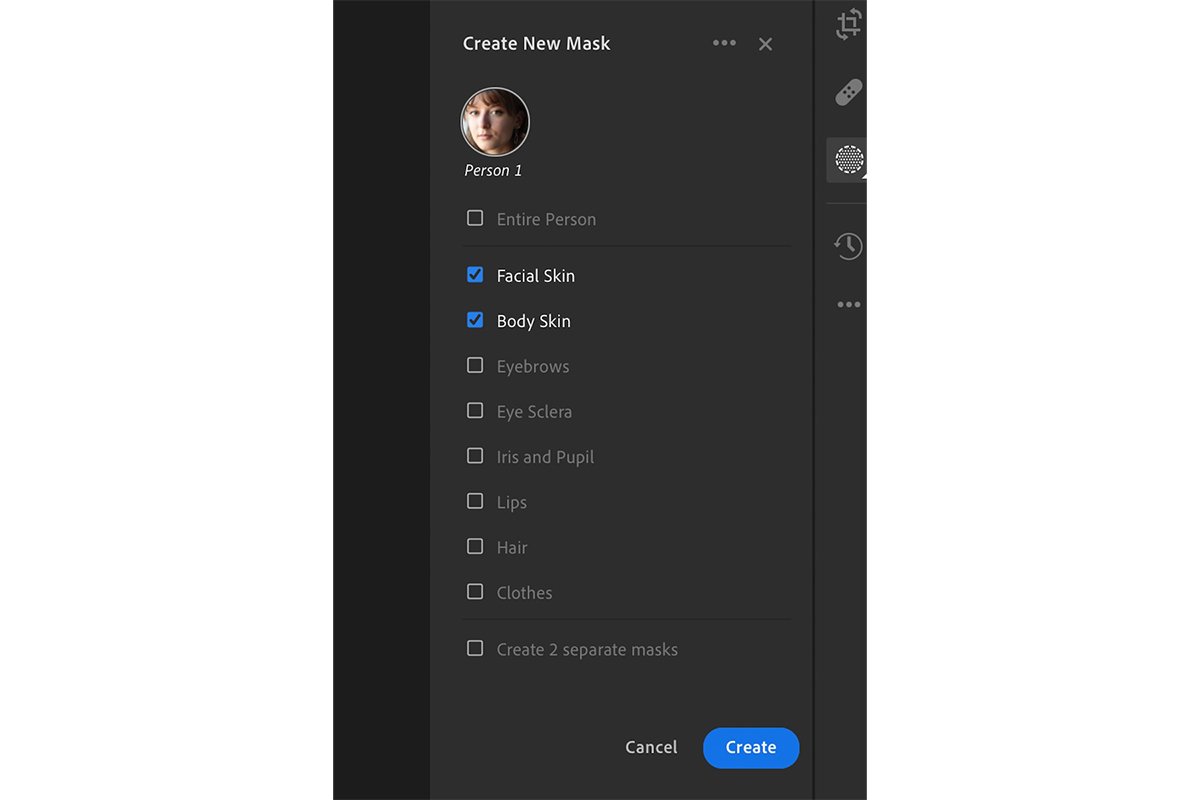
These masks separate the facial skin, body skin, eyebrows, eye sclera, iris and pupil, lips, hair, and clothes! You can even combine the sections you want, such as facial skin and body skin or eye sclera with the iris and pupil.
Once you create your mask, you can work on the Edit adjustments as you would normally in Lightroom. This is the perfect way to make all the adjustments you want to your exact specifications.
If you want to edit the background, you can use the “Create A New Mask” option specifically for the background of your portrait. You can then work down the adjustment list again to ensure your subject has all the attention they deserve!
Using Editing Tools for Portraits in Lightroom
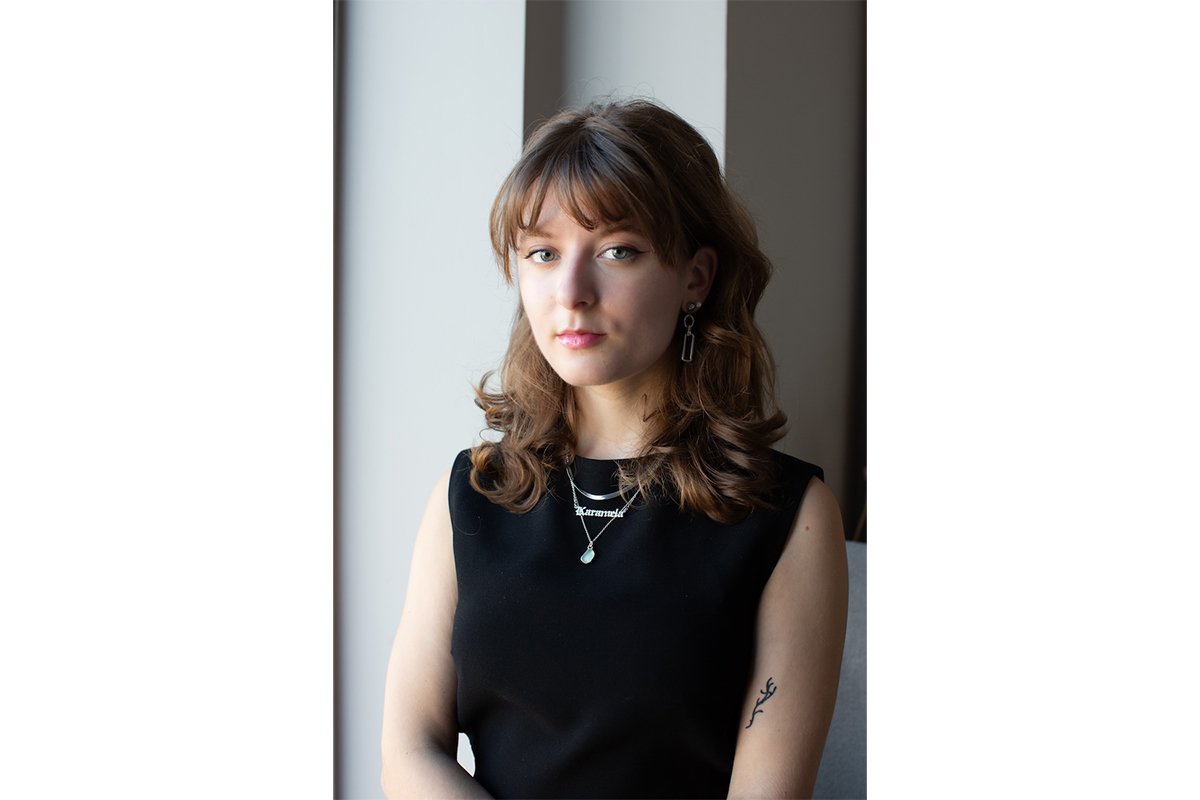
The final approach to editing a portrait in Lightroom is simply working your way through the tools that Lightroom provides. These give you plenty of adjustments. But they don’t allow the same amount of expert control as using AI masks.
The adjustments you make will probably involve adjusting your photograph’s light, color, and texture. This process will only result in a good portrait edit if you know how to use all these controls.
One way to improve these manual adjustments is to use a mask. Lightroom allows you to brush in a mask and then set your relevant adjustments. This manual approach gives you more control, but the AI masks are a great way to save time. Notice that if you don’t use masks, the whole image will be affected.
Top Tips for Editing Portraits in Lightroom
We will now discuss some editing techniques that are easily overlooked when approaching portraits. Consider these points if you want to achieve the best portrait edits in Lightroom.
Look Out for Highlights and Shadows
Identify the key shadows and highlights in your photograph. Sometimes, the light on your model’s face contains areas that are too dark or too bright. Use Exposure, Highlights, Shadows, and other tonal tools to correct this.
Good exposure on your model’s face allows you to better identify and see your model clearly. Harsh shadows can obscure your subject’s face and create an unrealistic representation.
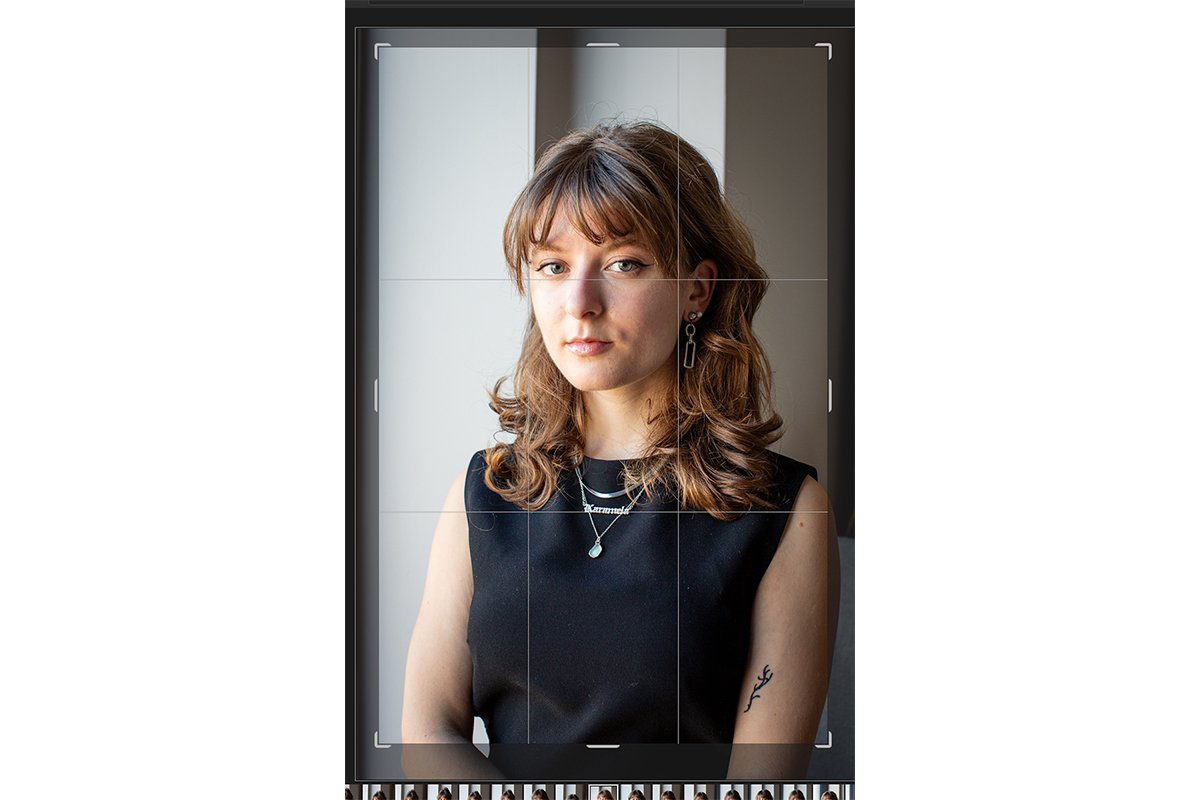
Use the Crop Tool
Good cropping is crucial in portraiture. Your image should clearly show the model’s face without many distracting features around the rest of the image. Also, make sure that the angle of the photograph is natural.
A rule of thumb for cropping portraits is to have the model’s eye along the top third line of the photograph. This makes sense with both close and far crops of your photograph. There are many ways to crop a portrait, so experiment to see what works best.
Remove Blemishes
Lightroom gives us a great tool for easily removing blemishes from your subject’s face. The Heal tool is in the Brushes section. To use it, select the right size brush and click over areas that may not be natural for your model.
The Heal brush is a quick and effective way to create a professional portrait. The smooth skin can accurately represent your model looking their best.

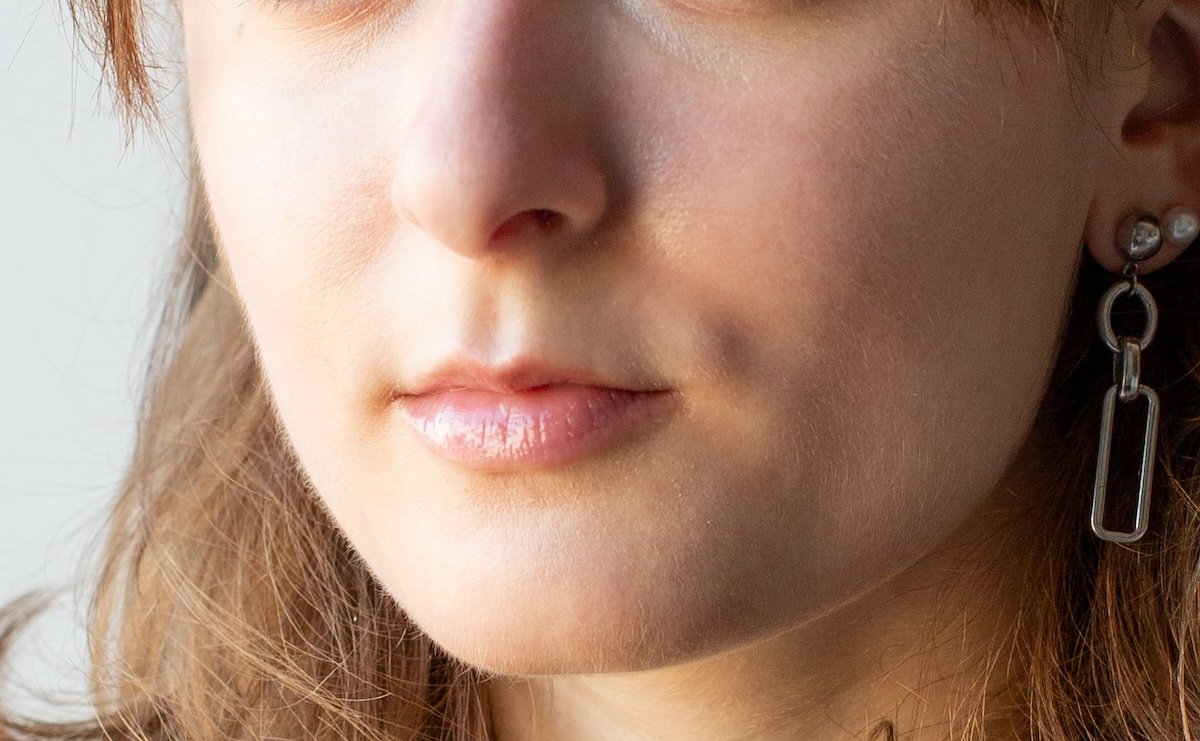
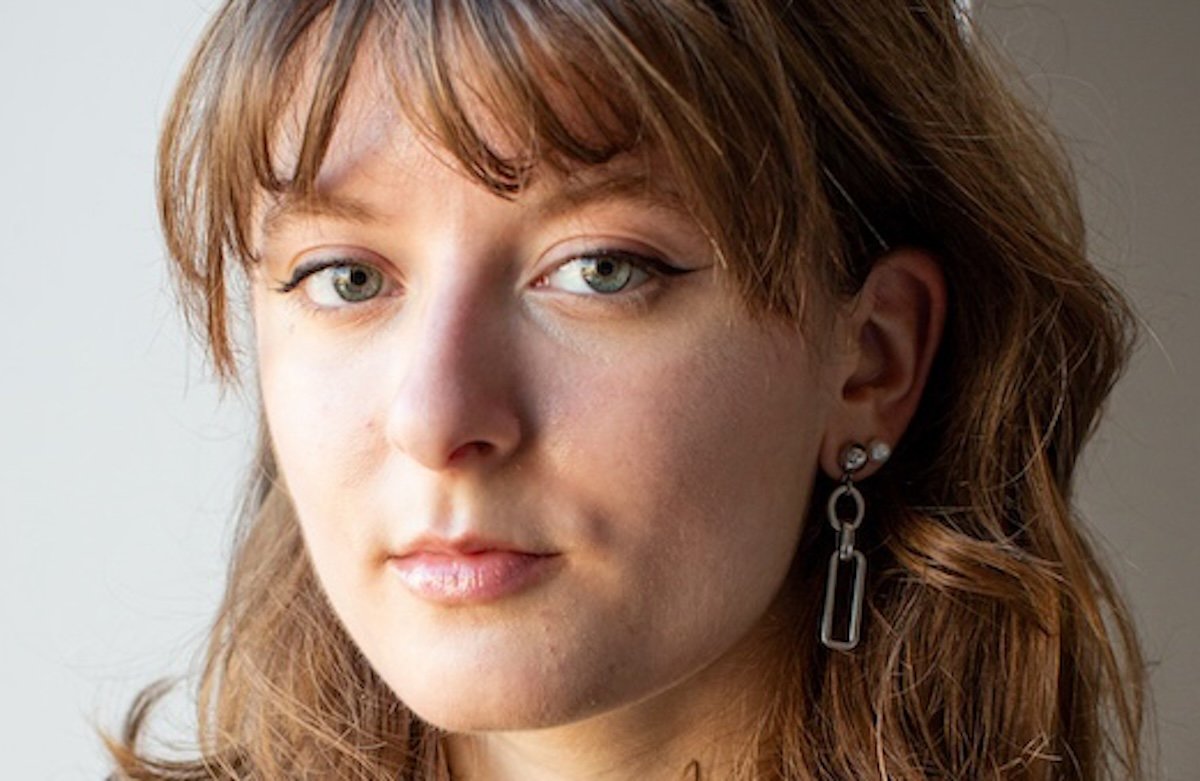
Brighten and Color Key Facial Features
You may want to brighten and edit a few key facial features to make your portrait pop. These features are the eyes, lips, and teeth. Luckily, Lightroom’s AI masks cover all these facial features.
You can brighten the eyes and teeth to seem more white. And the lips could use a small boost of color, as could the iris. However, don’t go overboard with these edits! Your photo will easily look like an animation and people will know it’s heavily edited.
Brighten or Darken the Background
The model should be the main focus of your portrait, so make sure you control the background in your photograph. If your background is too distracting, consider reducing the exposure, highlights, or shadows. Thankfully, Lightroom’s AI masks allow us to select the background.
If the background complements the portrait, use this to your advantage and provide adequate edits. Consider brightening or adding more color to these areas. You can also add a vignette to the image to draw the viewer’s eye to your subject even more.

Conclusion: Editing Portraits in Lightroom
Thanks to all these great features in Lightroom, editing portraits couldn’t be easier. With the addition of the AI masks, Lightroom is the best photo editing software for portraiture today!
Experiment with the different options, but remember not to overdo the edits! The aim is to get a picture that shows your subject in their best light, but not fake and overly edited.
These Lightroom tips show how you can use Lightroom for various useful adjustments. And all this can be done without recourse to Photoshop.
To perfect your Lightroom editing workflow, check out our Effortless Editing with Lightroom course!