There are many rules you can use to improve your photography composition. For many photographers, the best way to enhance photography composition is to “fill the frame.” You can use this composition technique to bring focus to your main subject, zoom in to focus on details, and many other uses!
Read on to learn what “filling the frame” is and how to do it to improve your photography composition.
How to Fill the Frame in Photography
There are a few ways you can fill the frame in photography. But choosing the best composition technique for your picture can be challenging. Read on to learn everything you need to know about filling the frame!
What Does Framing Mean in Photography?
The “frame” in photography is the border of the scene captured by your camera. Basically, it’s what you choose to include and exclude from your photo.
Your camera captures only a fraction of what your eyes and mind see. Photographers often make quick decisions about what to include within the edges of your photo. But taking a few extra seconds to compose your shot is always a good idea.
Filling the frame means making your subject a large proportion of your image. This means you need to get close to your subject. Really close.
Photographers often leave too much space around their subjects. They are too shy to get closer or uncertain about how much to crop their photos.
In this article, I’ll show you what it means to fill the frame in photography, both in the field and in post-processing. As the great photojournalist Robert Capa famously said, “If your pictures aren’t good enough, you aren’t close enough.”
How to Fill the Frame
All images have a main subject. Filling the frame means being clear about what you want the photo to focus on.
This advice seems basic, but I’ve judged many photos in competitions where the subject wasn’t distinct. I look at the image and can’t quite figure out what captured the photographer’s attention.
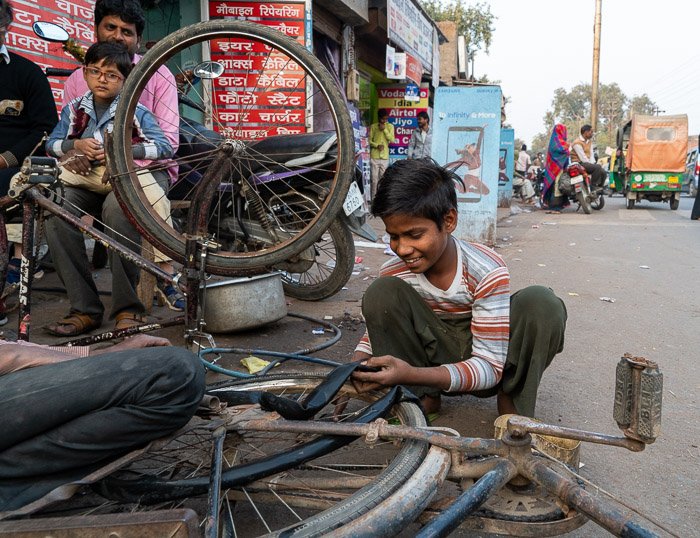
The easiest way to direct attention to your subject is by making the subject larger in the frame. The best way to achieve this is to get closer to your subject. You can get closer with a zoom lens or physically move closer.
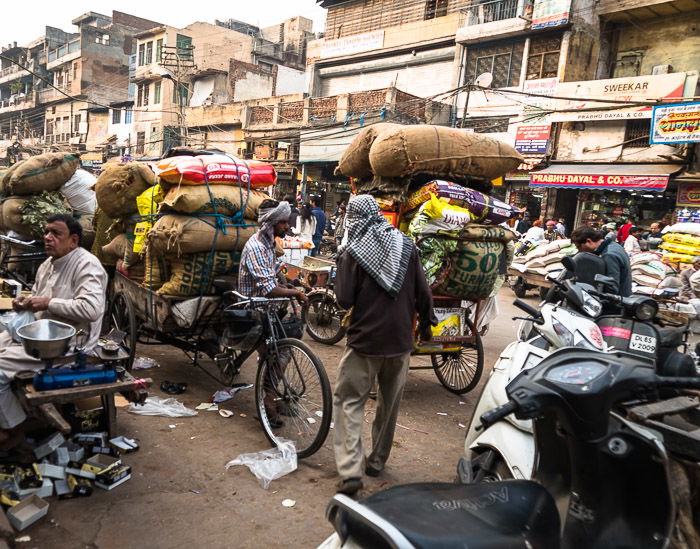
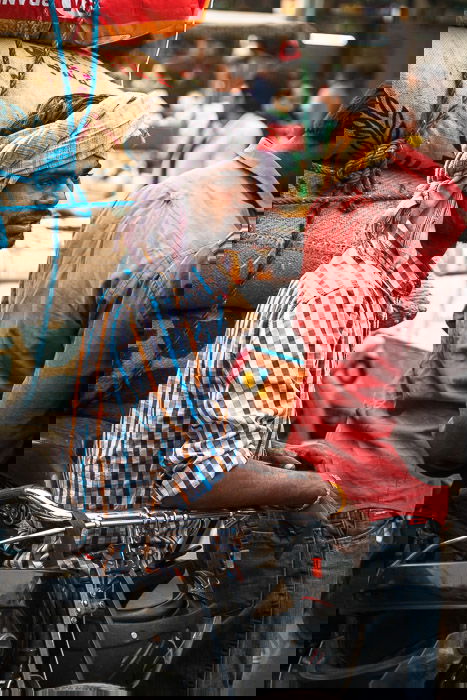
Compare these two images of a busy street in Delhi, India. Though my subject is the same in both images, the tighter crop focuses on my subject while retaining the context of a busy street in India.
Use a Zoom Lens to Fill the Frame
Zoom lenses allow you to get closer to your subject even if you are physically at a distance. There are times when this is your only option because it may be impossible or dangerous to get closer.
With my long telephoto lens, I can see something happening across a busy square and zoom in for a closer look. From one position, I can try different focal lengths and compositions. I can take a wide shot with a lot of background around my subject. Then I can zoom in and fill the frame with my subject.

Get Up Close and Personal With Your Subject
There’s a saying in photography, “Zoom with your feet.” This means physically moving closer to your subject. Filling the frame means getting physically closer to your subject. Really close. This takes a bit of bravery, especially if you’re photographing strangers.
Moving closer provides more photo opportunities. Changing your position will lead you to different angles and perspectives. You can look for framing opportunities and ways to use the environment to highlight the subject.
If you are photographing a person, chatting with them for a moment can also lead to better photos.
Getting close to your subject means getting involved in what is happening. Your experience changes when you move closer. I often try to show a stronger, more connected experience in my photos.
What Is the Rule of Space in Photography?
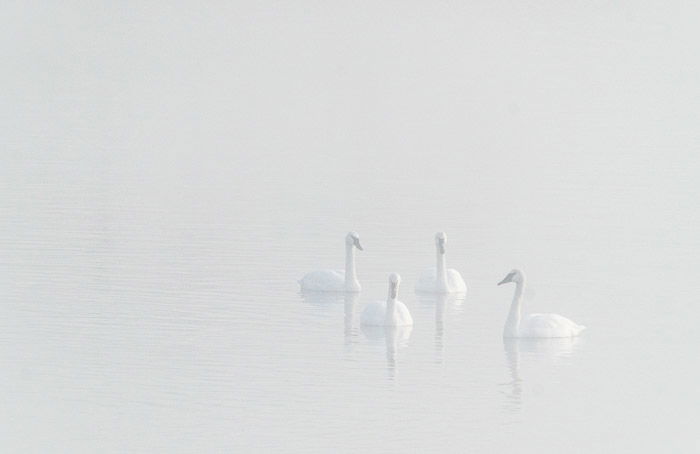
Filling the frame doesn’t always mean taking close-up photos. The rule of space in photography means including space for the subject to move into. Filling the frame while leaving enough space for your subject to breathe is a balancing act.
It helps to think of the background space as a subject. In this image, I was taking a photo not just of the swans, but the relationship of the swans to the fog. I needed to leave space for the fog.
How to Crop Your Image in Post-Processing to Fill the Frame
I like to capture an image that’s similar to what I want the final image to look like. But there are times when I purposely leave extra space around my subject. This allows me the flexibility to explore different ways to crop the image in post-processing.
There’s no right way to crop an image. But some crops work better than others. As a general rule, when cropping people, try not to crop at joints (elbows, knees, wrists). Cropping at these places can look a bit awkward.
Identify the Key Elements to Include in Your Frame
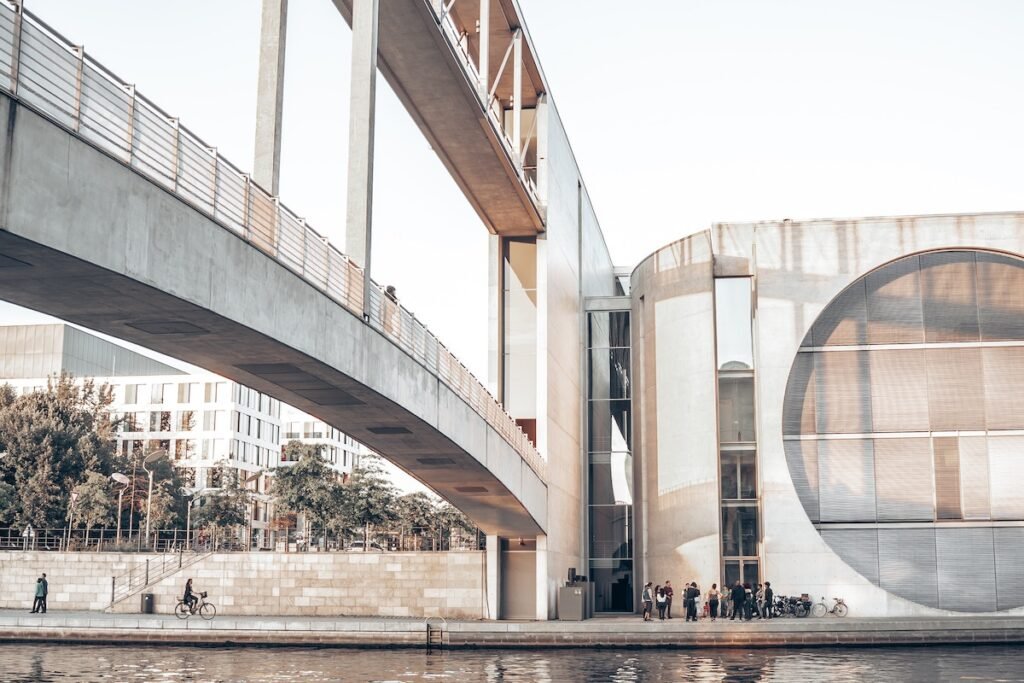
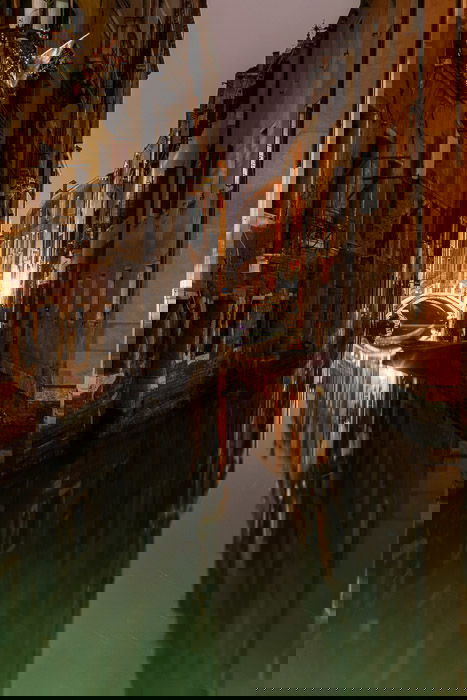
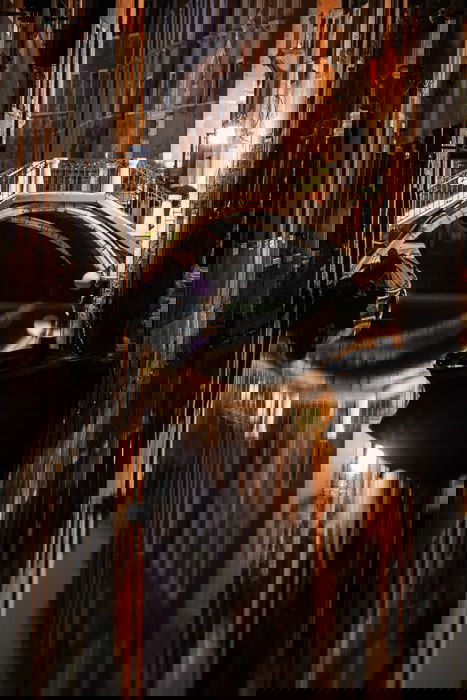
Before I crop, I first identify what exactly makes this photo interesting. Is it the bridge? The interaction between the bridge and the boat? The person? The person’s eyes? The more specific you are, the better your composition will be.
I identify the key element that must remain in my image even if I crop out everything else. I tried multiple crops of this Venetian canal. Ultimately, I decided that the bridge, the boats, and the reflections were the most important part of the image. So I cropped my photo until it only featured these elements.
Carefully Consider Your Background
Think carefully about the space around a subject. Is it important? It might be. Background can provide context and information about where my subject is located.
I like to think of the background as a secondary subject. If I want to show the sky, I ask myself, “How much sky do I really need to show?” Sometimes just a hint is enough.
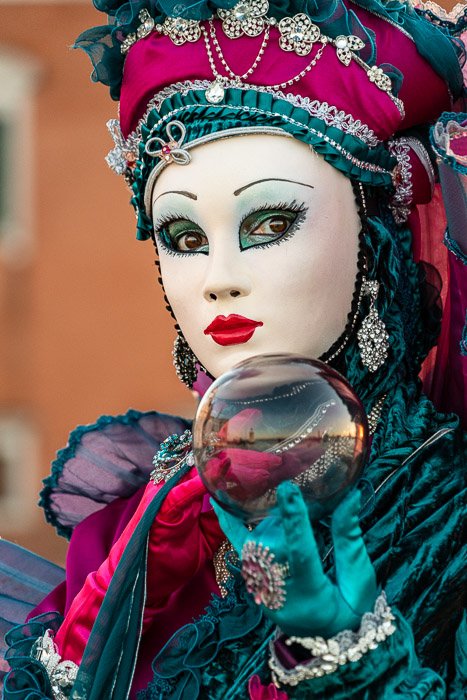
Sometimes you don’t need a background. This mask at the Venice Carnival is distinctive enough to place the person.
Use Other Rules of Composition to Decide Where to Crop
When deciding how to crop, I keep some of the other photography composition rules in mind. I place my subject on the rule of thirds intersection, or I center the person’s dominant eye. Then I pull in the sides of the frame to tighten my subject, reducing the amount of background in the frame.
If my subject is naturally symmetrical, I center it in the frame and crop inward from there.
Use the X key for a Fresh Perspective
A trick I use to see the scene in a fresh way is to use the X key in Lightroom’s crop module. Clicking the X key switches the orientation of the photo from portrait to landscape and vice versa.
Lightroom also tends to tighten in when switching orientation. If I don’t miss the excluded part of the scene, I know I can crop in much tighter.
I took this photo at a local Holi festival. There were people everywhere, dancing and throwing paint. I was standing right next to this scene, so I started with a pretty tight crop.

Clicking X in crop mode in Lightroom switched the image to portrait orientation. I shifted the crop to focus more on my main subject.
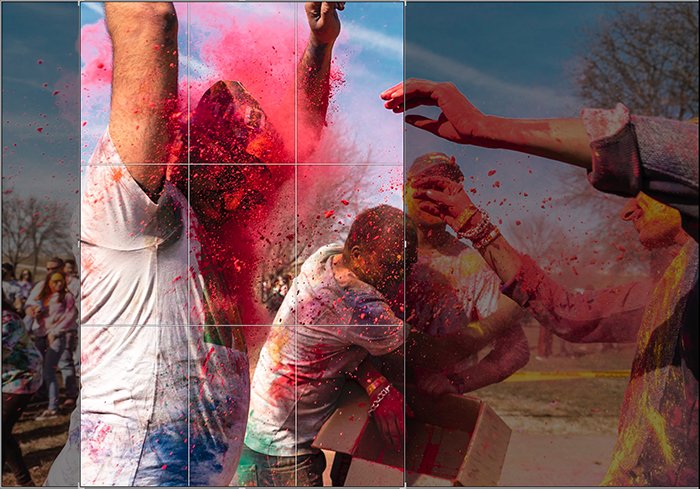
When I click X again, the crop switches to landscape orientation much tighter than my original. Then I consider the tighter crop suggested by Lightroom. If the photo isn’t missing anything important, I use the tighter crop.

Consider the Aspect Ratio of Your Image
With digital images, don’t worry too much about standard aspect ratios. These are more important if you plan to print your images.
If you’re sharing images online, you can use any aspect ratio you want. Don’t force the aspect ratio. Decide the crop based on your subject and scene.
Conclusion—How to Fill the Frame in Photography
Filling the frame is about making your subject stand out. It’s fine to take a broad shot with a plan to crop later. But you should practice filling the photo frame in-camera. Think about what the final image will look like while you’re taking the picture.
Use these tips to create an impactful image with a clear subject that fills the frame!
Check out our Intuitive Composition course to learn everything you need to know about composition in photography!