Tiny planet photography is a fun and unique way to capture your surroundings. By stitching together multiple photos of a scene, you can create a “tiny planet” effect that gives the viewer a new perspective on your surroundings. In this tutorial, we will show you how to create cool tiny planet photography in Photoshop.
Tiny Planet Photography: How to Make a Small Planet in Photoshop
Choosing an Image
Little planet photos work well with panorama and 360-degree images. But photos of any image size will work.
I look for these characteristics in an image:
- Strong vertical elements like trees or buildings
- Matching left and right sides of the frame
- Simple sky and ground
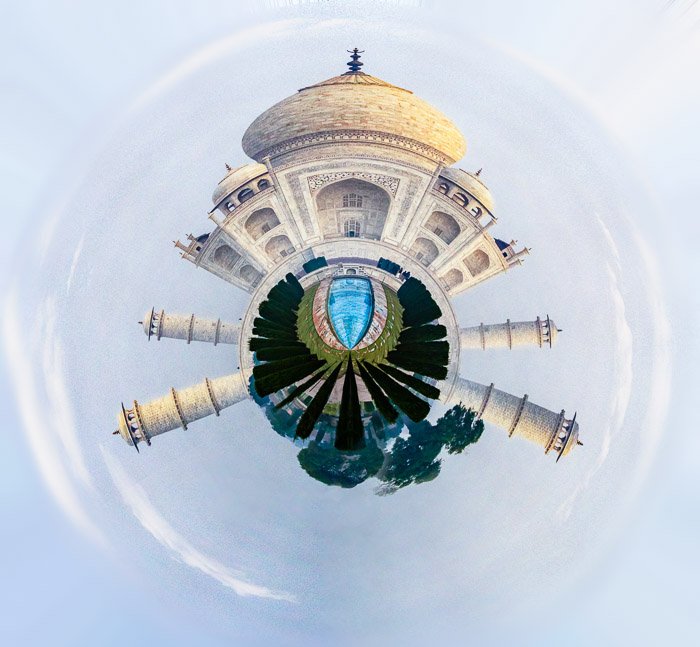
The best images have strong vertical elements. The taller, the better. If everything is near the horizon, nothing will pop out of your small planet. The Taj Mahal worked great.
The effect is going to wrap the left edge of your frame onto the right. If these don’t match, you will see the join. This is one reason 360-panoramas are so good for this type of effect. But I’ve included a little trick in the steps below to help if your image edges don’t match.
Photos with a clear blue sky and simple ground texture are easier to transform into a small planet. The more details there are in the sky or ground, the more work you’ll need to do afterwards to make it look perfect.
The ground will become the globe. The sky will become the outside of the globe and the background. The amount of ground you have determines the size of your planet.
Step 1: Open Your Photo
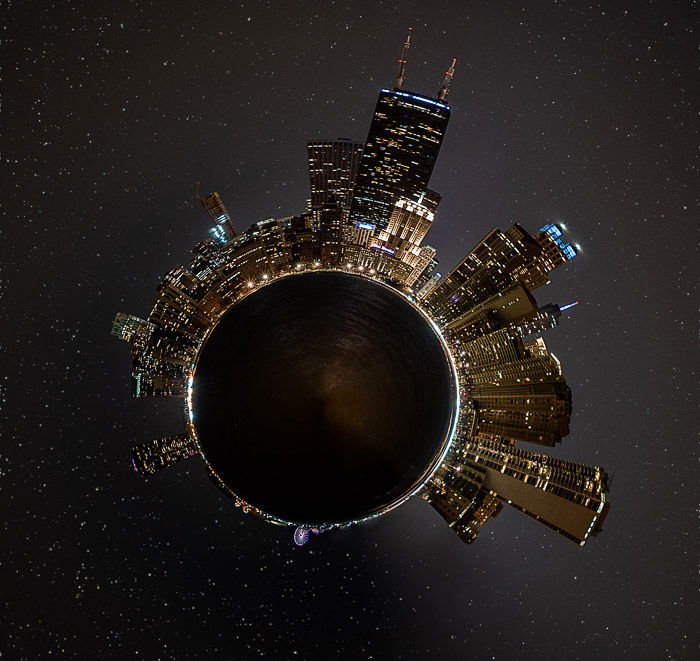
I’m going to work with a cityscape of Chicago at night.
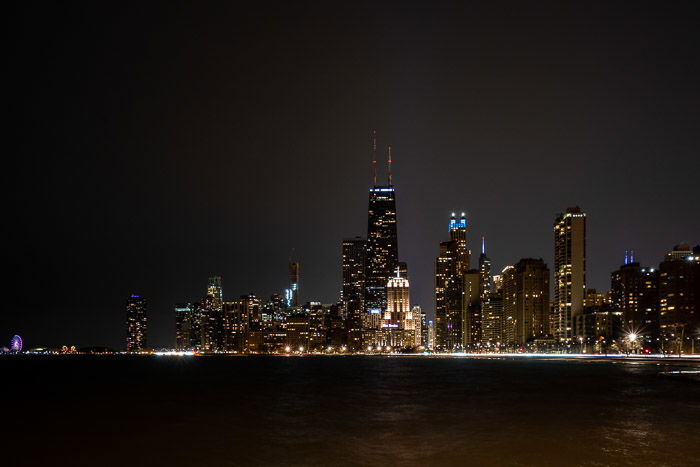
Open your image in Photoshop. Other programs like the free Gimp program can also create this effect.
Step 2: Straighten the Horizon Line
If your horizon line isn’t straight, open the Crop tool. Select the Straighten tool in the upper toolbar and drag it across the horizon. Photoshop will straighten your image.
Step 3: Prepare the Edges
Matching the left and right edges of your frame is an optional step, but it may save you a lot of clean-up work later. I’m going to match the horizon line by removing a couple of buildings (sorry, Chicago!) I’m also going to match the color gradation in the sky.
- Select the left-hand section of your image. How much depends on your image, but I try for at least ¼.
- Copy onto a new layer (Ctrl or ⌘J)
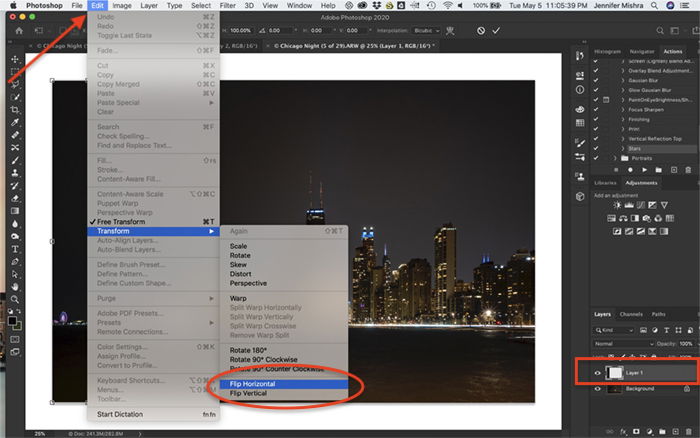
- Flip the layer horizontally Edit >Transform>Flip Horizontal
- Move the layer to the right edge of the frame
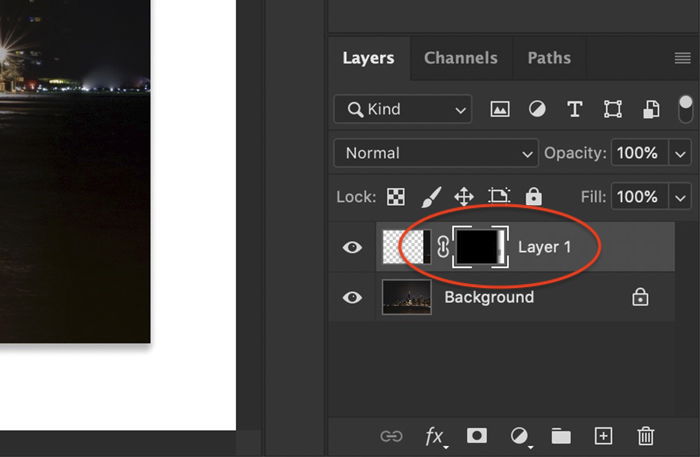
- Add layer mask
- Select Gradient tool and set on basic black and white.
- Fade in effect from the center to the right edge of the frame. The blend doesn’t have to be perfect.
- Merge layers Layers>Merge Layers (Ctrl or ⌘E)
Step 4: Create a Square Aspect Ratio
It might seem odd, but to create a globe, you must first compress the image into a square.
- Open Image>Image Size… (Ctrl or ⌘I)
- Click constrain proportions icon to unlink height and width image size dimensions
- Enter an equal number in height and width. I usually enter the smaller measurement into both boxes, but it doesn’t make much difference.
If you forget to make your image a square, you’ll get an oblong shape. This isn’t a globe. But you may like the shape.
Step 5: Flip the Image Vertically
Turn your image upside-down by going to Image>Image Rotation>Flip Canvas Vertical.
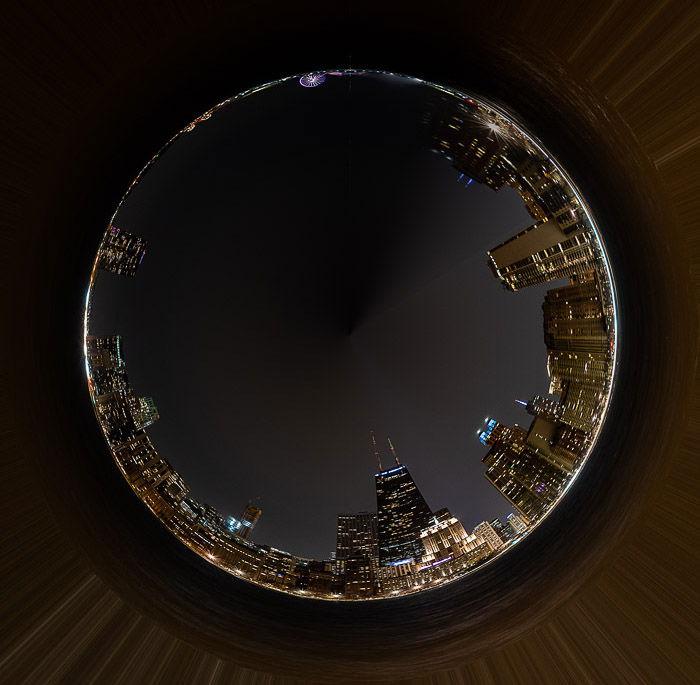
Image rotation will create a planet image. If you don’t do this step, you’ll create a hole. Your vertical elements will be inside. Try it! You might like it.
Step 6: Apply the Polar Coordinates Filter
The final step is to apply the Polar Coordinates filter. Go to Filter>Distort>Polar Coordinates…. This will open the Polar Coordinate dialogue box.
Select Rectangular to Polar.
Click OK.
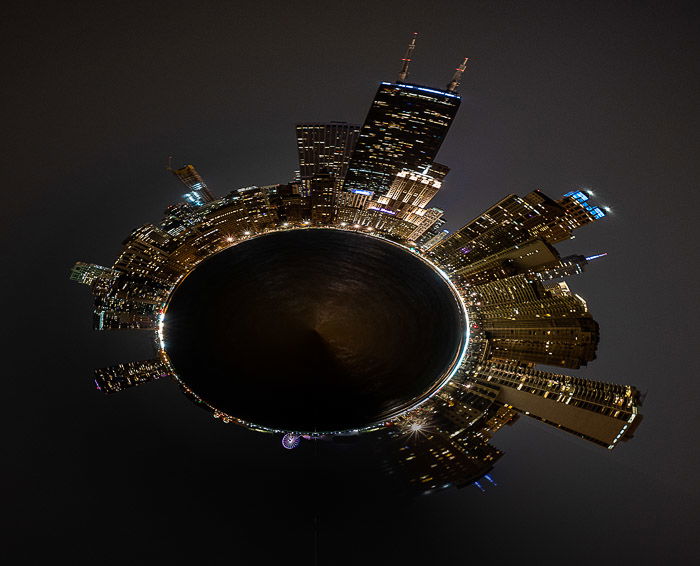
That’s it! You’ve created a little planet image.
Finishing Touches
You may need to clean-up the seam where the edges meet. I use the Healing brush, Content-aware fill, and the Blur tools to help blend the edges.
Many photographers like to do something with their backgrounds. I like to blur the tell-tale lines created in the corners. In this image, I added stars to the night sky.
Create Tiny Planets With Your Smartphone
You don’t need Photoshop to create a tiny planet. Many smartphone apps create small planet images in a snap.
I use Tiny Planets. This is an app for your iPhone but you can also find alternatives for Android. Point your camera at a scene and the app will create a tiny planet. Or a rabbit hole if you prefer. It’s that easy. Point. Click.
It will even work on images in your camera roll.
Conclusion
Little planet photography looks out-of-this-world, but it’s easy.
Prepare your image in Photoshop by flipping it vertically and creating a square. Go to Filter>Distort>Polar Coordinates to apply the filter. There you have it!

You may create cool effects even in your mistakes, so you have nothing to lose!
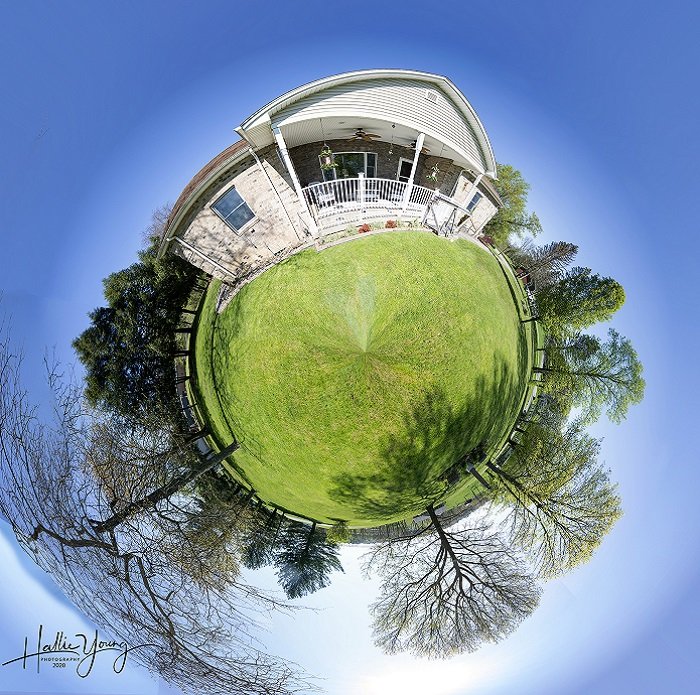
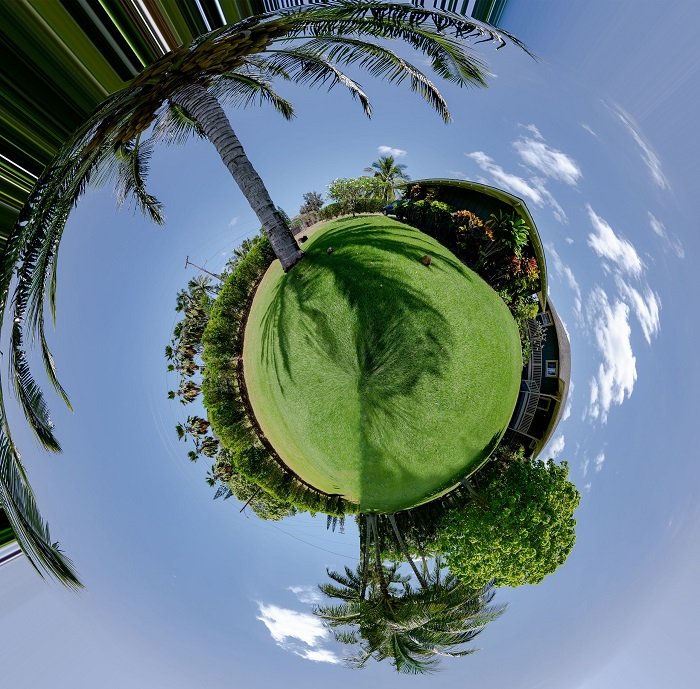
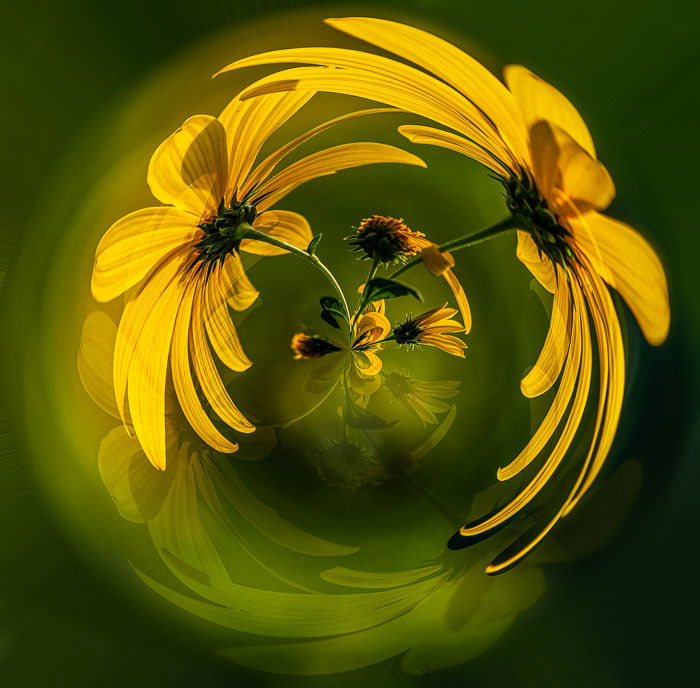
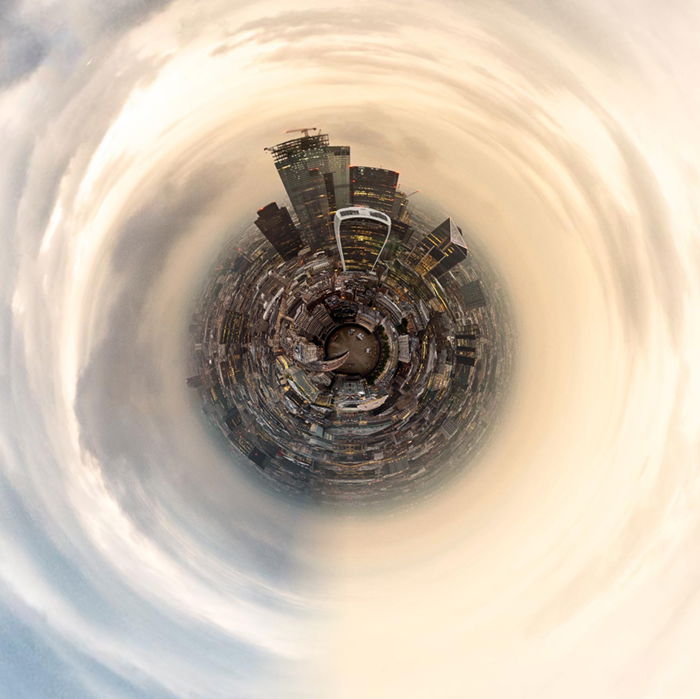
Examples of Little Planet Photography
Little Planet Photography is one of the topics we cover in our creative photography course, Wow Factor Photography. Below are some of the photos taken by our students. If you’d like to learn more, check out the course here.